


 Welcome to Deves Technet.com Forums. I encourage everyone to register so we can get a better idea of the traffic and its usefulness. Please leave a word or two describing your stay and what we can do to make it more enjoyable. Thanks!
 Tweet
Tweet
This week and for a few weeks to come I will be discussing how to replace rusted out floor panels, kick panels, structural supports and finish the series with how to restore your door hinges. Hope you are having as much fun as I am! You can see this episode in pictures HERE.
Drivers Side Sheet Metal (Part Two)
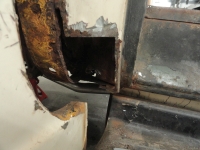
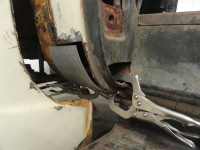
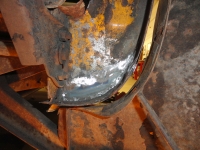
 The Driver's side is much worse than the Passenger side. The damage is pretty extensive, but in keeping with my plan for this truck to be merely a decent daily driver, I will not take the fenders off. I did have to remove the first 4 fender bolts however. This side had a problem with the outer cowl. You just can't get to the damage without backing the fender away. The hole is extensive and can be seen, so we have to treat this area a little different. We cut away everything that is rotted to see what is left. In this case I hit solid metal before any serious features have to be reshaped. I want to keep the original cowl drain hole and surprisingly, I was able to! One of the things I cannot do very well is create oblong holes without spending a lot of time with a step drill, then a dremel tool.
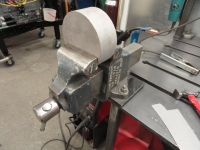
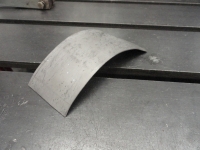
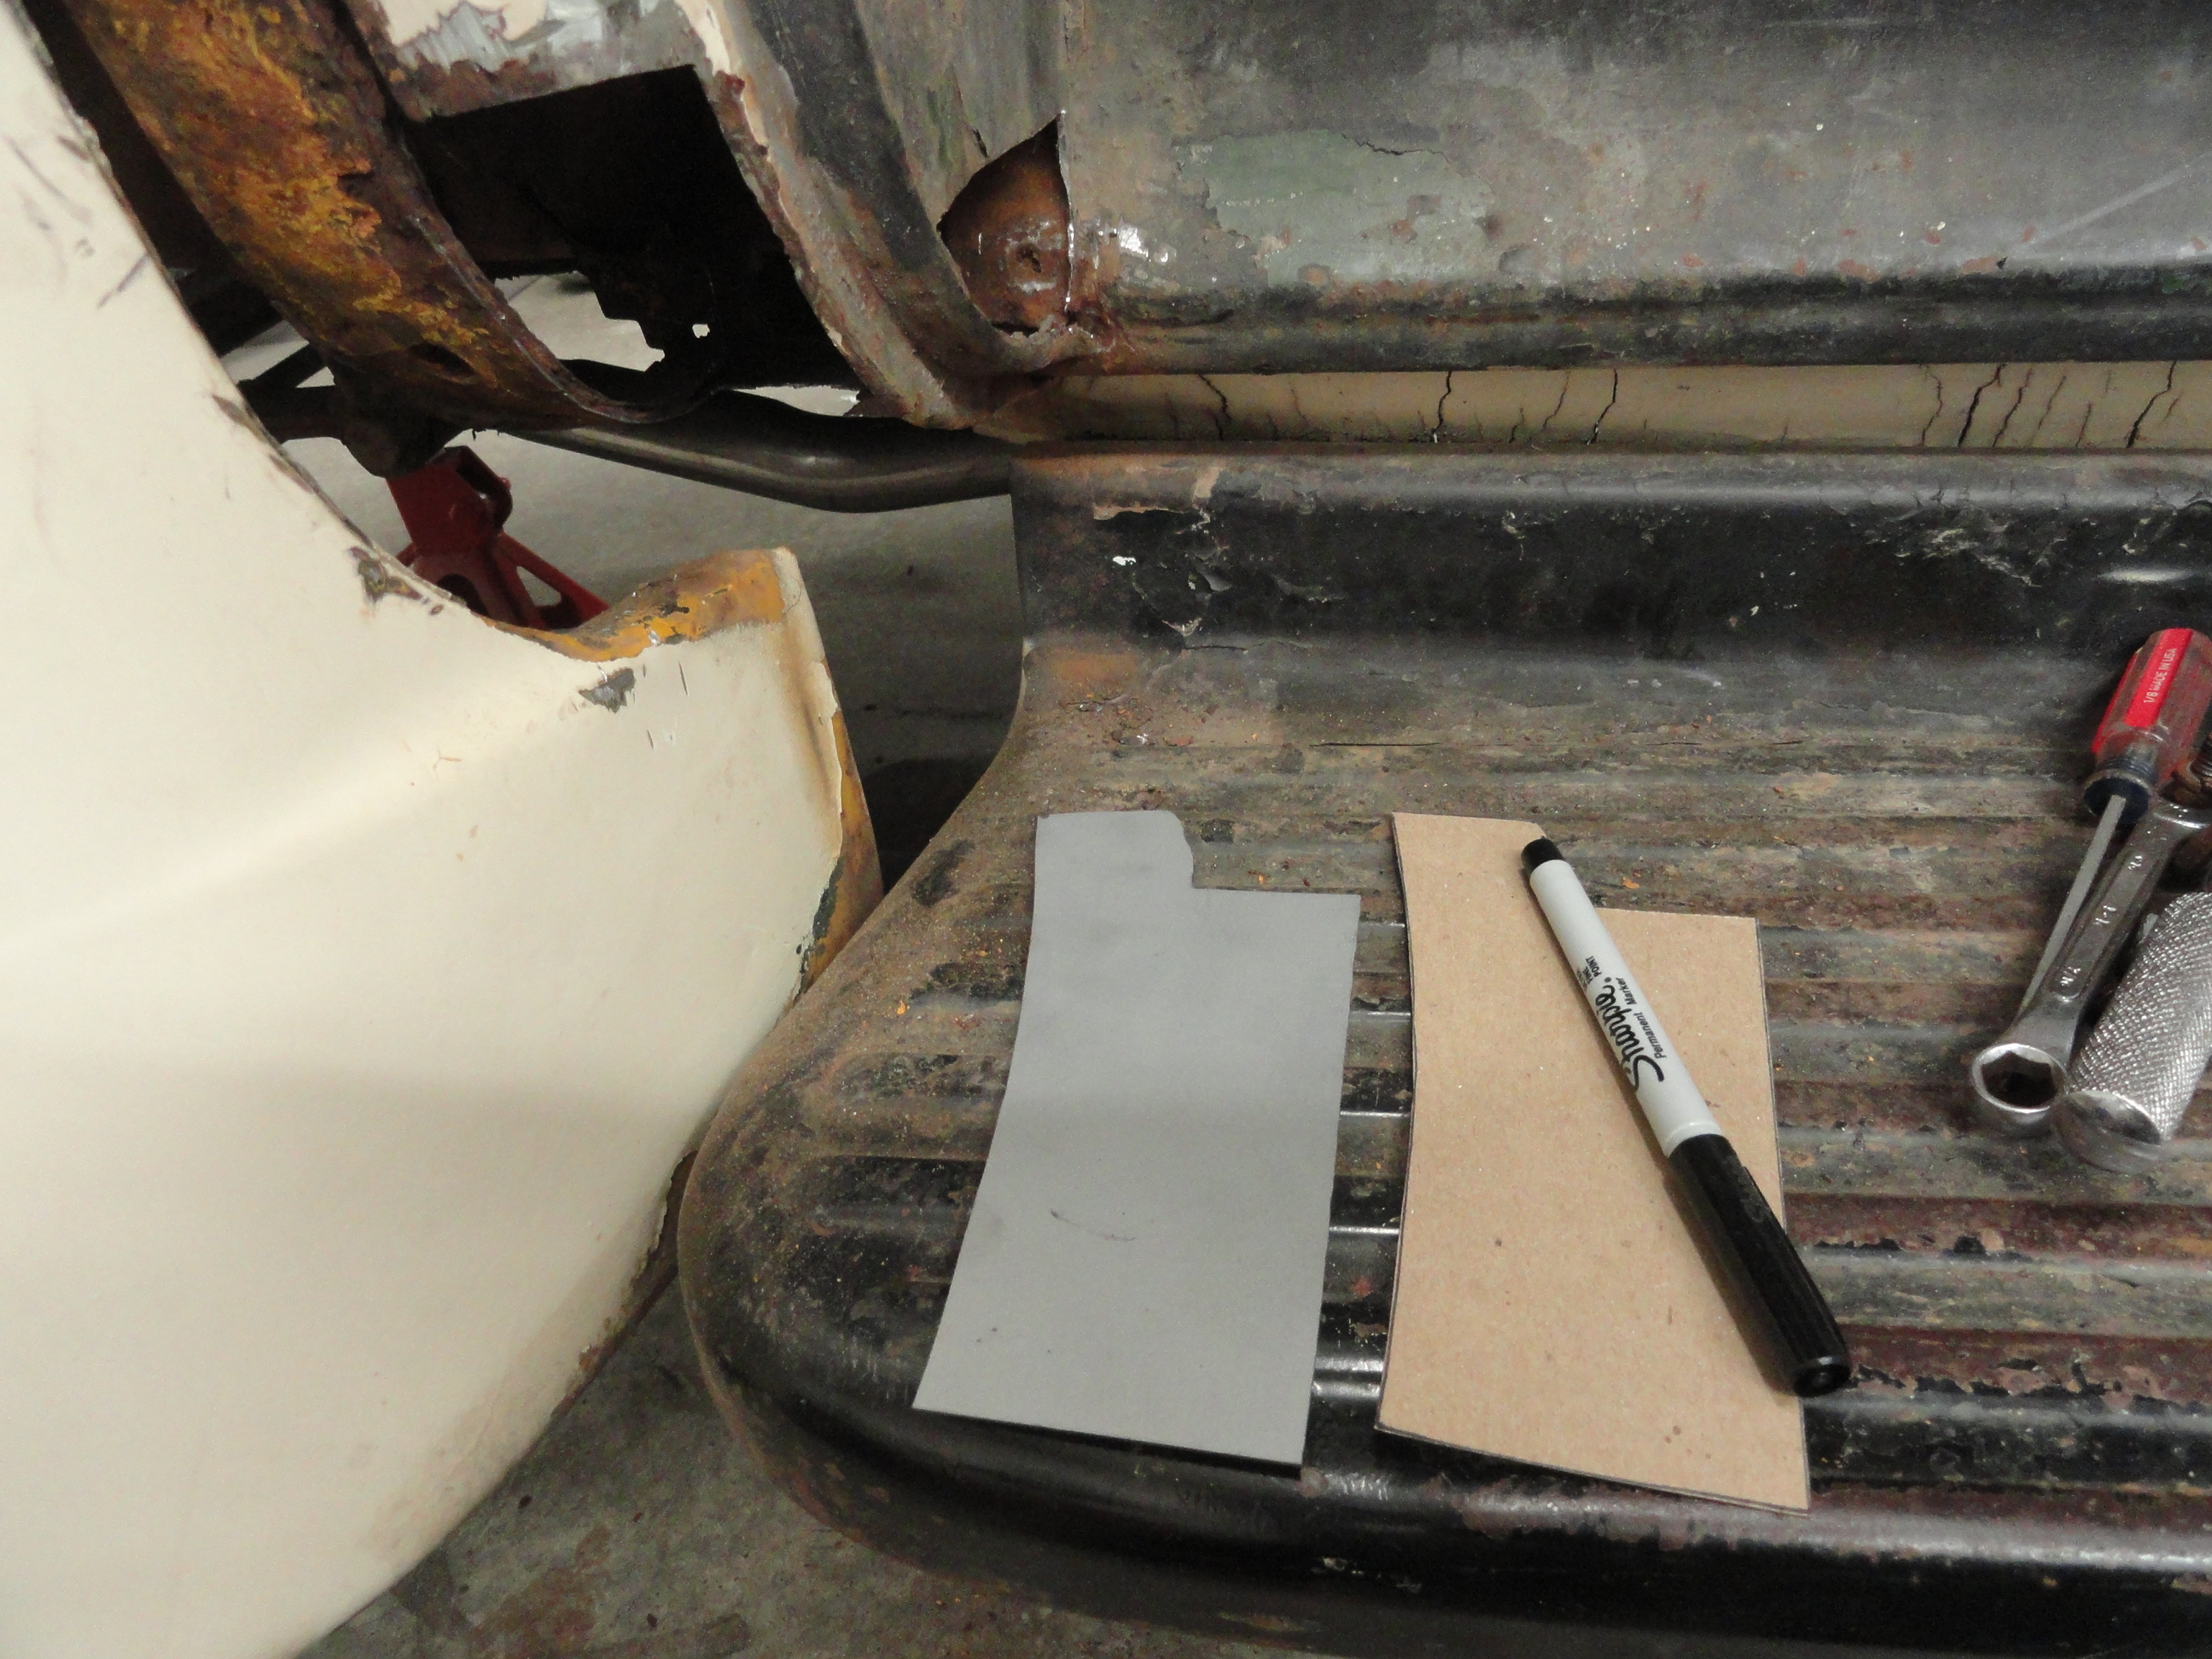
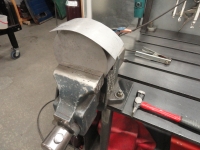 I use chipboard, like what is on the back of notepads to create a template before cutting into new sheet metal. This gets me very close. To make the shape takes some trial and error, but this big round chunk of steel makes this part relatively easy. I was able to completely duplicate the factory bend. To do this, take a body hammer and coax the metal into shape. I hammer all the way across the work, move the piece and repeat over and over so I can be assured that the bend was consistent all the way across the metal. We got lucky that we do not have compound bends for this piece. I found that round (heavy) chunk of steel at my local steel scrap yard. That and several other shapes that have proven very useful over the years.
 Once the piece is bent to fit, and this takes time to get just right, it's time to install it. Like everything else, cleaning around the weld area is essential to having a good weld. If you blow through the metal with your MIG too often, it's very likely you underestimated how much rust damage there is and you may have to take more old metal. I clamp the piece in place and tack it down with the welder using vise grip style clamps. The butt welds are tight and we have a corner right there, so we need to be extra careful to preserve that corner as much a possible. Also, the fender area of this cowl dips downwards progressively to we will emulate that progressive lip by over-adding weld, then grinding it at an angle. This takes some practice but is relatively easy thanks to the way grinding wheels on the Makita wear. They wear at an angle that is perfect for that. Steady hand and no over-grinding! Remember there is very little thickness on this type of work in the first place.

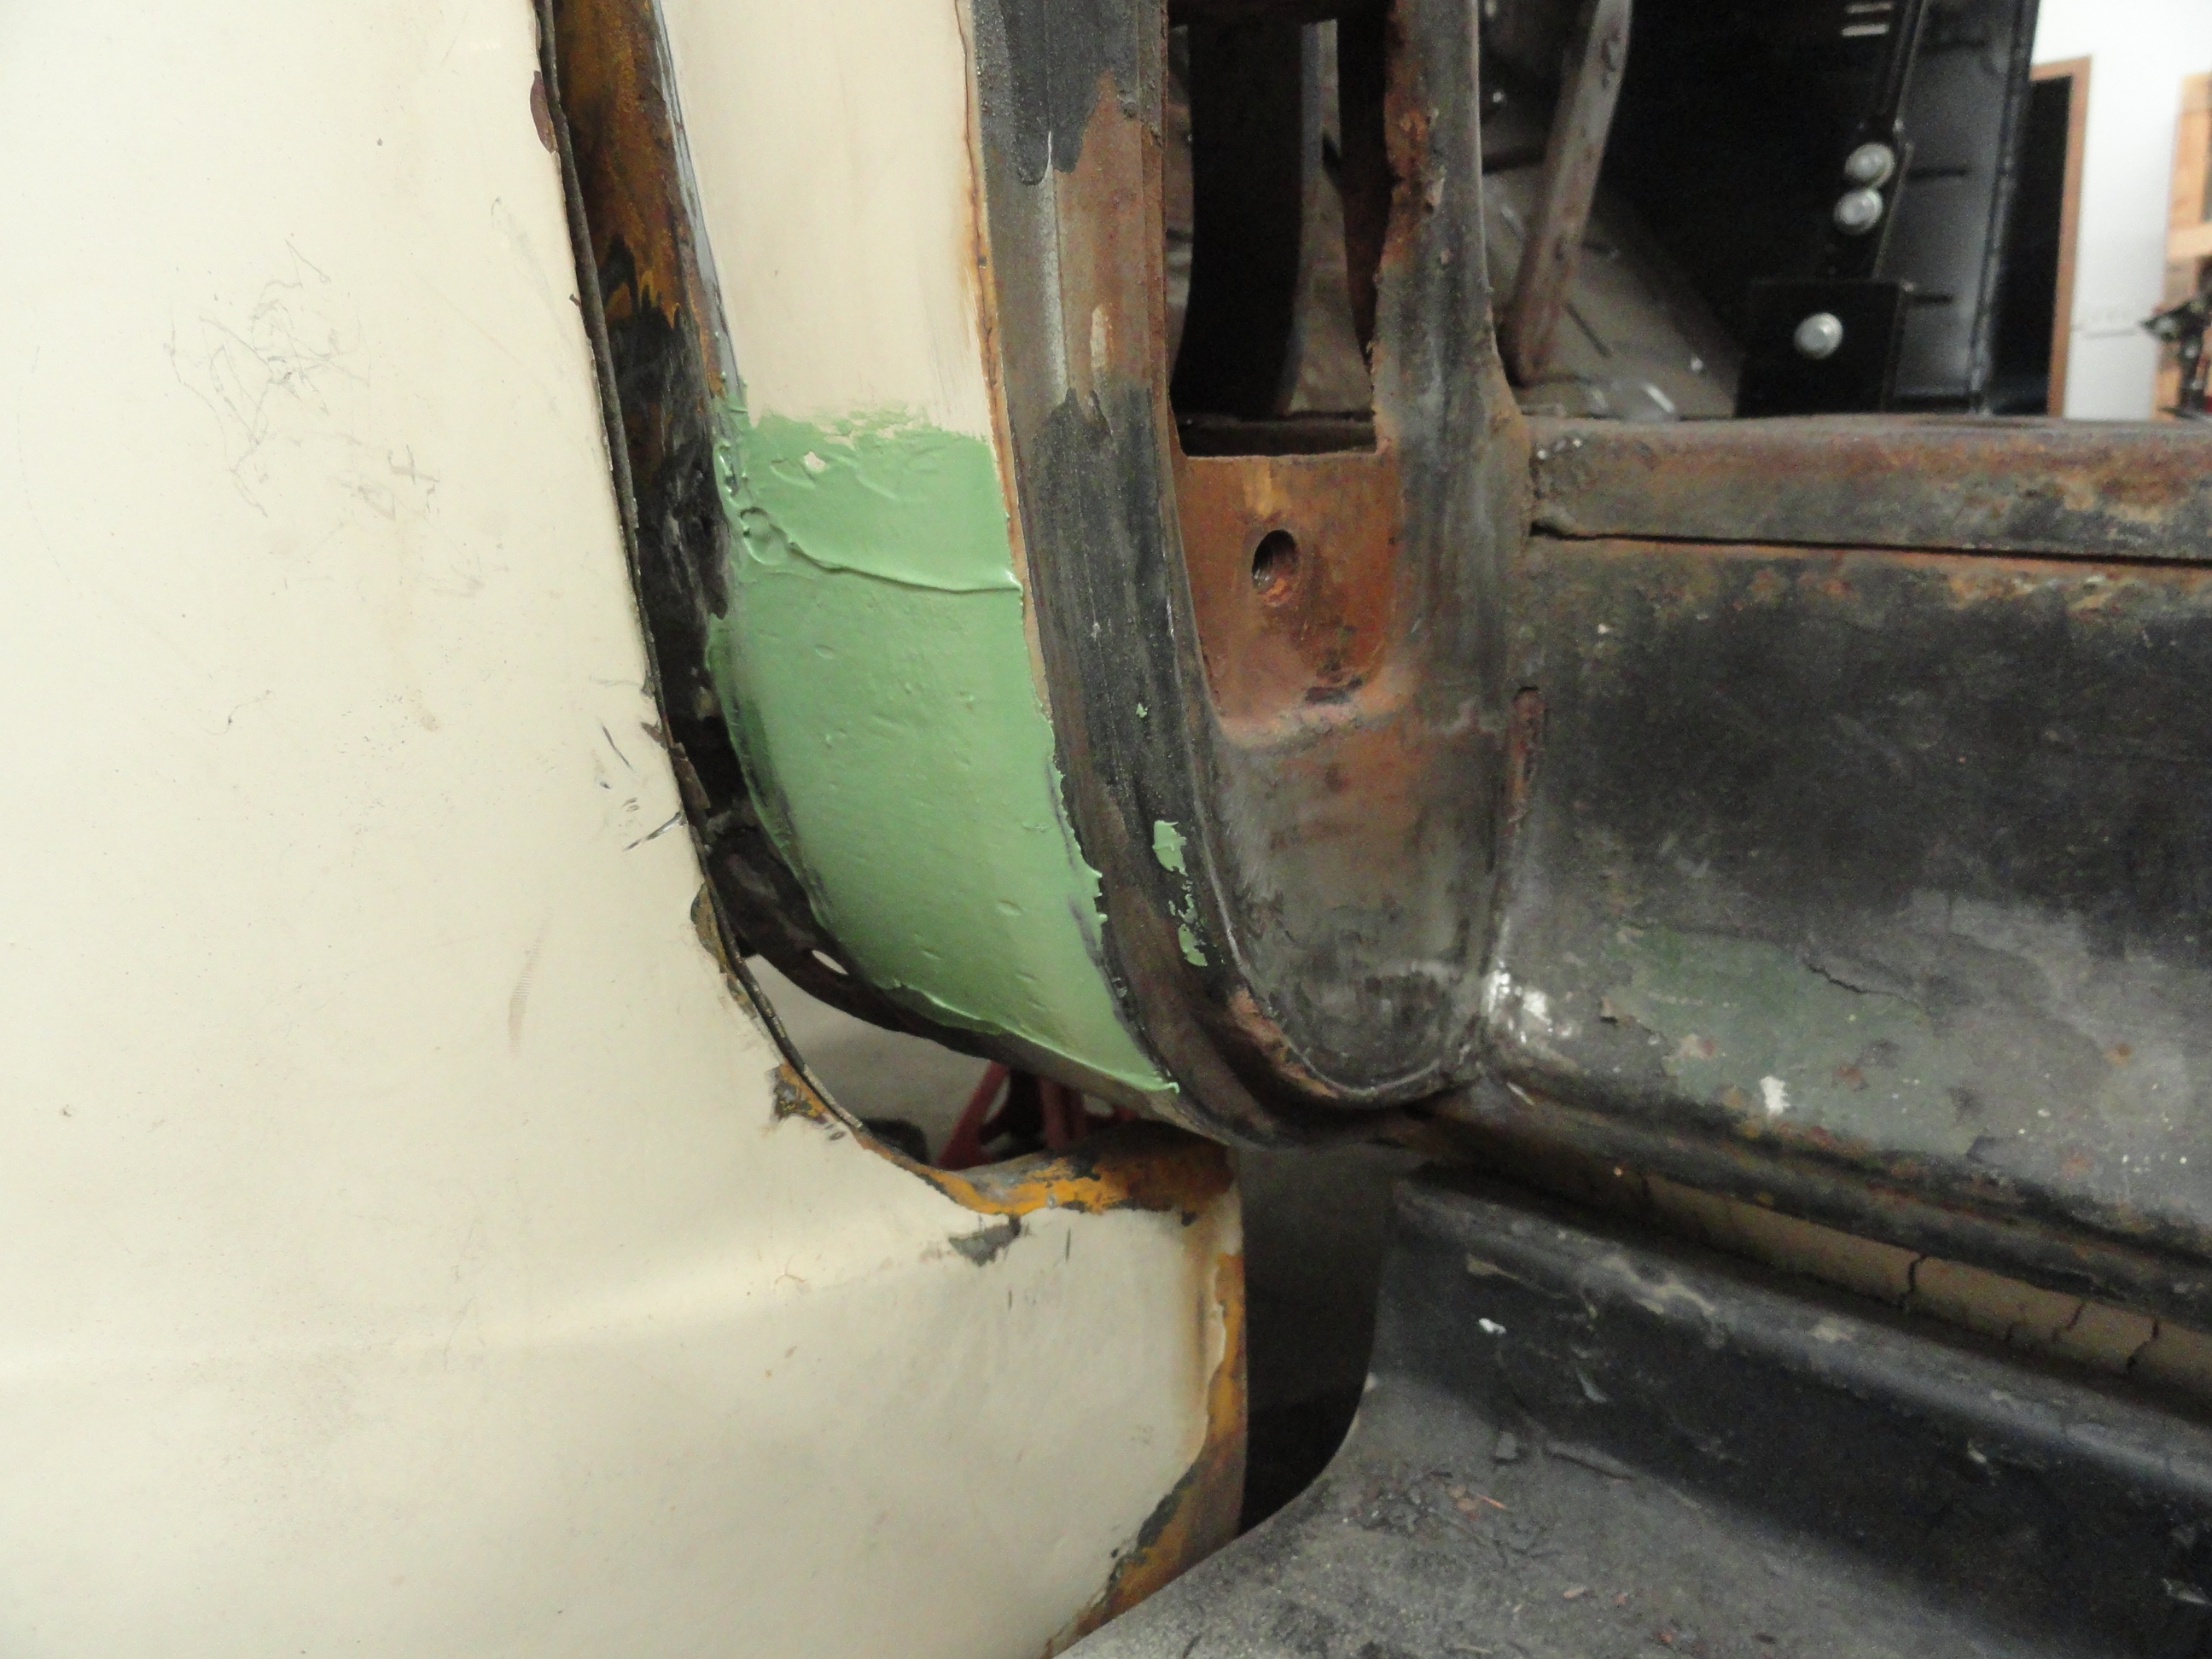
 Here is the complete install of that piece. I could have done better camera work. The thing that makes this patch different is the visibility. It is common practice once you are done with a patch like this to swipe a skim coat of body filler on the work, then shape the piece to match the rest of the area. I use Rage Gold for this and it is the best filler I have ever used for a job like this. The filler is mostly sanded off but it does fill in the small welding pocks and gives the area a finished appearance. I have not yet decided what I am going to do for a top coat, so I am leaving it this way and moving on for now.

 There were holes all the way around this particular area. Nasty, large holes behind and on both sides. Since you get the Jest of how to patch these small panels I will not bore you with more of the same, but suffice it to say there was a good weeks worth of damage to fix just on the cowl and cowl supports. 10 years ago, this would not be a cab worth saving. But nowadays we have to work just a little harder to preserve that is out there. Before buttoning up an area, I use a rust preventer spray (Duplicolor Rust Fix) to primer all of the areas that I will not be able to get to once all the new patches are in place.
Note: In a perfect world, I would be taking the cab off the frame and sandblasting everything down to the bare metal. Once I determined what needed to be replaced, I would order the appropriate patch panels and start welding. In this case, we have a running vehicle that just needs to look nicer and last a bit longer before that sort of restoration. This is the level of work you do when it is not possible to do the job right. The owner is not complaining!
I will stop here for this week because of a full schedule, but stay tuned! I have to do a complete restoration of the door hinges and finish the Driver's side. Seeya Next Week!
Drivers Side Sheet Metal (Part Two)

 The Driver's side is much worse than the Passenger side. The damage is pretty extensive, but in keeping with my plan for this truck to be merely a decent daily driver, I will not take the fenders off. I did have to remove the first 4 fender bolts however. This side had a problem with the outer cowl. You just can't get to the damage without backing the fender away. The hole is extensive and can be seen, so we have to treat this area a little different. We cut away everything that is rotted to see what is left. In this case I hit solid metal before any serious features have to be reshaped. I want to keep the original cowl drain hole and surprisingly, I was able to! One of the things I cannot do very well is create oblong holes without spending a lot of time with a step drill, then a dremel tool.
 I use chipboard, like what is on the back of notepads to create a template before cutting into new sheet metal. This gets me very close. To make the shape takes some trial and error, but this big round chunk of steel makes this part relatively easy. I was able to completely duplicate the factory bend. To do this, take a body hammer and coax the metal into shape. I hammer all the way across the work, move the piece and repeat over and over so I can be assured that the bend was consistent all the way across the metal. We got lucky that we do not have compound bends for this piece. I found that round (heavy) chunk of steel at my local steel scrap yard. That and several other shapes that have proven very useful over the years.
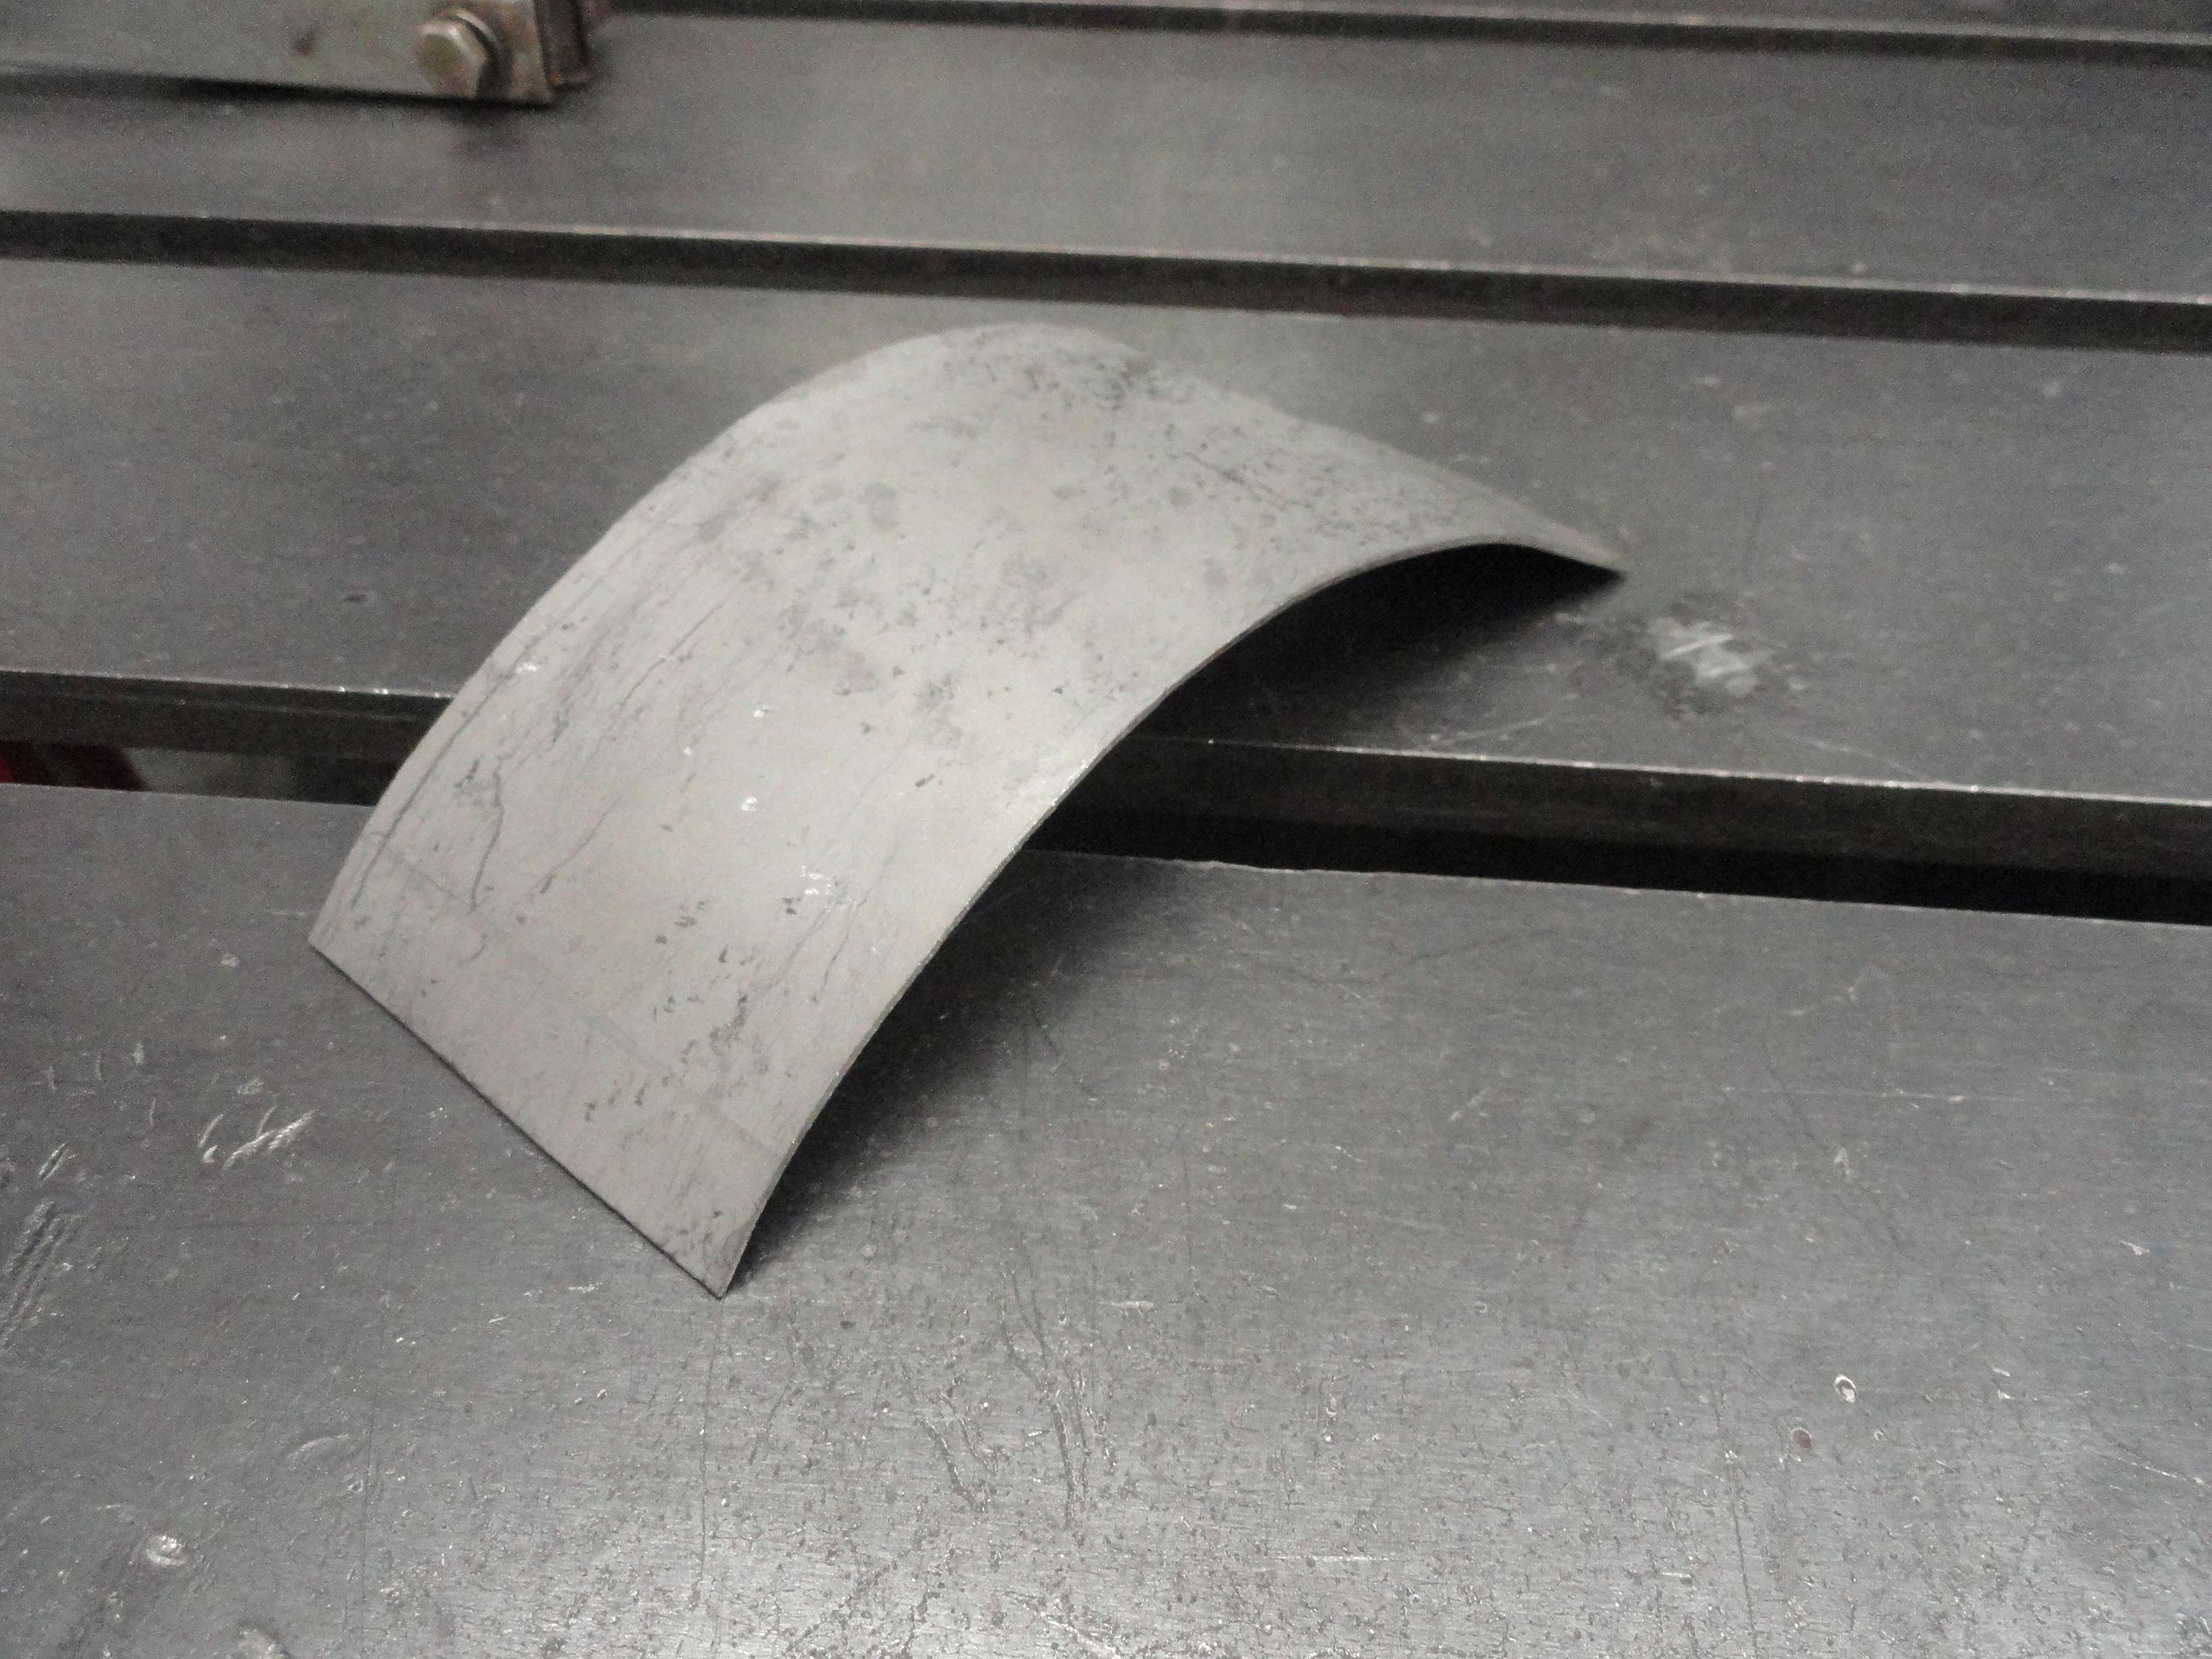
 Once the piece is bent to fit, and this takes time to get just right, it's time to install it. Like everything else, cleaning around the weld area is essential to having a good weld. If you blow through the metal with your MIG too often, it's very likely you underestimated how much rust damage there is and you may have to take more old metal. I clamp the piece in place and tack it down with the welder using vise grip style clamps. The butt welds are tight and we have a corner right there, so we need to be extra careful to preserve that corner as much a possible. Also, the fender area of this cowl dips downwards progressively to we will emulate that progressive lip by over-adding weld, then grinding it at an angle. This takes some practice but is relatively easy thanks to the way grinding wheels on the Makita wear. They wear at an angle that is perfect for that. Steady hand and no over-grinding! Remember there is very little thickness on this type of work in the first place.
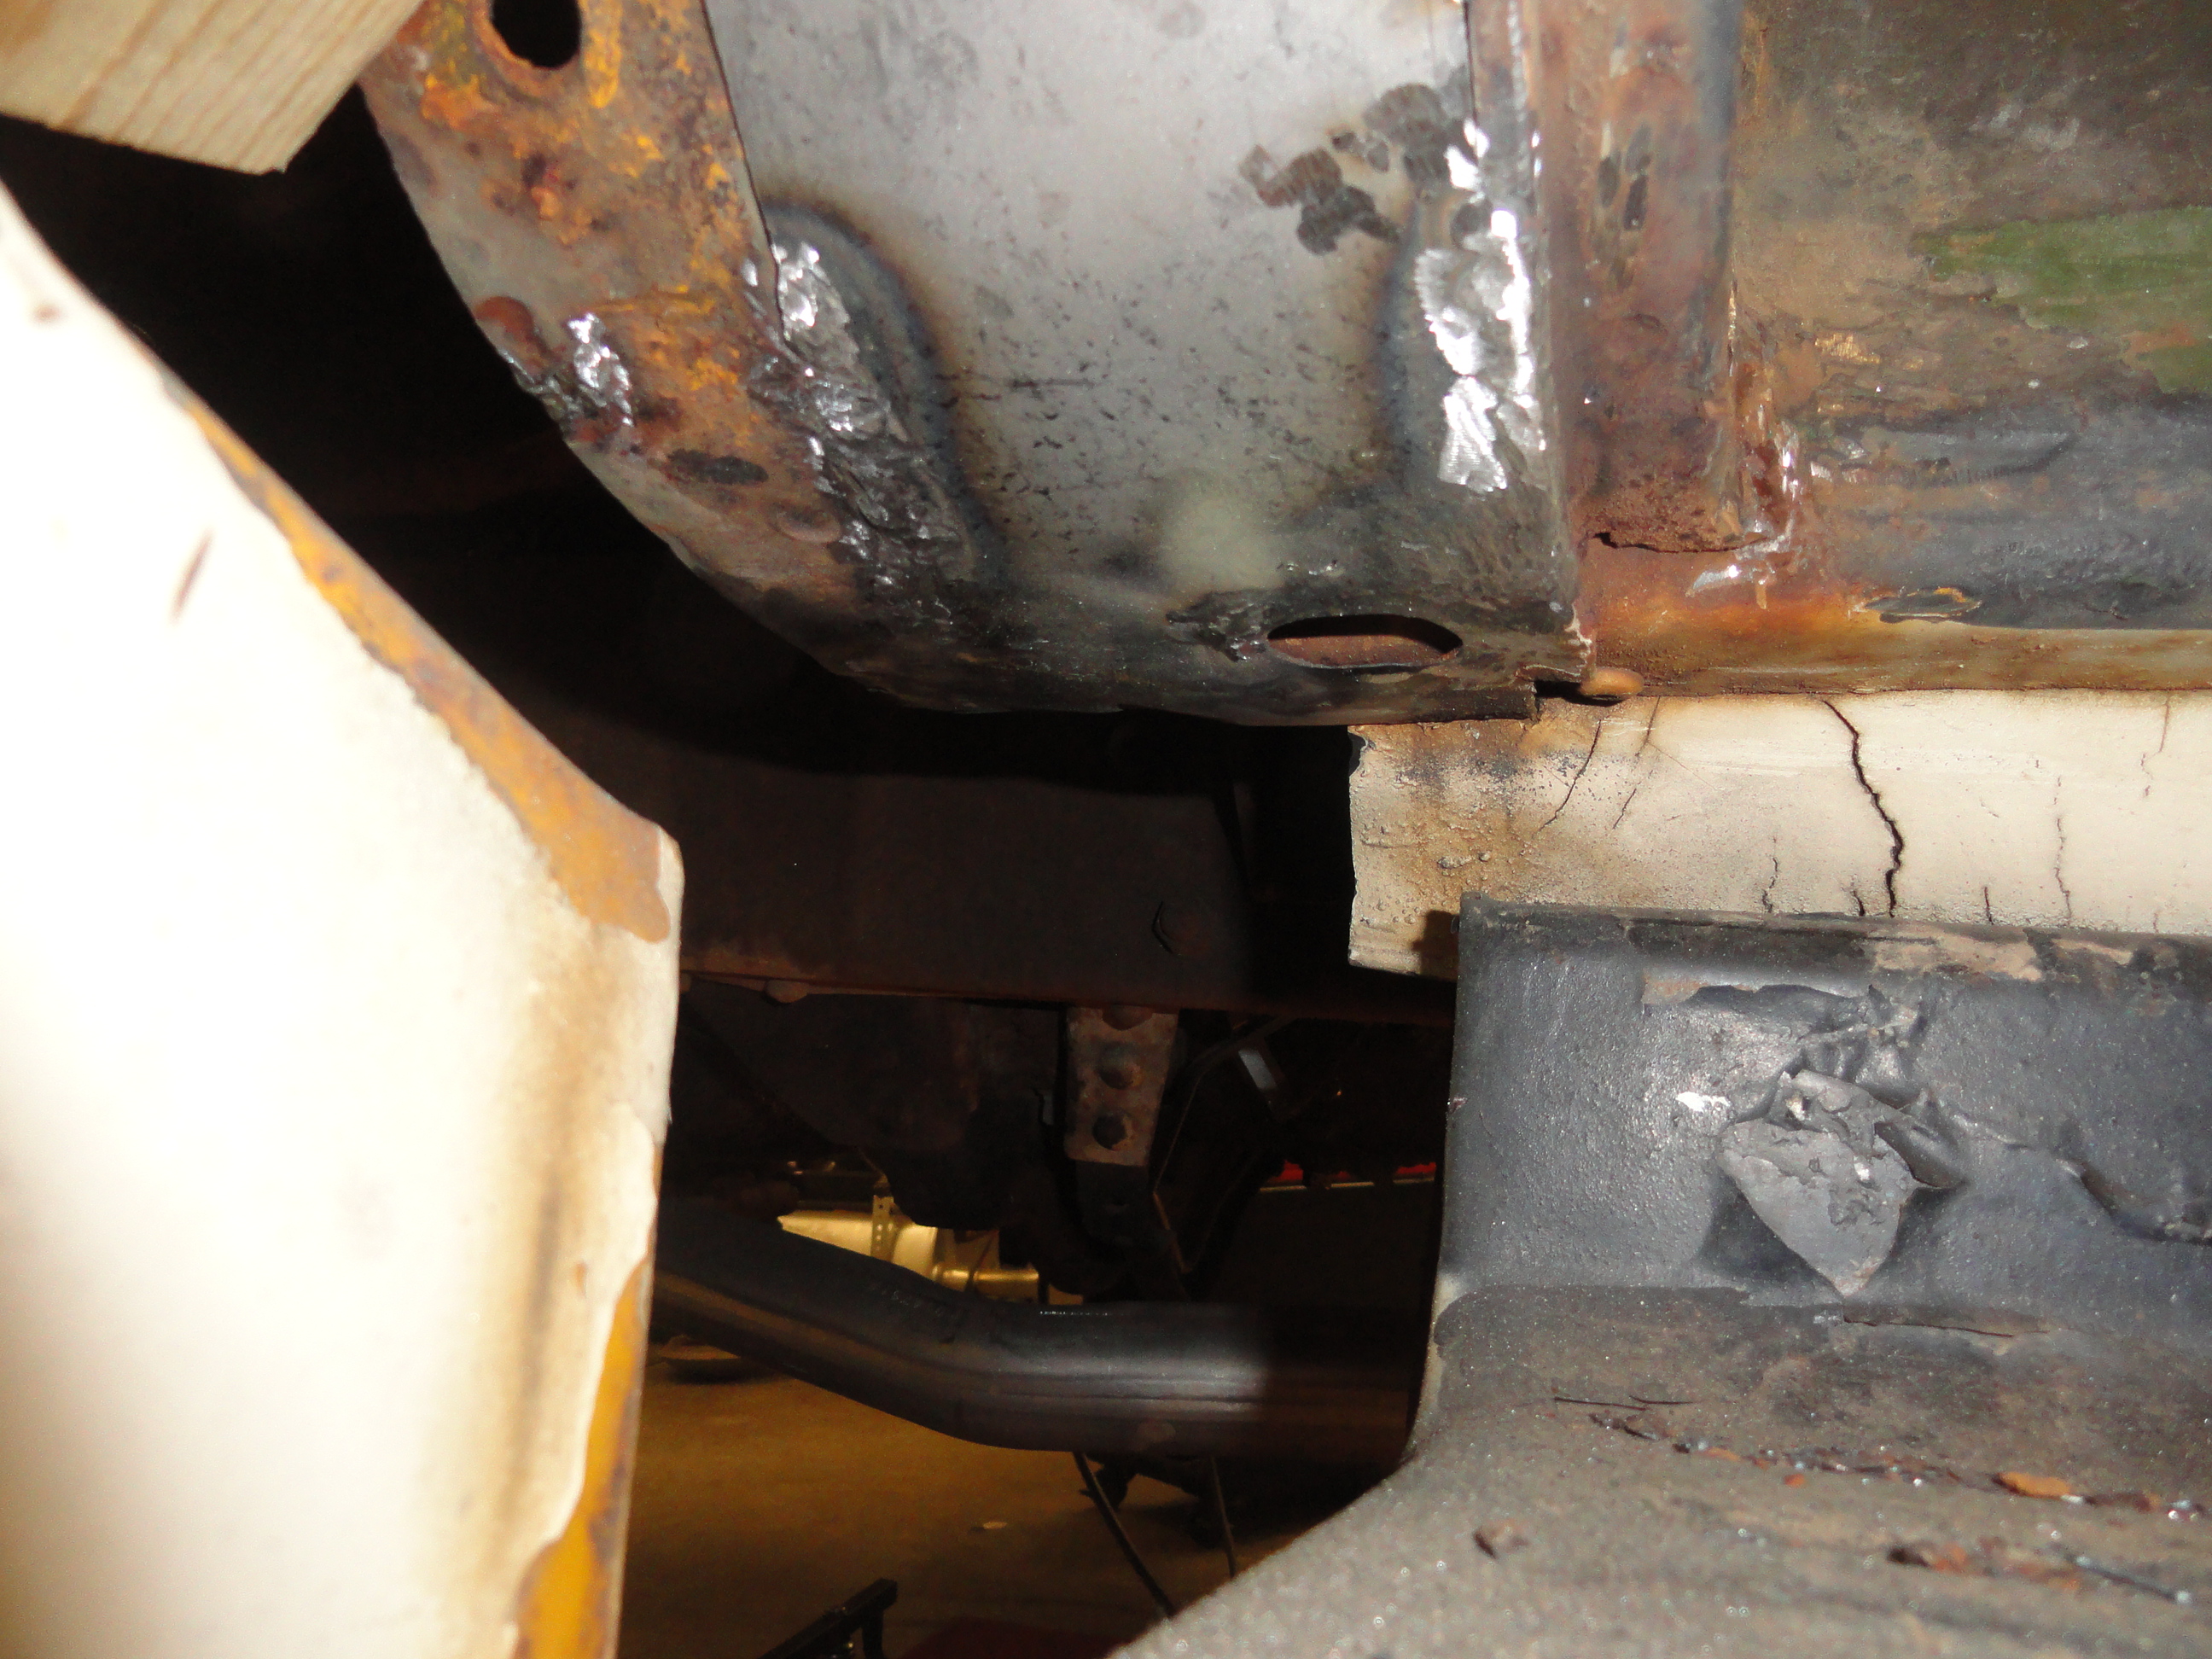
 Here is the complete install of that piece. I could have done better camera work. The thing that makes this patch different is the visibility. It is common practice once you are done with a patch like this to swipe a skim coat of body filler on the work, then shape the piece to match the rest of the area. I use Rage Gold for this and it is the best filler I have ever used for a job like this. The filler is mostly sanded off but it does fill in the small welding pocks and gives the area a finished appearance. I have not yet decided what I am going to do for a top coat, so I am leaving it this way and moving on for now.
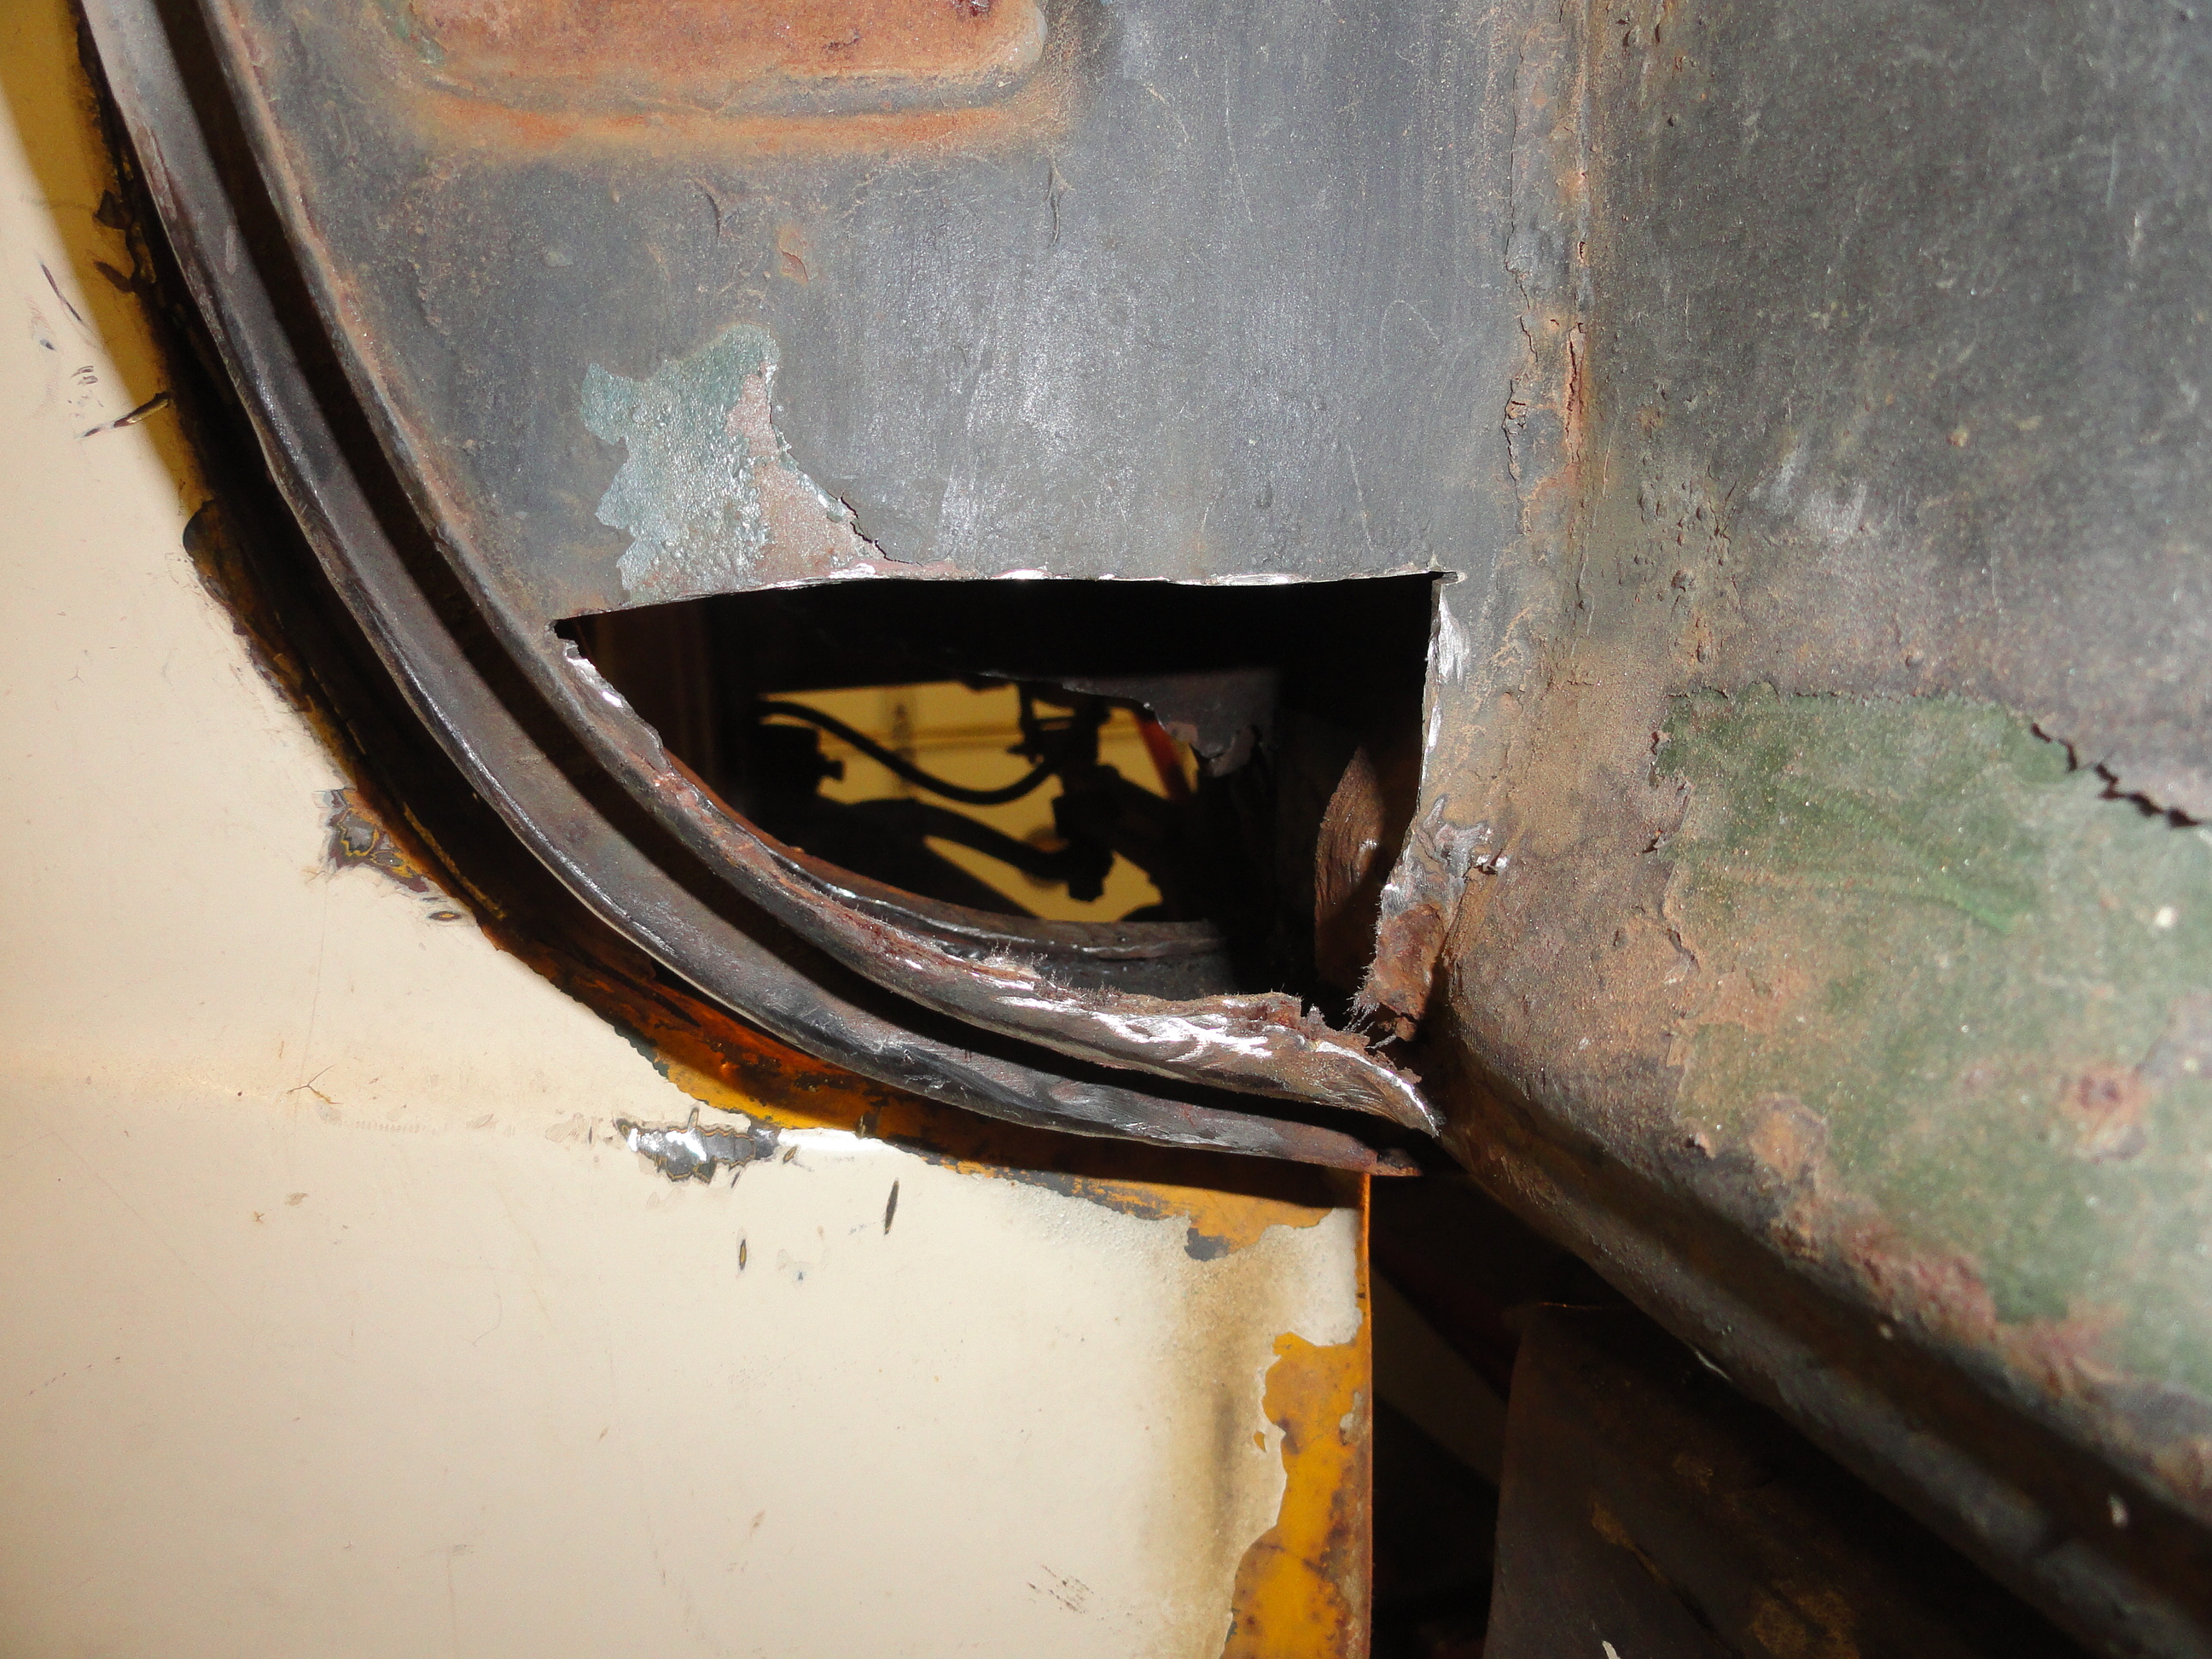
 There were holes all the way around this particular area. Nasty, large holes behind and on both sides. Since you get the Jest of how to patch these small panels I will not bore you with more of the same, but suffice it to say there was a good weeks worth of damage to fix just on the cowl and cowl supports. 10 years ago, this would not be a cab worth saving. But nowadays we have to work just a little harder to preserve that is out there. Before buttoning up an area, I use a rust preventer spray (Duplicolor Rust Fix) to primer all of the areas that I will not be able to get to once all the new patches are in place.
Note: In a perfect world, I would be taking the cab off the frame and sandblasting everything down to the bare metal. Once I determined what needed to be replaced, I would order the appropriate patch panels and start welding. In this case, we have a running vehicle that just needs to look nicer and last a bit longer before that sort of restoration. This is the level of work you do when it is not possible to do the job right. The owner is not complaining!
I will stop here for this week because of a full schedule, but stay tuned! I have to do a complete restoration of the door hinges and finish the Driver's side. Seeya Next Week!