


 Welcome to Deves Technet.com Forums. I encourage everyone to register so we can get a better idea of the traffic and its usefulness. Please leave a word or two describing your stay and what we can do to make it more enjoyable. Thanks!
 Tweet
Tweet
When does a Carb need a Hat?
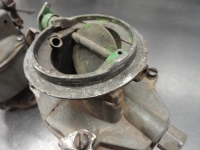
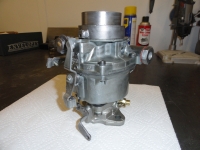 One of the small things we deal with when putting a Task Force series engine in an Advance Design series truck is the newer style Carburetors do not allow us to use our stock air cleaners. The old style air cleaner has a 2-1/4 inch diameter opening while the new style has a 2-3/4 inch diameter opening. But it is even further complicated because GM decided to change how the air cleaner is mounted. The old style clamps around the outer diameter of the carbs throat while the new style has a long stud that sticks out of the center of the throat for fastening to the carb. You could go with a newer style air cleaner, but what would the fun be in that? We need to make an adapter for the new style Carburetor! Welding is required...
Start with going to your local muffler shop and getting a short piece of 2.75 inch steel muffler pipe and another short piece of 2.25 inch muffler pipe. Then go to McMaster-Carr.com and get a Washer that has a 2.75 inch diameter like their 90126A041. It has a 1.5 inch ID so we will have some whittling to do to open it up to 2-3/16 inches, but it's the closest thing I could find. Then find a very small piece of 3/16" steel for reinforcing the two hold-downs. You can even use two square nuts filled with weld.
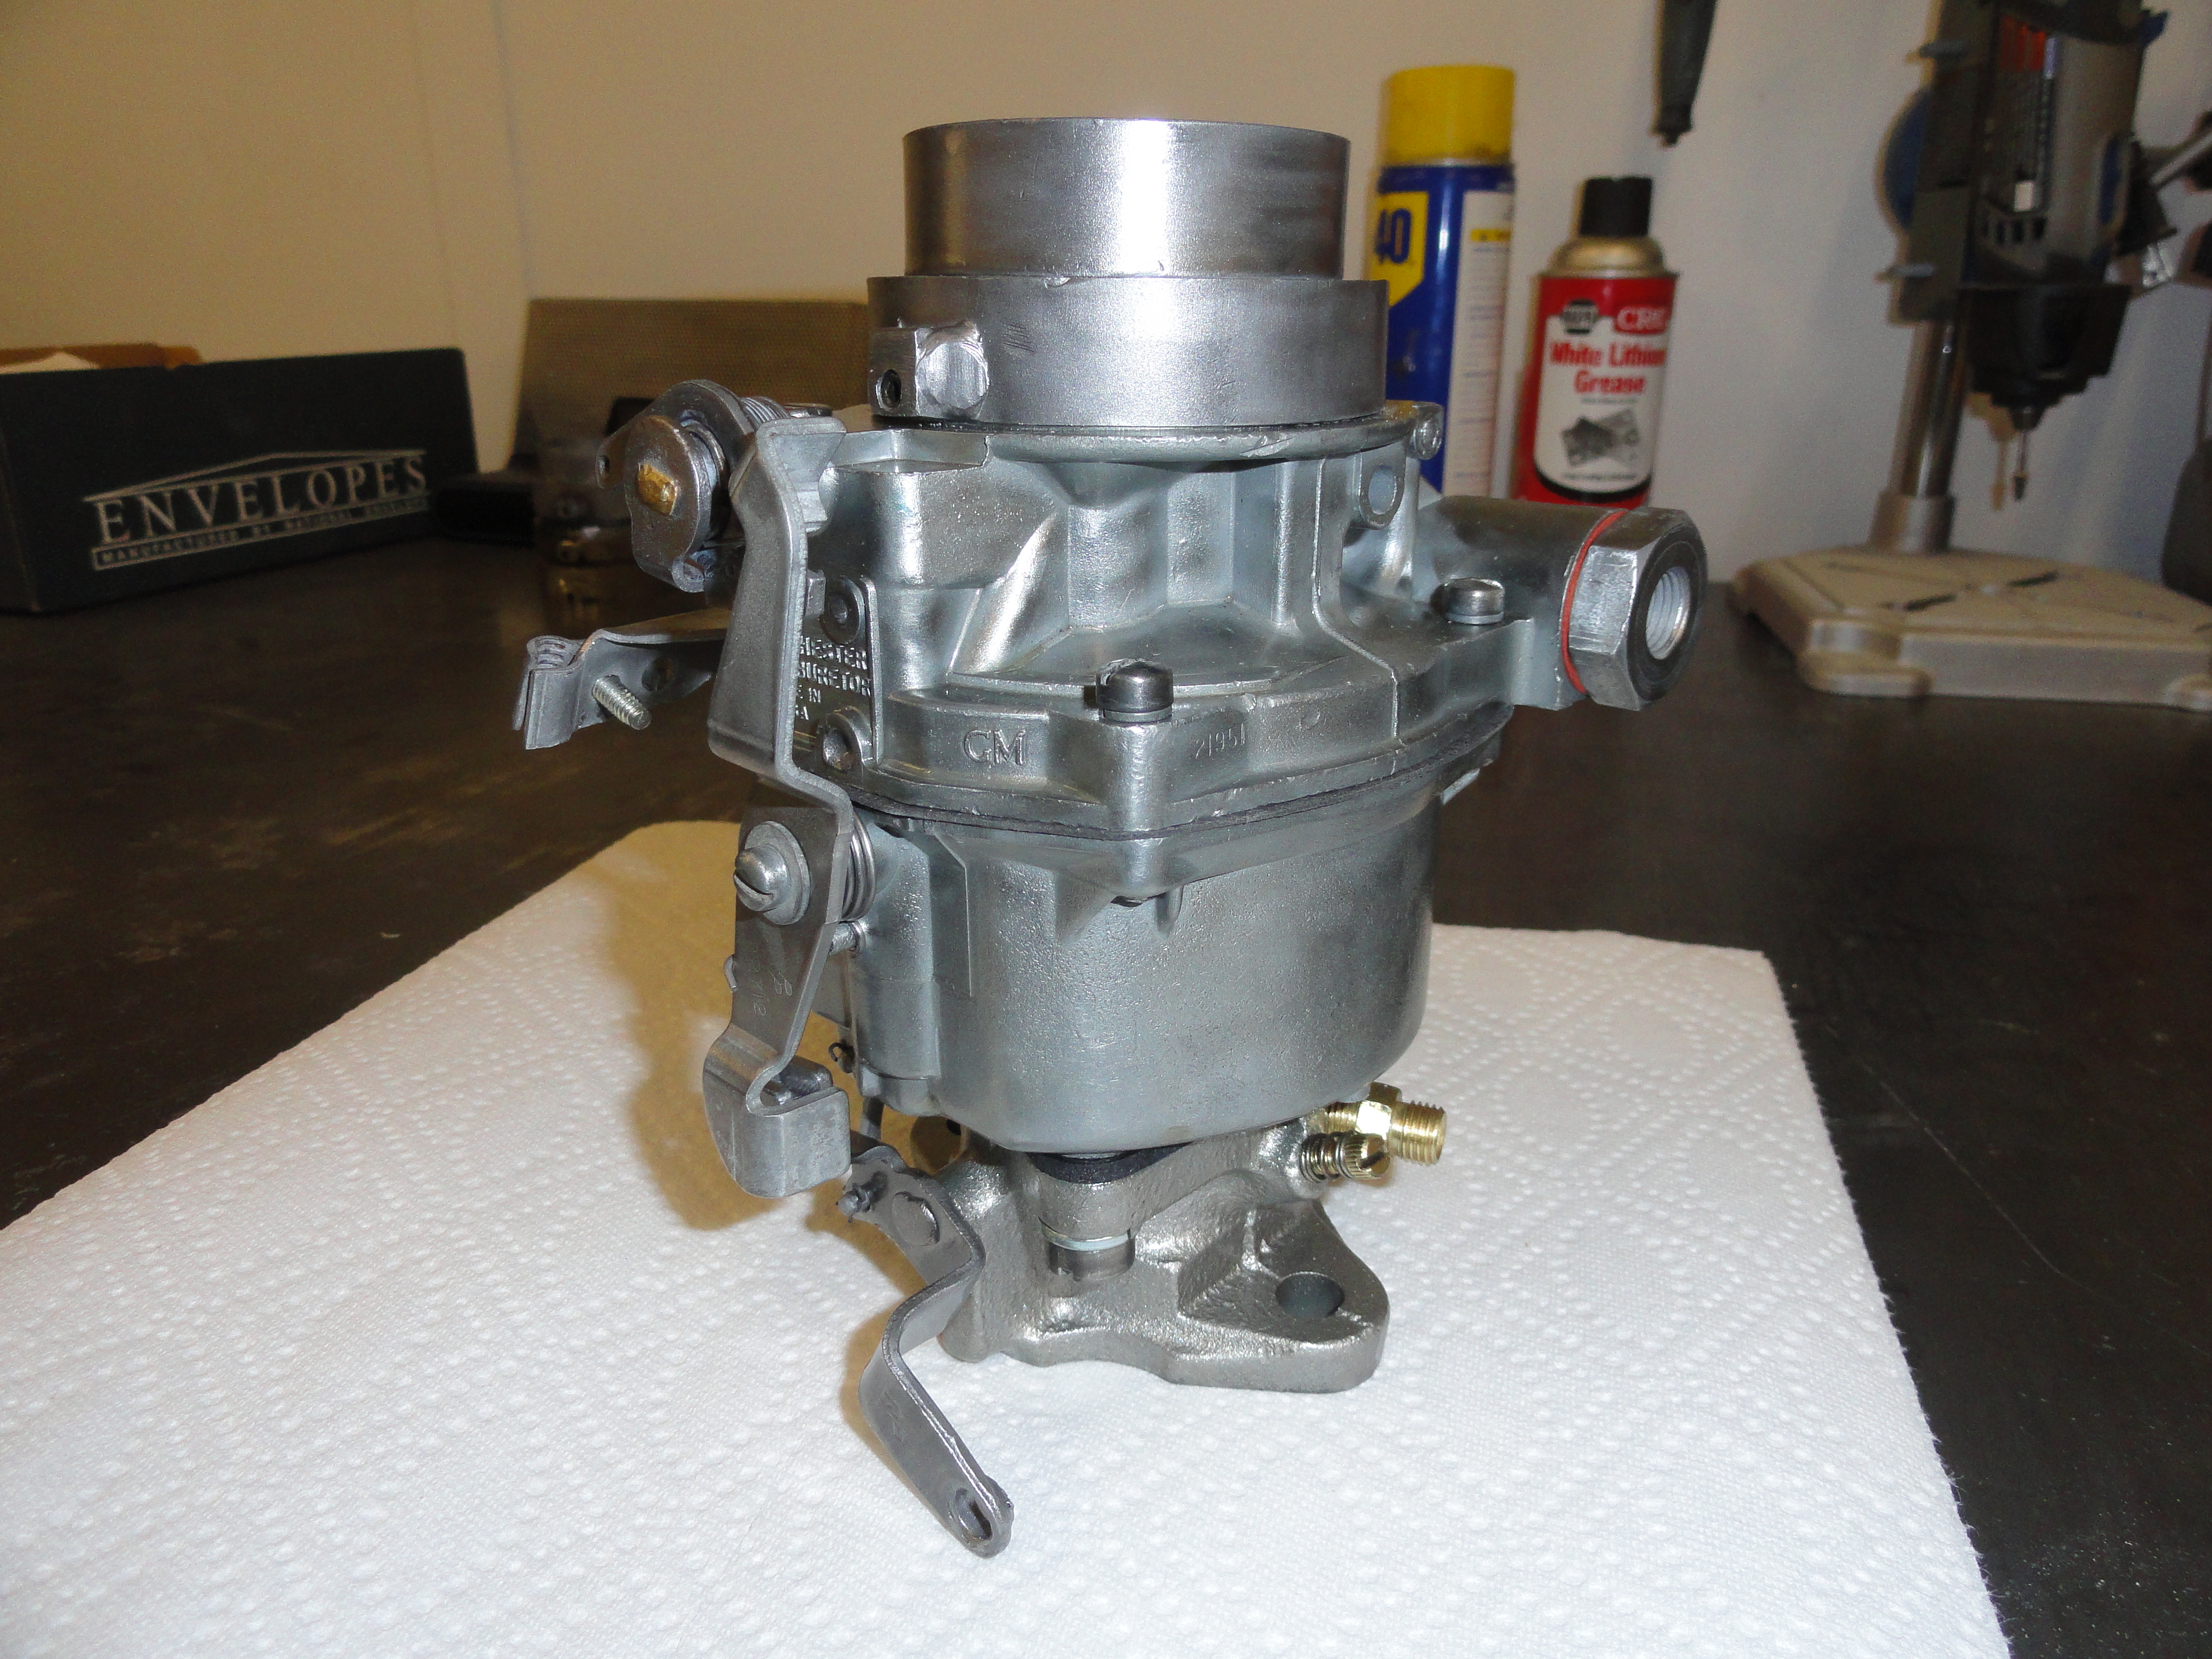
 Cut one piece of each size of muffler pipe to 5/8" each. To cut the two size rings to 5/8" I used a Makita 12 inch DryCut Saw. The hardest part is being careful where we weld this. You need a nice surface on the outside of the 2.25 inch for clamping. Let's start with the 2.75 inch piece. Grind off the seam weld and place it down on the Carburetor to ensure you have a nice tight fit. Mark where the allen screw hold-downs will be placed. They are not exactly across from each other so be sure to mark it carefully. You want the fattest part of the side of the throat to be where the allen screws touch. With it carefully marked, weld the two pieces of reinforcement (or square nuts) on the very bottom of the ring. We will secure this ring to the Carb with 5/16" Allen 8-32 Set Screws (1/4" long). With the reinforcement welded to the rings as shown, drill a #29 hole in the exact place you want the hold-downs to touch the Carb. Tap to 8-32 and insert the Allen Set Screws, then test fit the ring on the Carb. It will be a tight fit, so back off the Allen screws so they do not interfere.
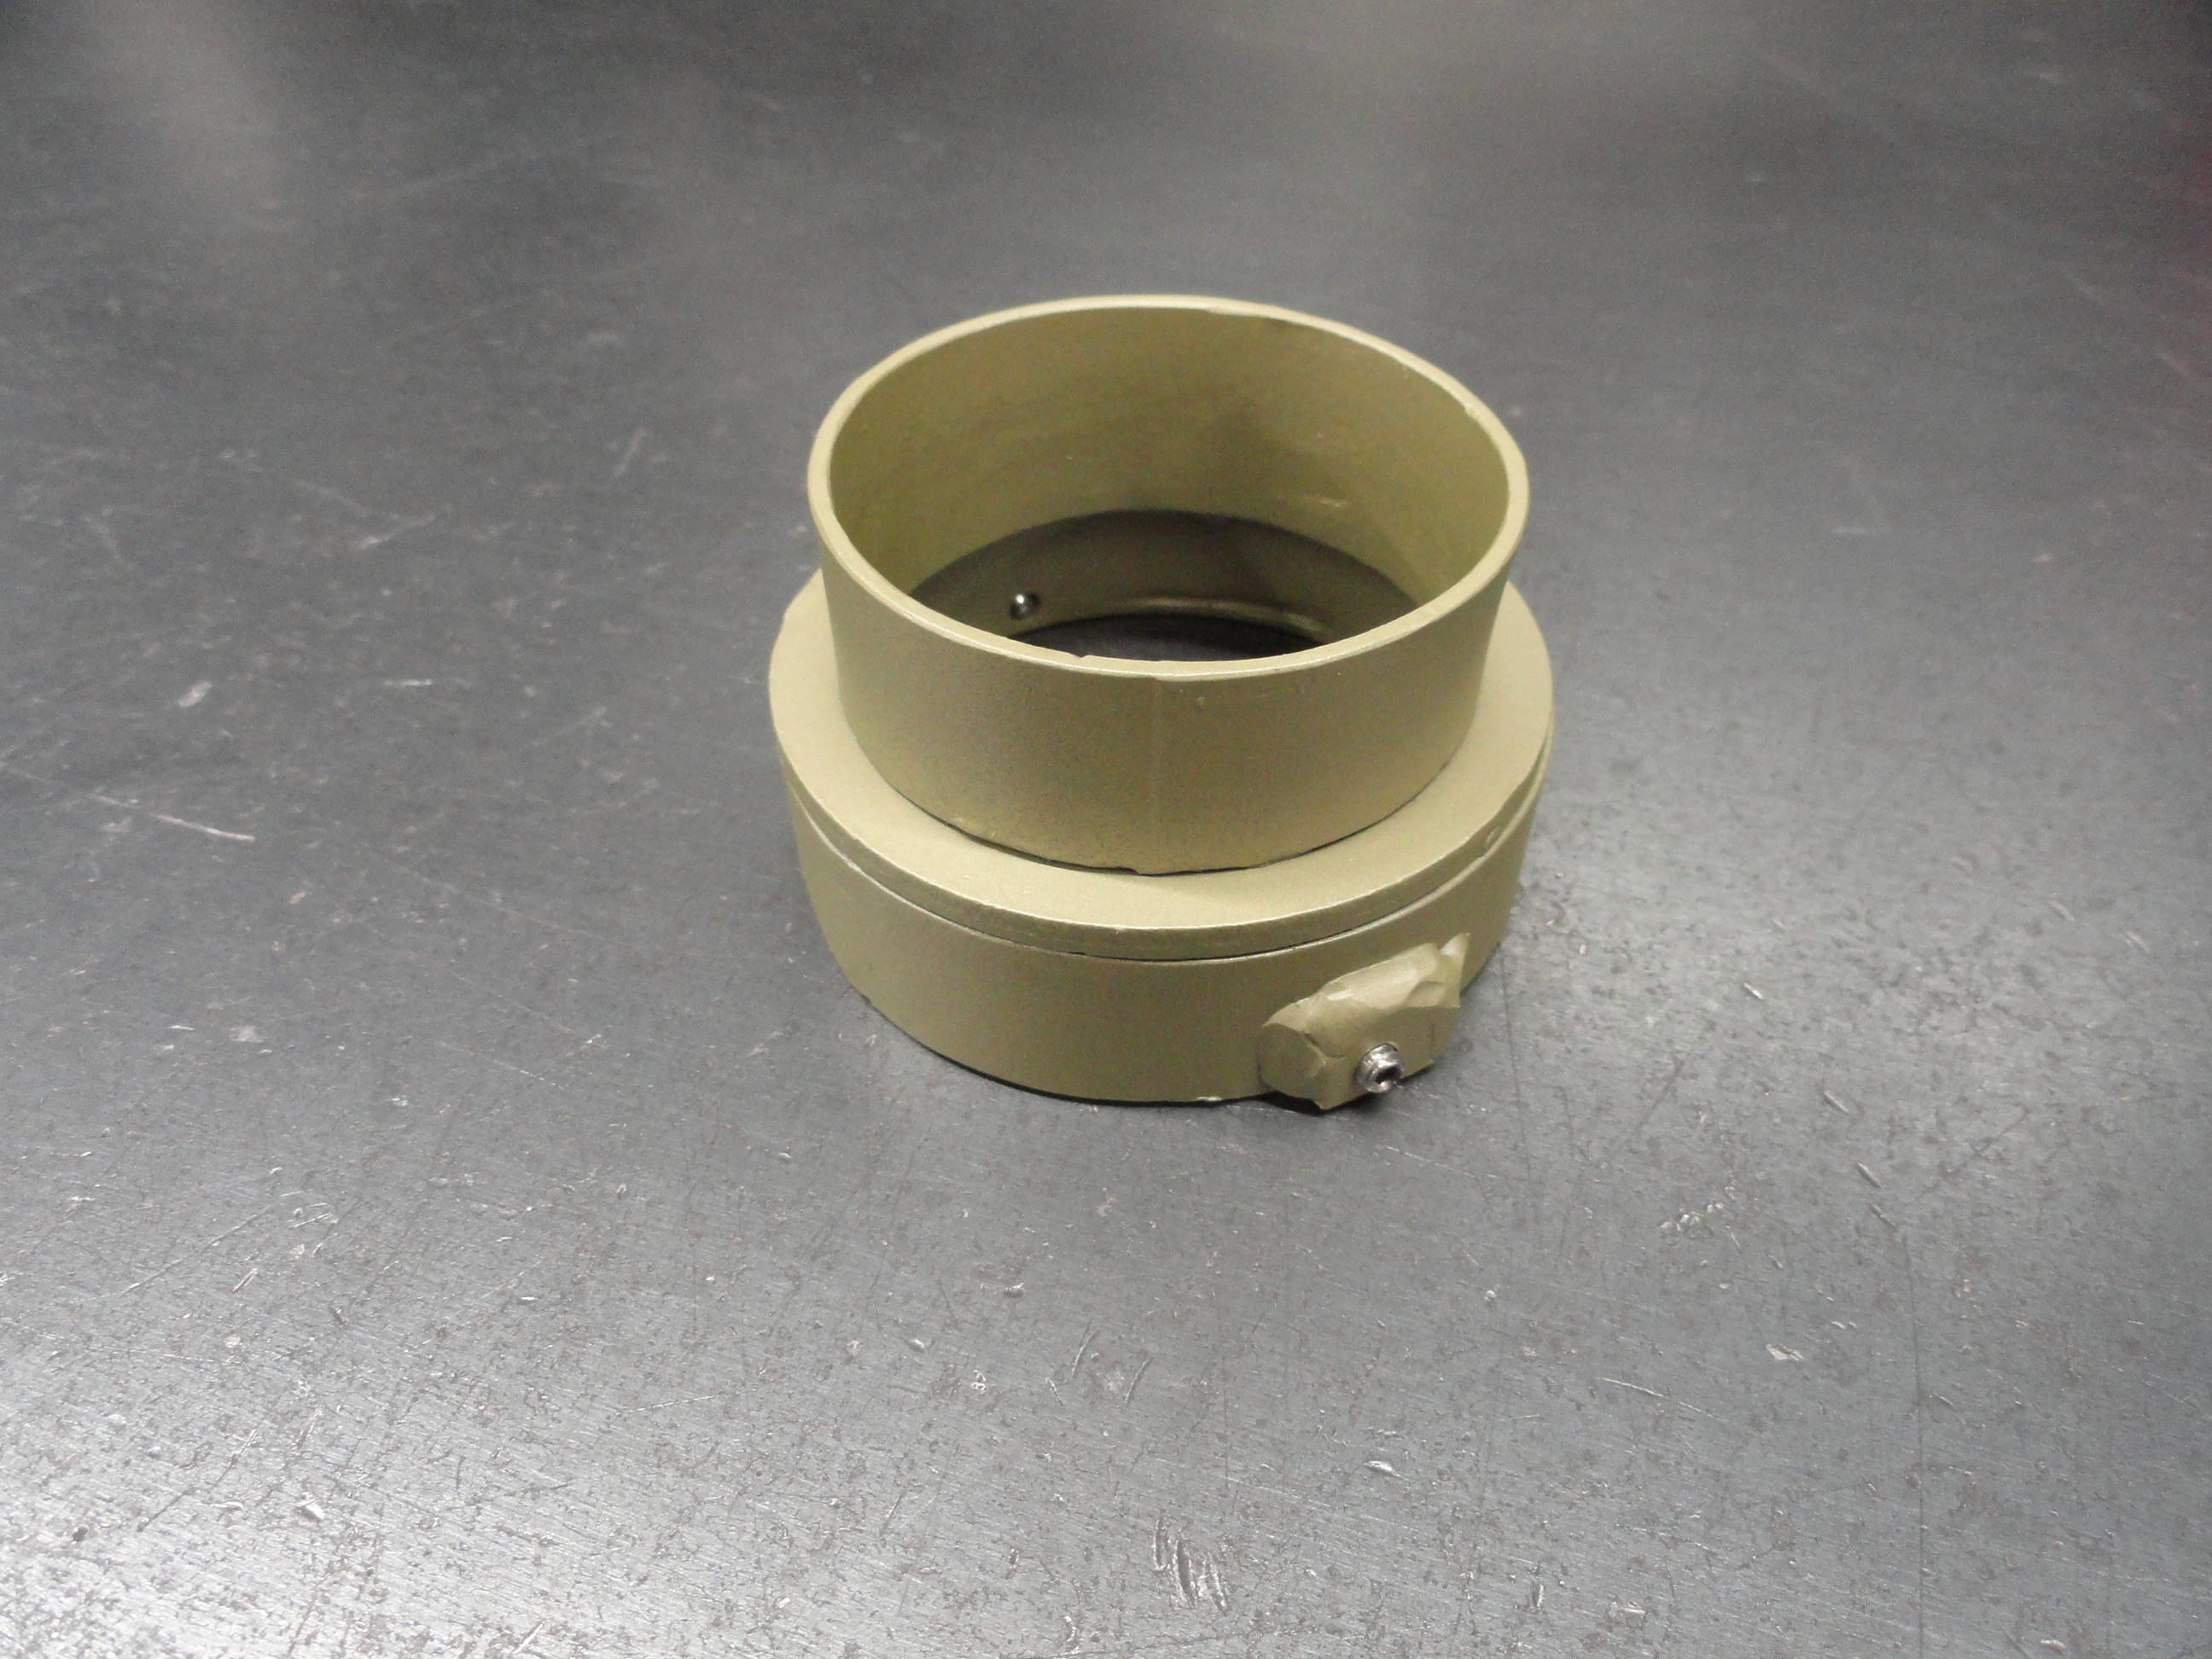
Once this bottom ring is prepped, set the washer on top of the bottom ring, turn it upside down, and weld it from the inside only. Keep the weld near the top so the weld does not interfere with mounting on the Carb. Slice the 2-1/4" one in half down the seam. Using your Air Filter Assembly, resize the smaller one to fit snugly inside the air cleaner with the adjustment bolt turned about halfway out. This should be very close to 2-1/4". Make a mark on this sleeve and after cutting to size, weld it closed again. Now set the top ring on the assembly and center it perfectly. I just eyeball it, but do whatever you feel comfortable with to get it exactly in the center, then tack it on the inside in just two places across from each other. There can be no weld on the outside since that is where the clamp for the air cleaner will go. Now for the FUN part... I used a 3 inch air rasp for this... Whittle away all of the inside washer meat so it is flush with the inside diameter of the 2.25 inch. Leave the welds in tact for now. Once you have everything else whittled smooth, turn the heat up a little on your welder and weld the inside so you have good penetration because you will be rasping the weld away again to smooth and you will want the 2.25 inch to stay put. Whittle away the rest of the inside original weld and weld everything up good then rasp away everything back to smooth.
I used a Dremel Tool with cutoff disc to clean up the weld spatter and smooth everything nicely, then sandblast everything, primer and paint to suit. I just used Eastwoods Carb Paint (Bronze) to finish the job. It is a simple as that! This is why I charge what I do for this little Gem on the Farm-It-Out page. It is not something that is easy to do with rudimentary tools. I like to remove that center bridge on the new style carb because it is no longer needed and inhibits air flow. The bridge is pinned in place and the pins are kind of hard to remove, but I felt the effort was worth it. When installing, be sure to use Loc-Tite RED on the Allen Setscrew threads. This Hat needs to stay on!

This is here to augment my http://devestechnet.com/Home/CarbAdapterPlans article. Each time I make a new batch of these, I find more streamlined ways to do things. I would encourage you garage weekend warriors to get a MIG welder with Gas and learn to weld. I was skeptical at first about it, but once I took the plunge I found all sorts of things that I could do myself to save tons of money in the long run. My MIG has paid for itself many times over. Seeya Next Week!
 One of the small things we deal with when putting a Task Force series engine in an Advance Design series truck is the newer style Carburetors do not allow us to use our stock air cleaners. The old style air cleaner has a 2-1/4 inch diameter opening while the new style has a 2-3/4 inch diameter opening. But it is even further complicated because GM decided to change how the air cleaner is mounted. The old style clamps around the outer diameter of the carbs throat while the new style has a long stud that sticks out of the center of the throat for fastening to the carb. You could go with a newer style air cleaner, but what would the fun be in that? We need to make an adapter for the new style Carburetor! Welding is required...
Start with going to your local muffler shop and getting a short piece of 2.75 inch steel muffler pipe and another short piece of 2.25 inch muffler pipe. Then go to McMaster-Carr.com and get a Washer that has a 2.75 inch diameter like their 90126A041. It has a 1.5 inch ID so we will have some whittling to do to open it up to 2-3/16 inches, but it's the closest thing I could find. Then find a very small piece of 3/16" steel for reinforcing the two hold-downs. You can even use two square nuts filled with weld.
 Cut one piece of each size of muffler pipe to 5/8" each. To cut the two size rings to 5/8" I used a Makita 12 inch DryCut Saw. The hardest part is being careful where we weld this. You need a nice surface on the outside of the 2.25 inch for clamping. Let's start with the 2.75 inch piece. Grind off the seam weld and place it down on the Carburetor to ensure you have a nice tight fit. Mark where the allen screw hold-downs will be placed. They are not exactly across from each other so be sure to mark it carefully. You want the fattest part of the side of the throat to be where the allen screws touch. With it carefully marked, weld the two pieces of reinforcement (or square nuts) on the very bottom of the ring. We will secure this ring to the Carb with 5/16" Allen 8-32 Set Screws (1/4" long). With the reinforcement welded to the rings as shown, drill a #29 hole in the exact place you want the hold-downs to touch the Carb. Tap to 8-32 and insert the Allen Set Screws, then test fit the ring on the Carb. It will be a tight fit, so back off the Allen screws so they do not interfere.
Once this bottom ring is prepped, set the washer on top of the bottom ring, turn it upside down, and weld it from the inside only. Keep the weld near the top so the weld does not interfere with mounting on the Carb. Slice the 2-1/4" one in half down the seam. Using your Air Filter Assembly, resize the smaller one to fit snugly inside the air cleaner with the adjustment bolt turned about halfway out. This should be very close to 2-1/4". Make a mark on this sleeve and after cutting to size, weld it closed again. Now set the top ring on the assembly and center it perfectly. I just eyeball it, but do whatever you feel comfortable with to get it exactly in the center, then tack it on the inside in just two places across from each other. There can be no weld on the outside since that is where the clamp for the air cleaner will go. Now for the FUN part... I used a 3 inch air rasp for this... Whittle away all of the inside washer meat so it is flush with the inside diameter of the 2.25 inch. Leave the welds in tact for now. Once you have everything else whittled smooth, turn the heat up a little on your welder and weld the inside so you have good penetration because you will be rasping the weld away again to smooth and you will want the 2.25 inch to stay put. Whittle away the rest of the inside original weld and weld everything up good then rasp away everything back to smooth.

I used a Dremel Tool with cutoff disc to clean up the weld spatter and smooth everything nicely, then sandblast everything, primer and paint to suit. I just used Eastwoods Carb Paint (Bronze) to finish the job. It is a simple as that! This is why I charge what I do for this little Gem on the Farm-It-Out page. It is not something that is easy to do with rudimentary tools. I like to remove that center bridge on the new style carb because it is no longer needed and inhibits air flow. The bridge is pinned in place and the pins are kind of hard to remove, but I felt the effort was worth it. When installing, be sure to use Loc-Tite RED on the Allen Setscrew threads. This Hat needs to stay on!
This is here to augment my http://devestechnet.com/Home/CarbAdapterPlans article. Each time I make a new batch of these, I find more streamlined ways to do things. I would encourage you garage weekend warriors to get a MIG welder with Gas and learn to weld. I was skeptical at first about it, but once I took the plunge I found all sorts of things that I could do myself to save tons of money in the long run. My MIG has paid for itself many times over. Seeya Next Week!