


 Welcome to Deves Technet.com Forums. I encourage everyone to register so we can get a better idea of the traffic and its usefulness. Please leave a word or two describing your stay and what we can do to make it more enjoyable. Thanks!
 Tweet
Tweet
This week we will go back and revisit a few functions of the Multimeter we haven't covered yet. It is nice to have a meter that reads Amperage as well as Ohms and Volts. Some meters such as the 17B or older 189 have a 10 amp maximum lead connection to allow you to use your meter as an Amp Meter. Of course 10 amps is your absolute maximum that you can measure. Unless you are proficient at changing fuses inside the meter, do not measure anything until you are sure it's less than 10 amps.

 On our vintage vehicles, the Heater system will consume less than 5 Amps and that is one of the higher consuming parts of the system. Of course things like measuring the output of your Alternator is not a good idea, but for most everything else these Meters will do fine. There is an accessory for reading higher than 10 amps. It's the Fluke i410 Current Clamp. This goes beyond the DIY aspects of the conversation, so we won't go there. To connect the 17B or 189 to read Amps, you need to place the meter leads in the correct positions. It's also important to understand reading Amps whether in your car or using a test meter is a Serial activity. You are measuring only the Positive side of the system, placing the black lead on one side of the connection and the red lead on the other end of the same wire with the meter in between. In other words the voltage flows through the meter to measure Amperage. It is always a good idea to know the approximate current that will be consumed by all the devices in your system.
Troubleshooting is what we have been doing during this entire conversation. You have learned how to read Volts, Amps and Ohms. Ohms is your resistance setting. A straight through wire has very low resistance so setting it to check wires would be the Continuity setting (it beeps at you to tell you of a dead short). Sometimes you do not get what you expect. If you are checking a wire and it does not beep at you, one of three things is happening. A) You are on the wrong wire. B) You have found a broken wire. C) The wire is corroded and is more resistive than your Continuity setting. In that case set the meter to read Ohms and it will tell you the exact ohm reading.
You want to be careful before panicking over getting something you do not expect to see if your wire is not connected to another wire that has a device attached to it. Sometimes you get very screwy readings with devices attached so to properly check your wires, disconnect both ends first. I realize this is a very quick overview and strongly suggest reading the manual that came with your Meter as well as searching online learning sources. There are many.
Next week we will go a little further off the reservation and investigate a way to make an electronic Thermometer used to test the temperatures of the engine and water system. This is useful because it will be an example of a sensor we can use to trigger an over-temp alarm. Sure you can just pull out your trusty IR Thermometer, and we will do that to test our new Electronic Thermometer!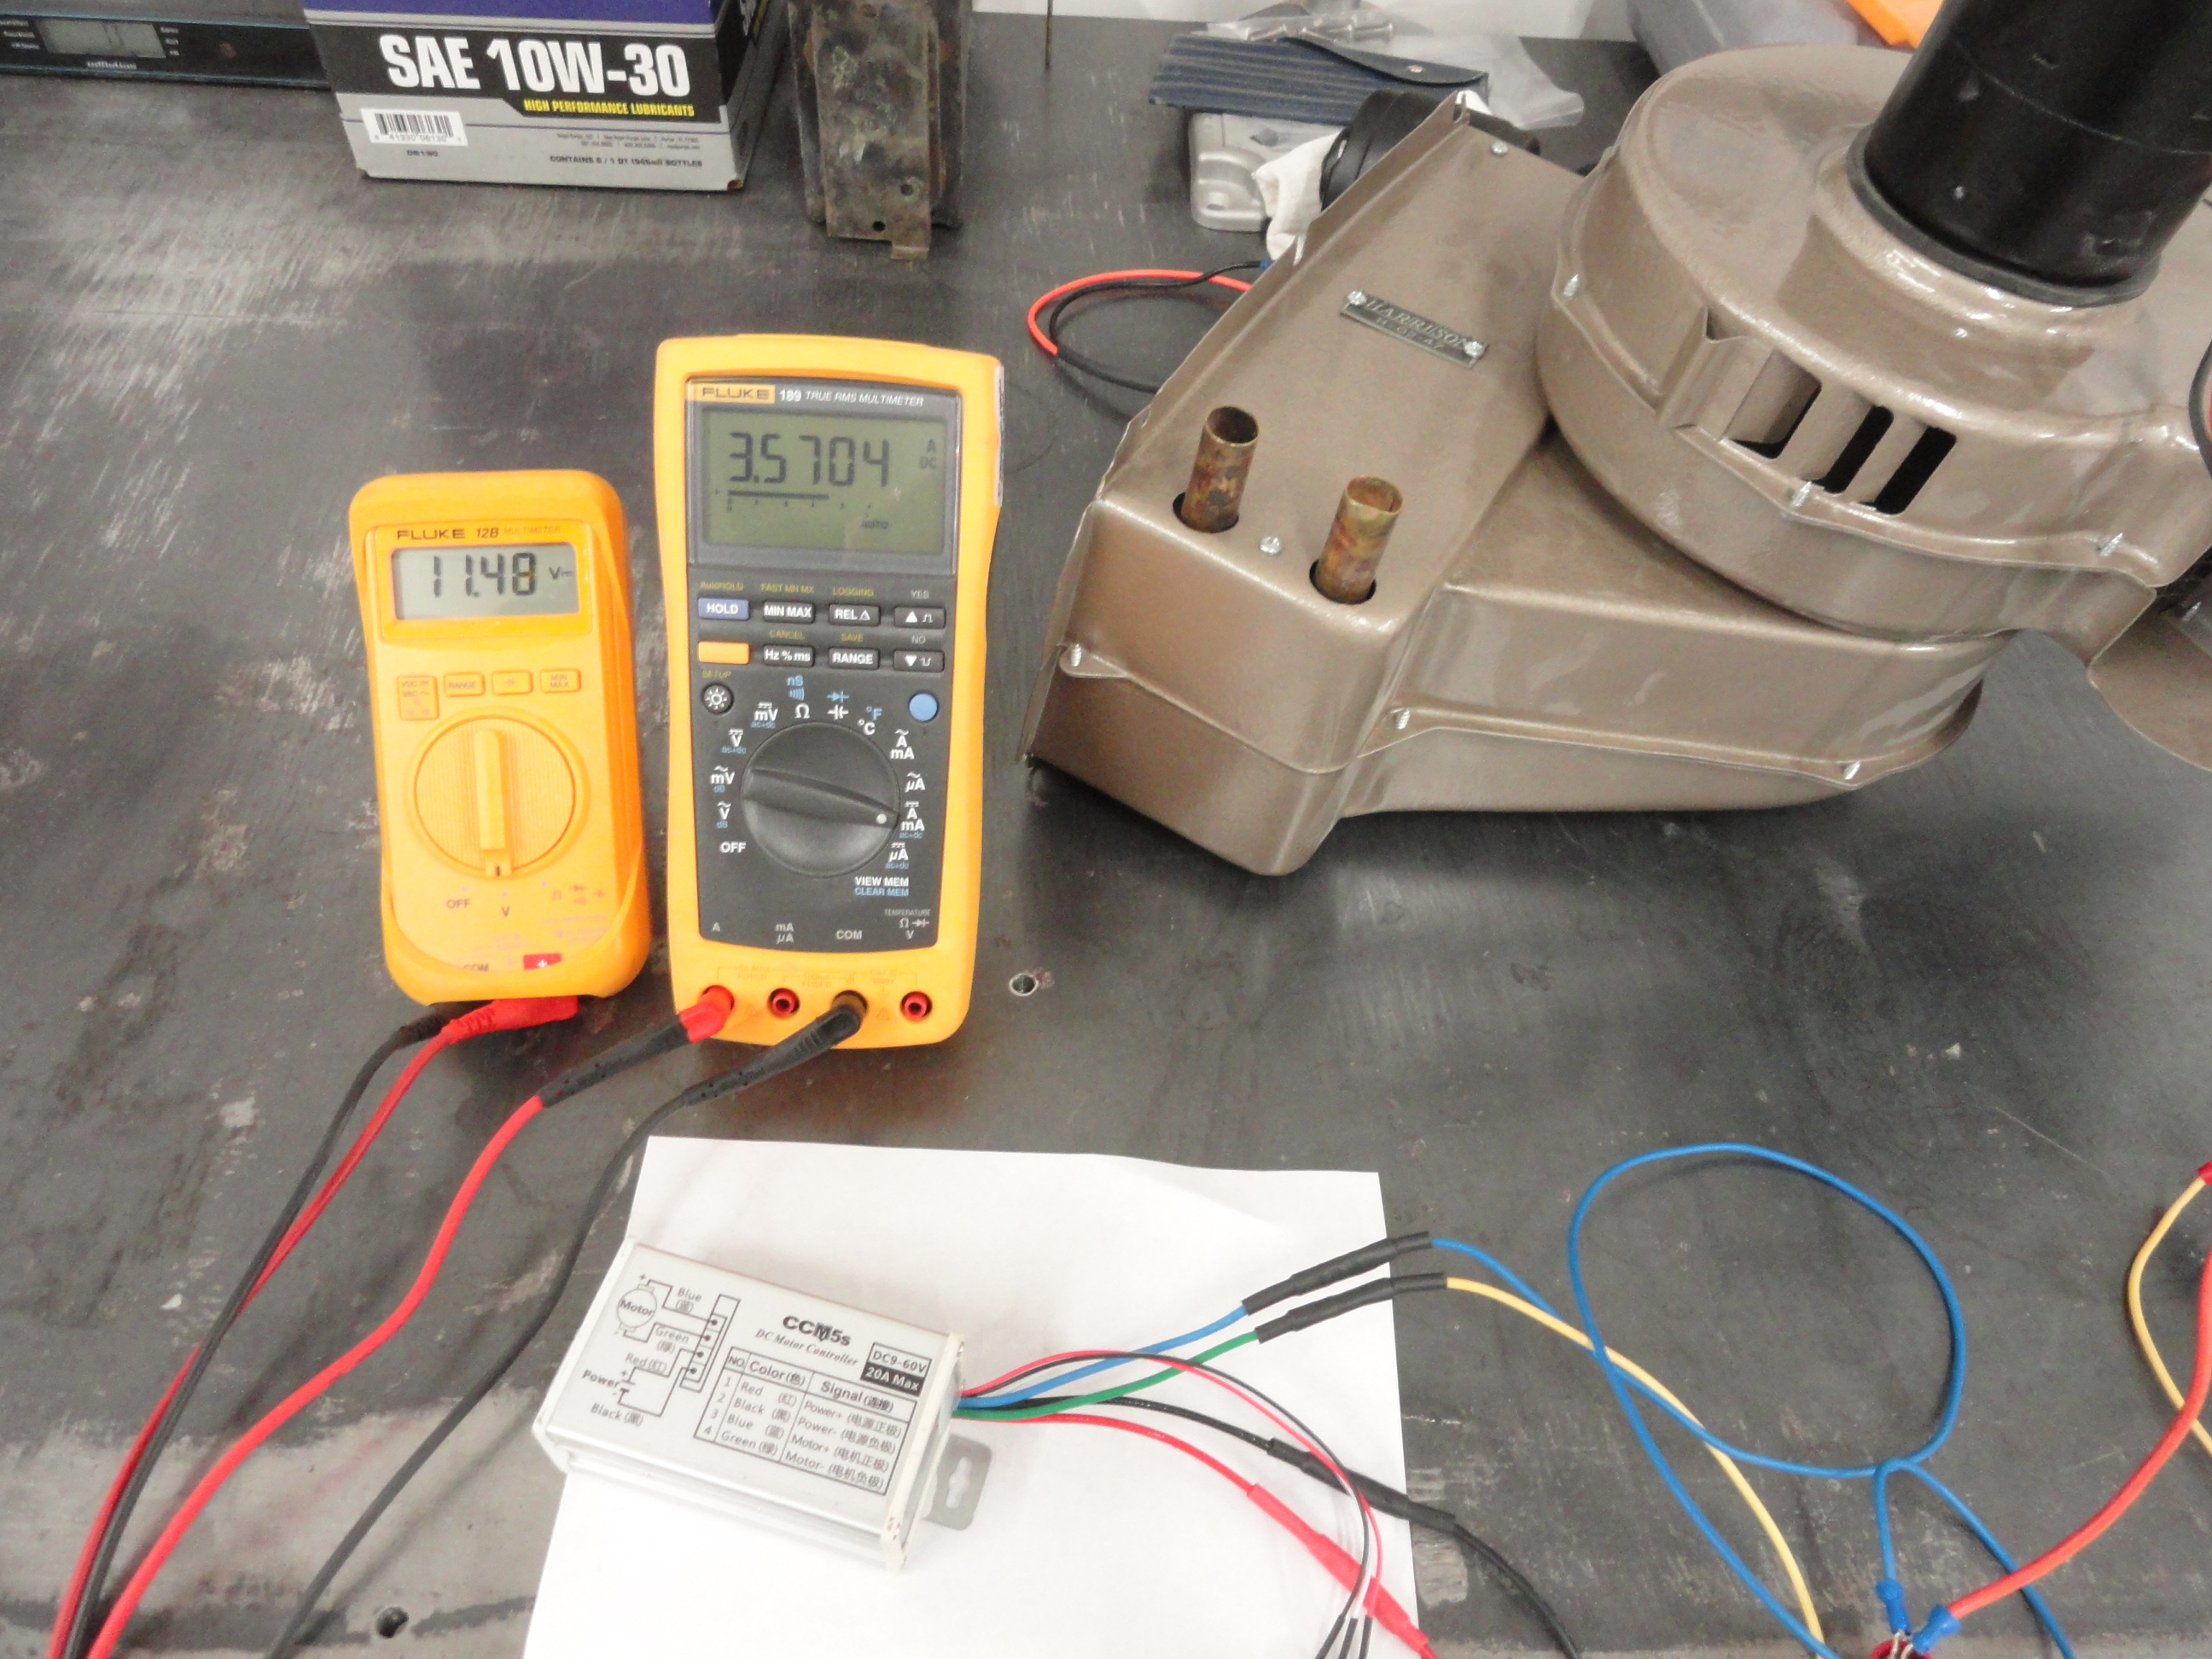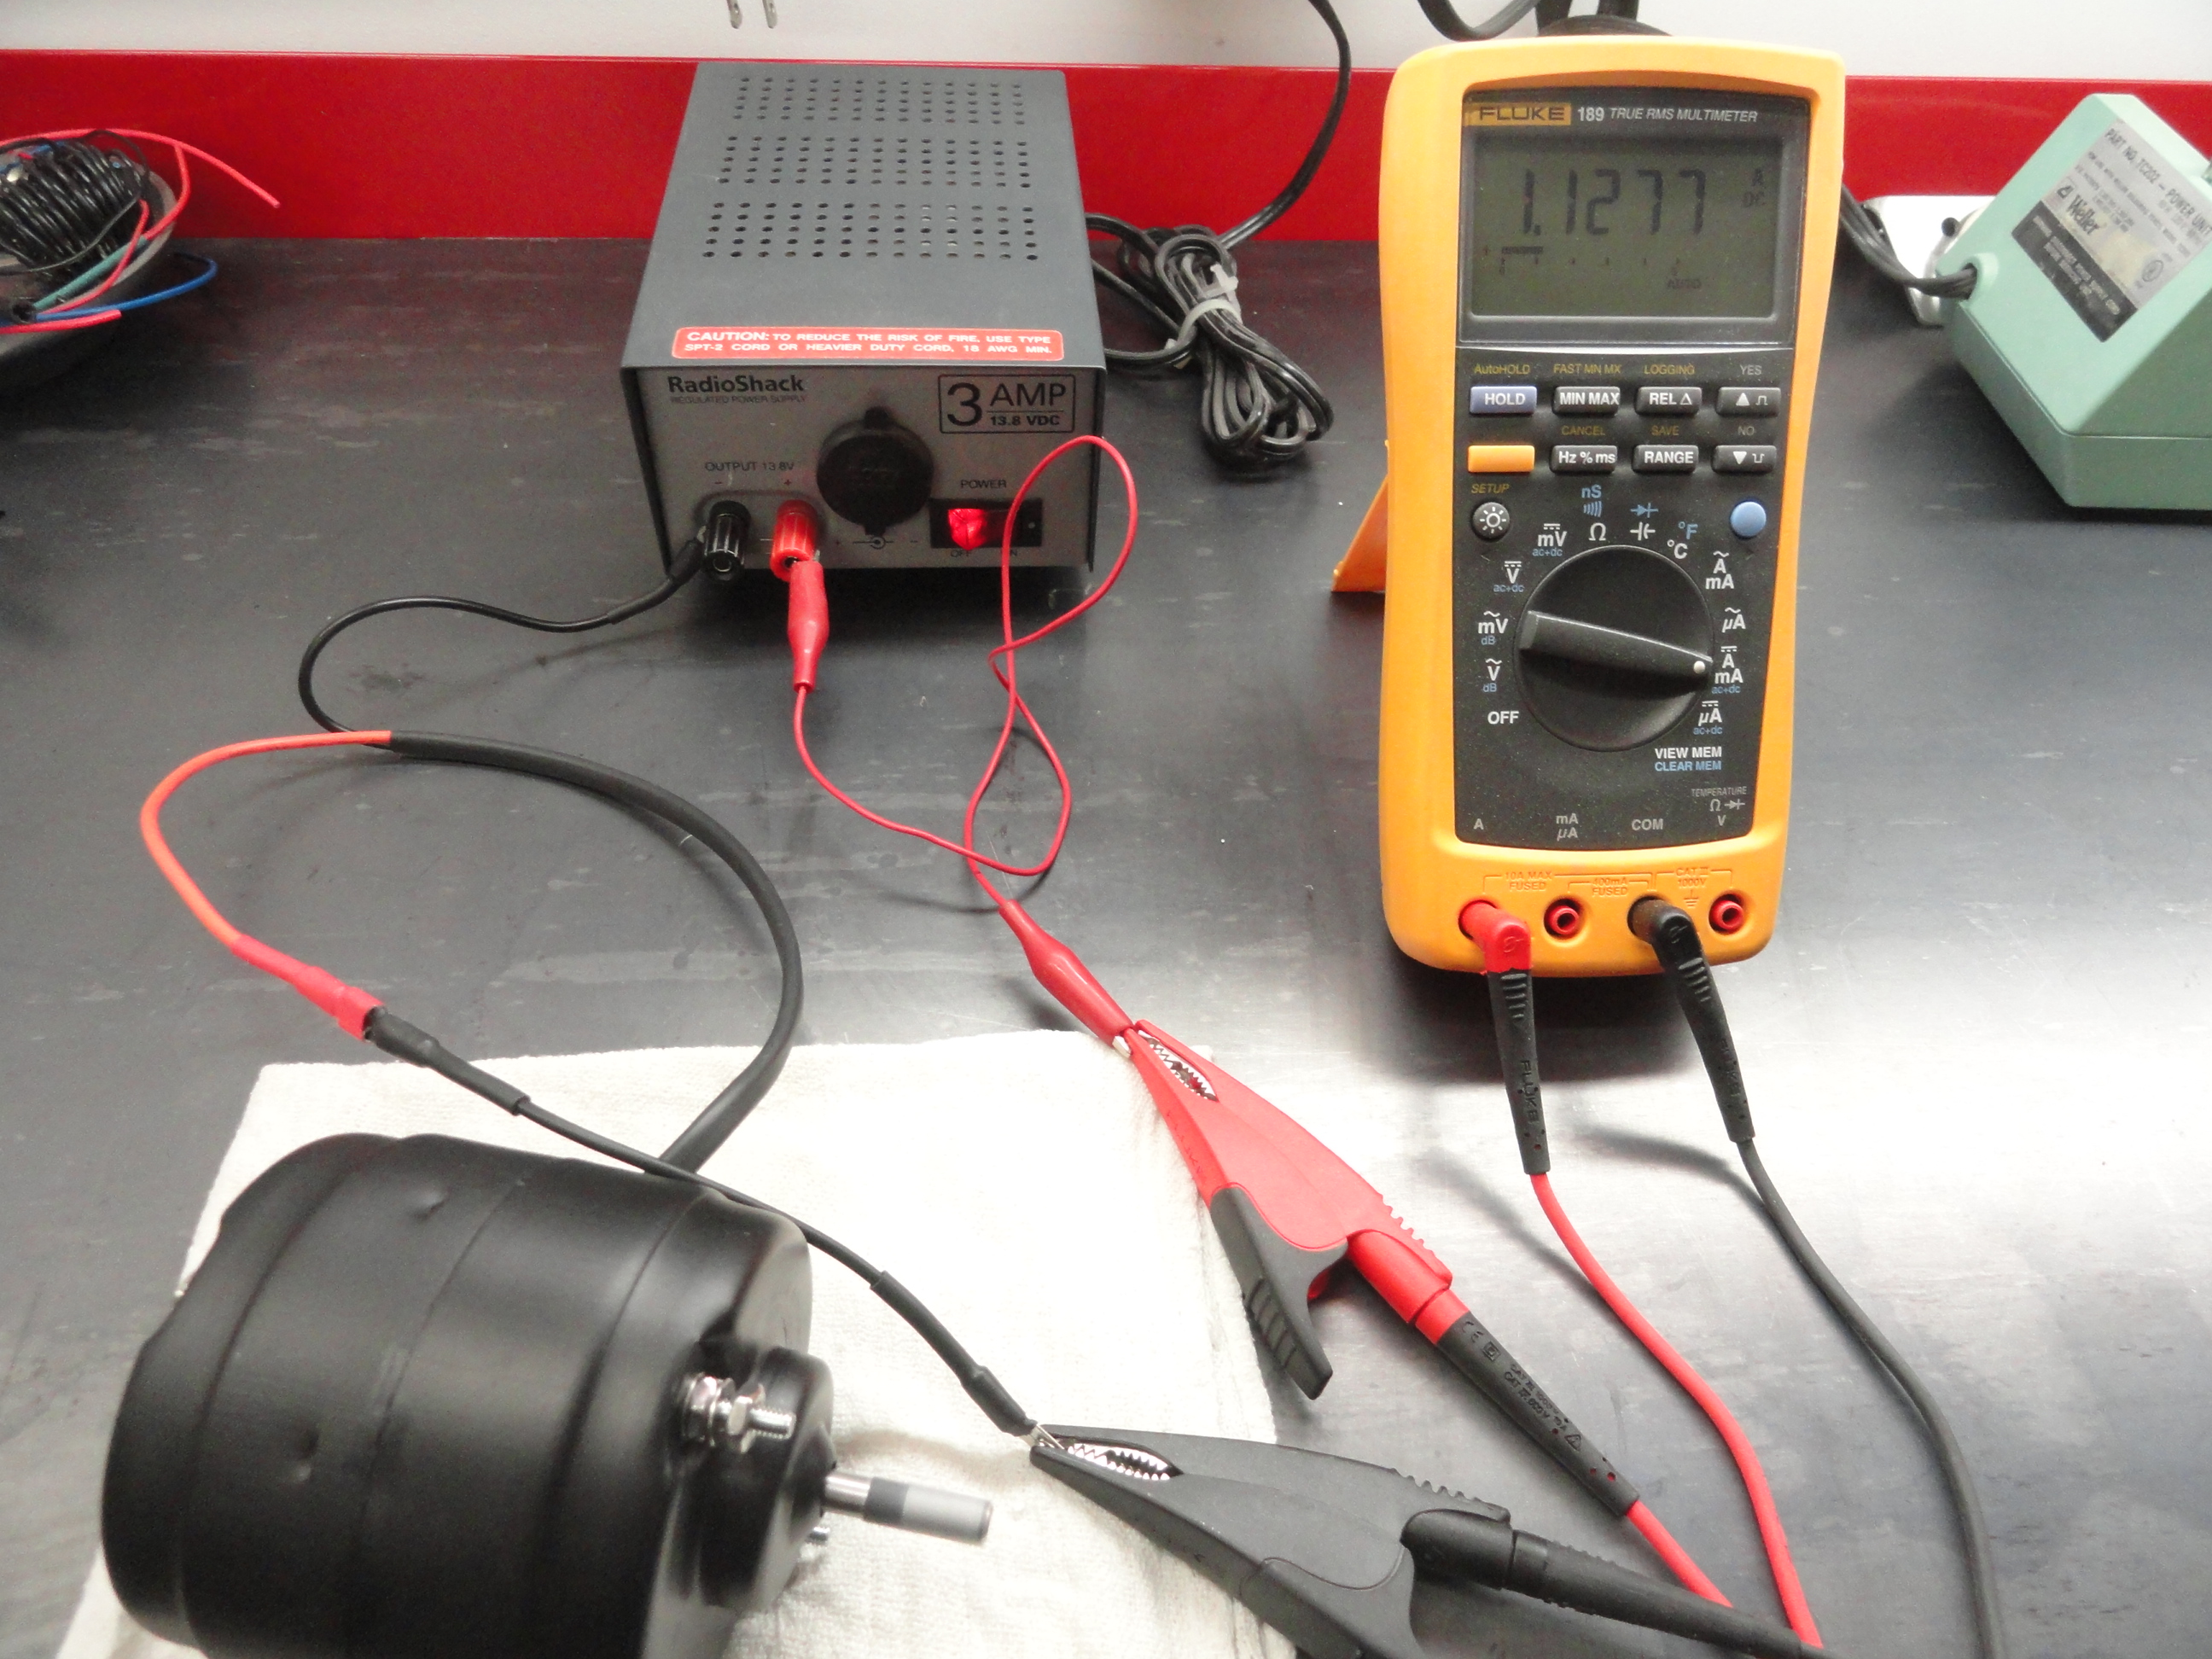