


 Welcome to Deves Technet.com Forums. I encourage everyone to register so we can get a better idea of the traffic and its usefulness. Please leave a word or two describing your stay and what we can do to make it more enjoyable. Thanks!
 Tweet
Tweet
Replacing the Wiring Harness in a 1953 3100 (Part 1):
 To be more exact, it's more like a total refurb of the entire electrical system. To my way of thinking, it just makes no sense to change out the harness without taking a close look at everything that is associated. There is more to this than I previously thought, but nothing insurmountable. A little about the truck...
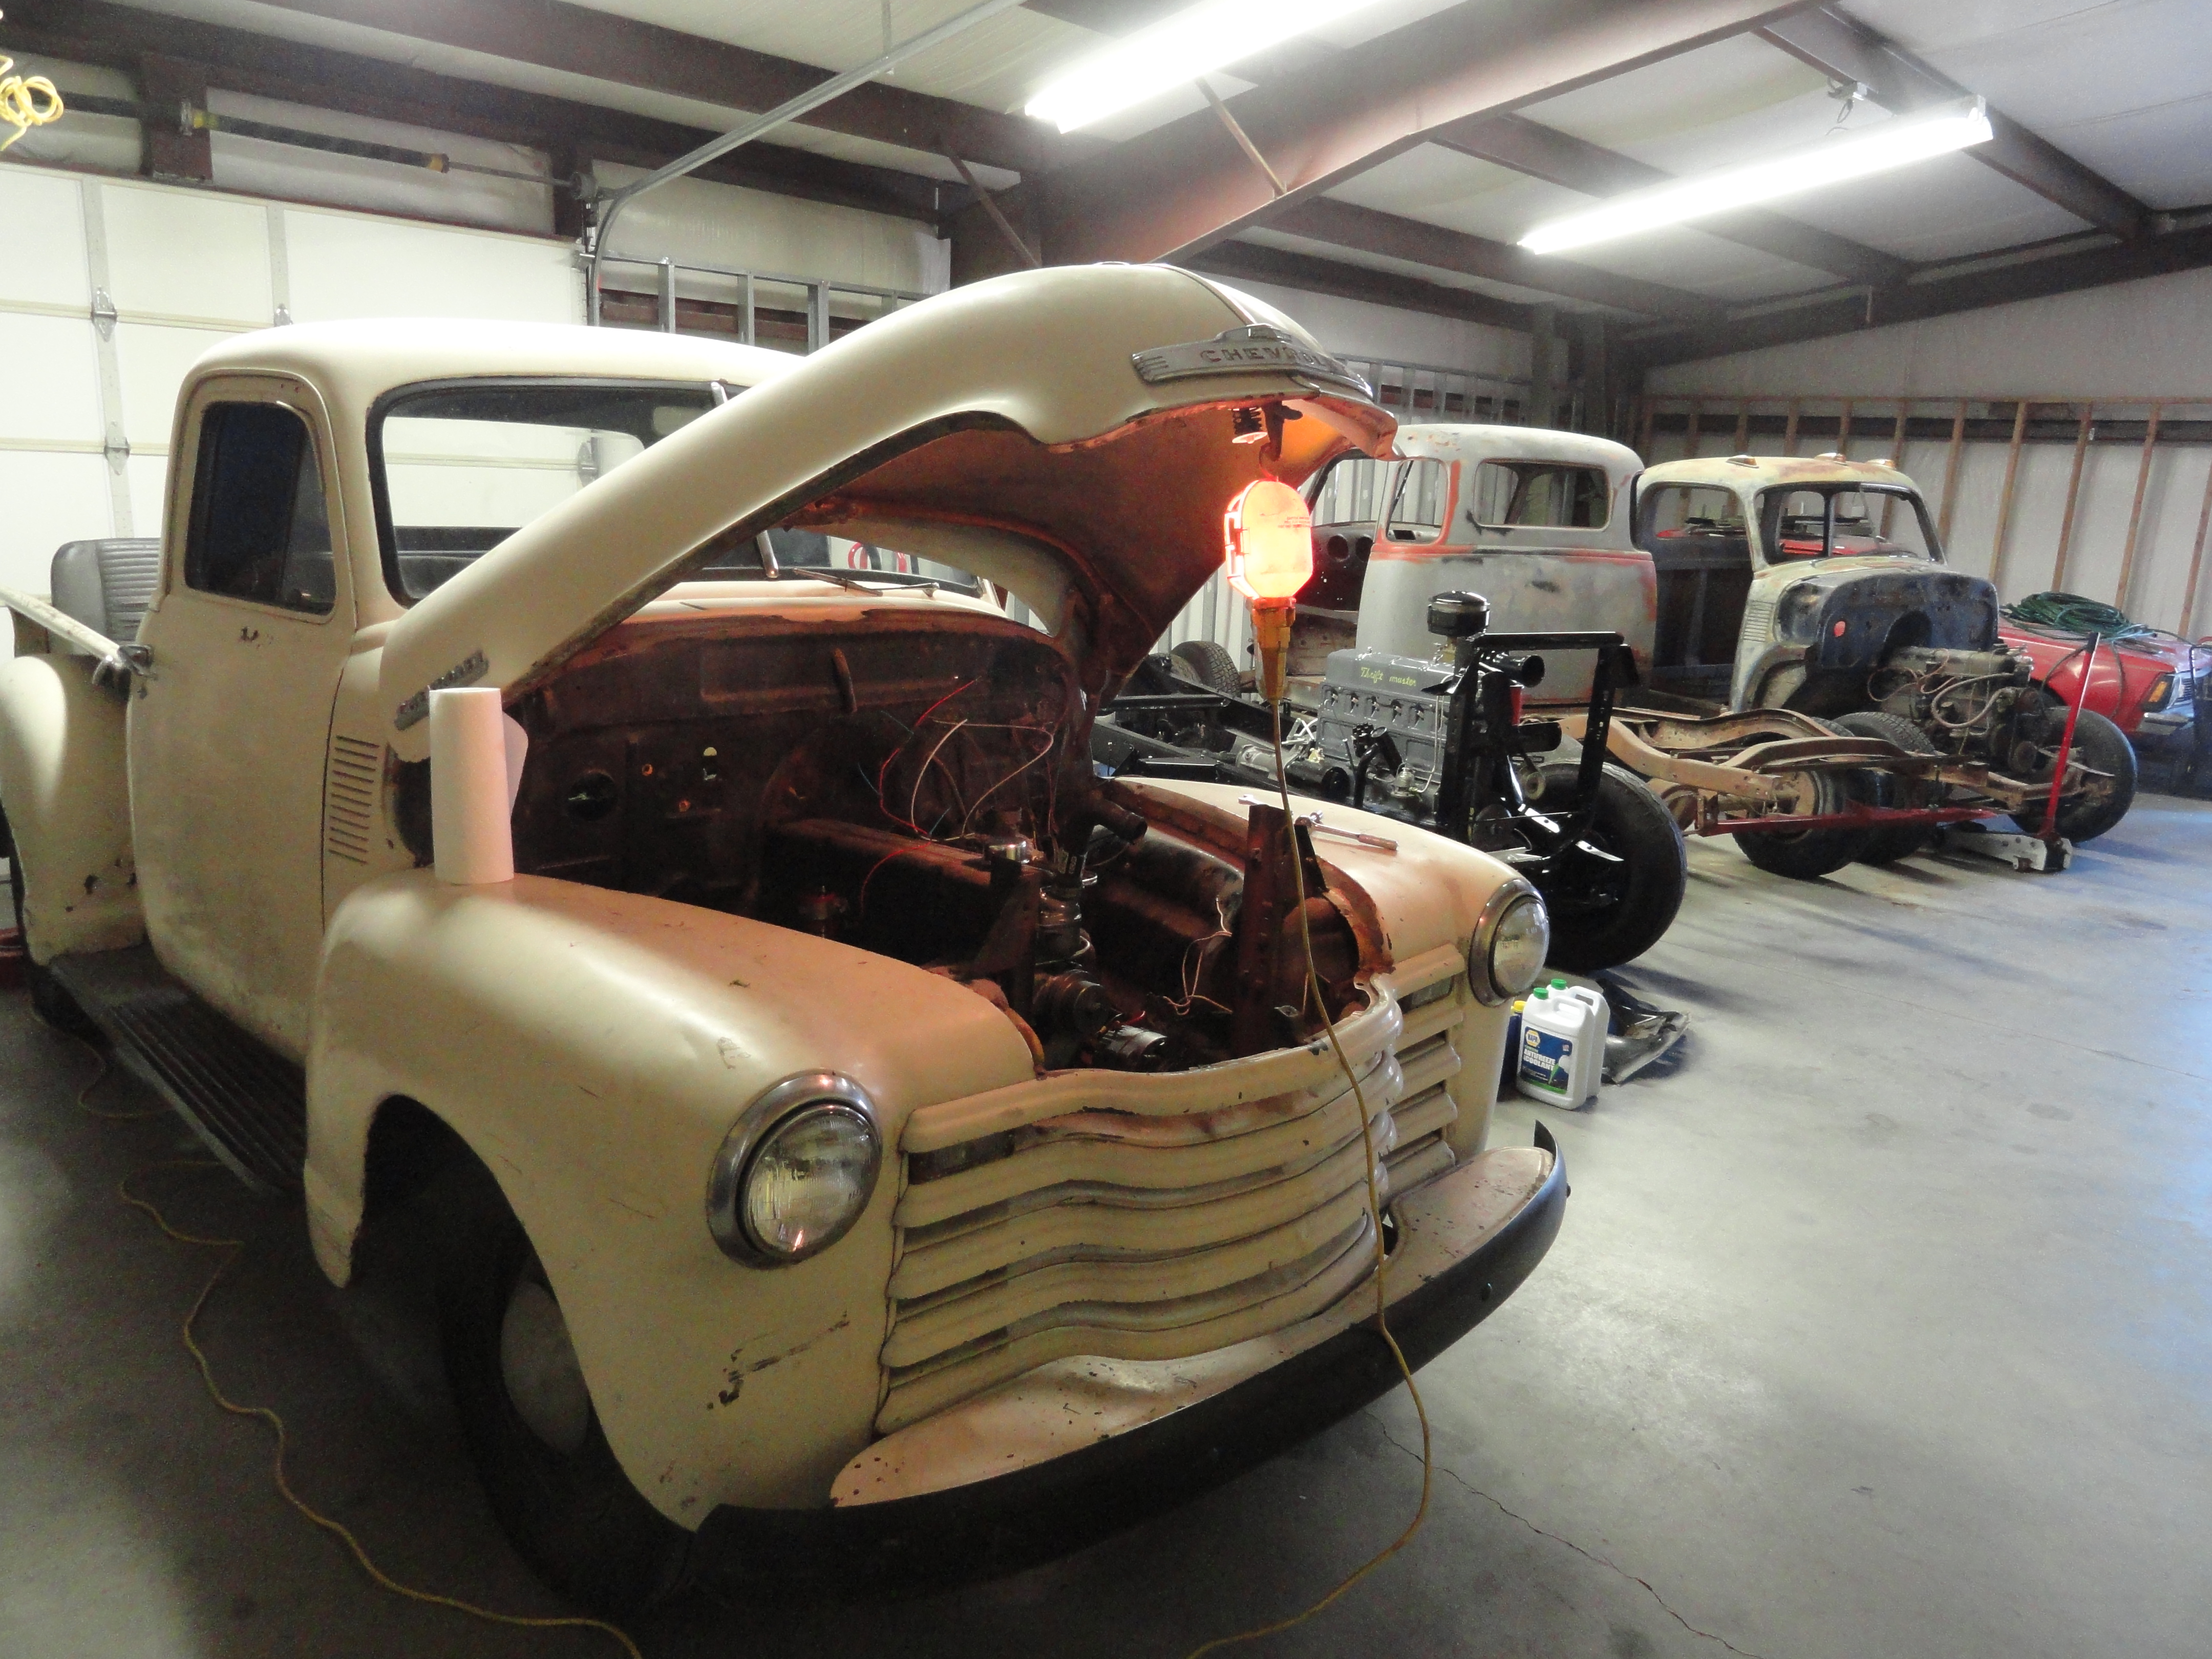
This 1953 Chevy 3100 was sitting in someone's back yard for 25 years just rotting away. The floor and side panels need replacing badly. Everything else has been gone through and repaired. The wiring is pretty much gone so I will be going by the wiring diagram and searching the internet for answers. If I am wrong somewhere, please do not hesitate to say something.
Preliminary Steps:
 Before we can change out the harness, we need to be sure every associated switch, relay and system has been gone completely through. This is because of the condition of the truck. Nothing is taken for granted.
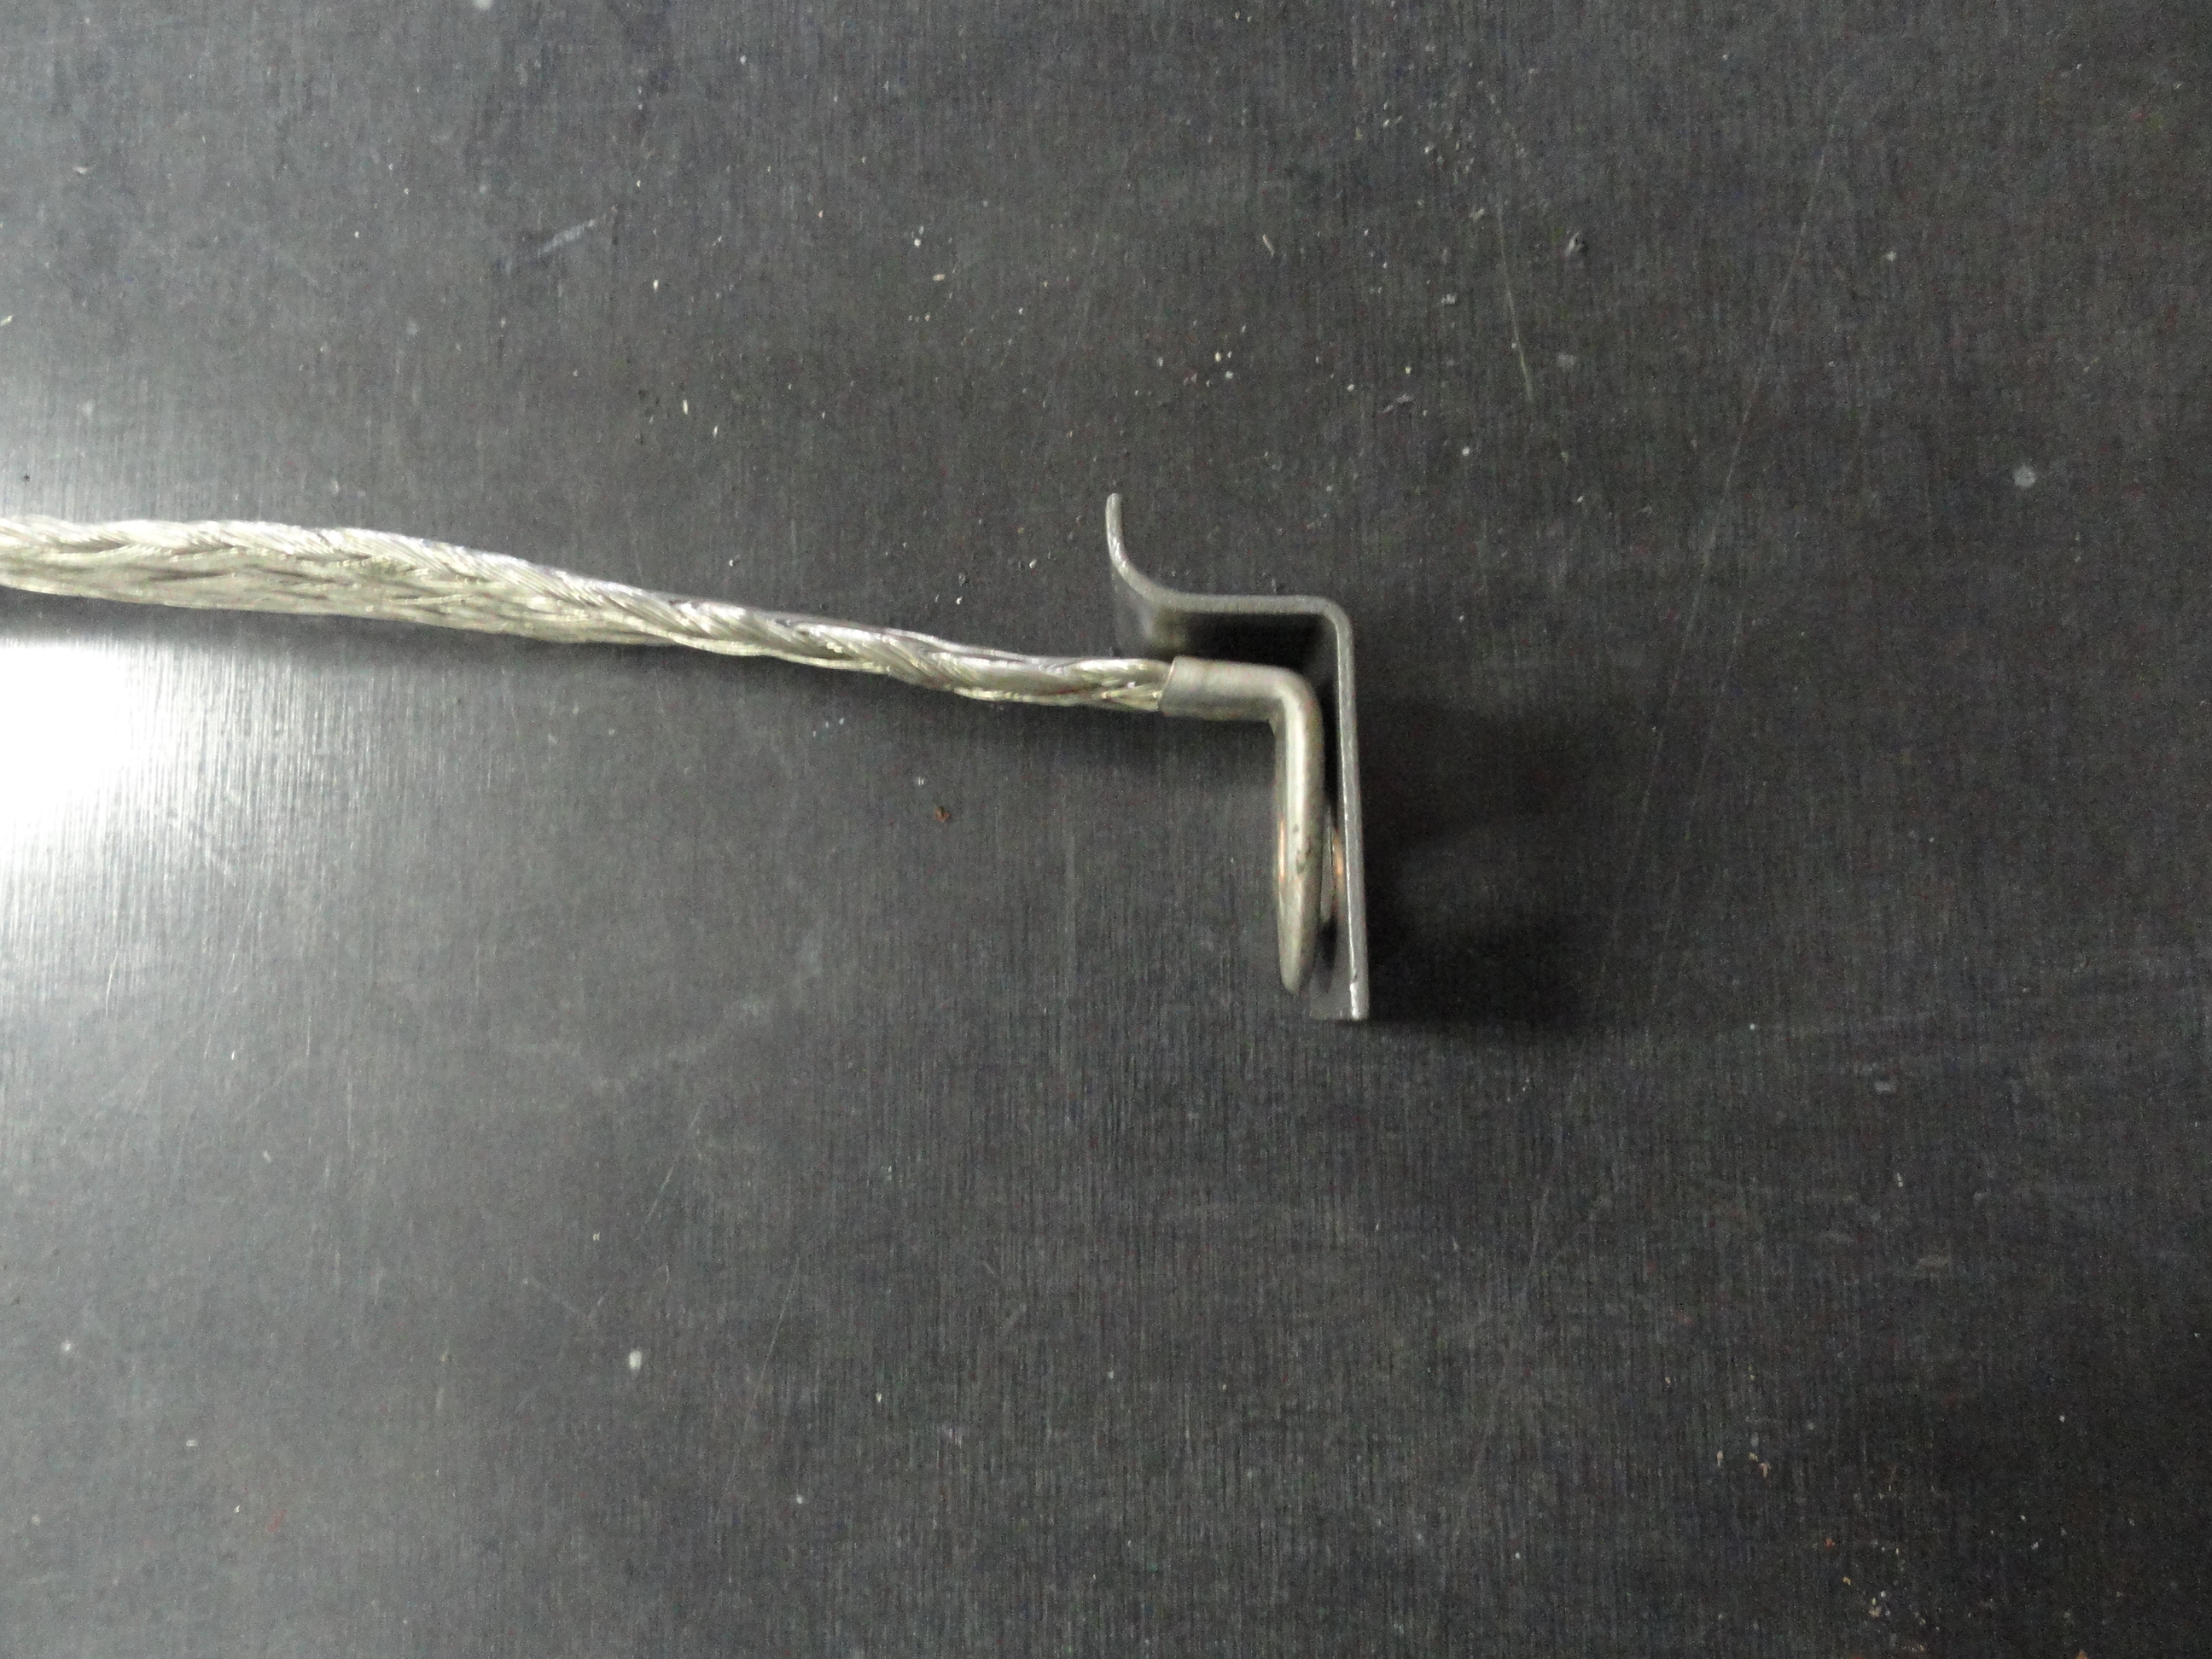
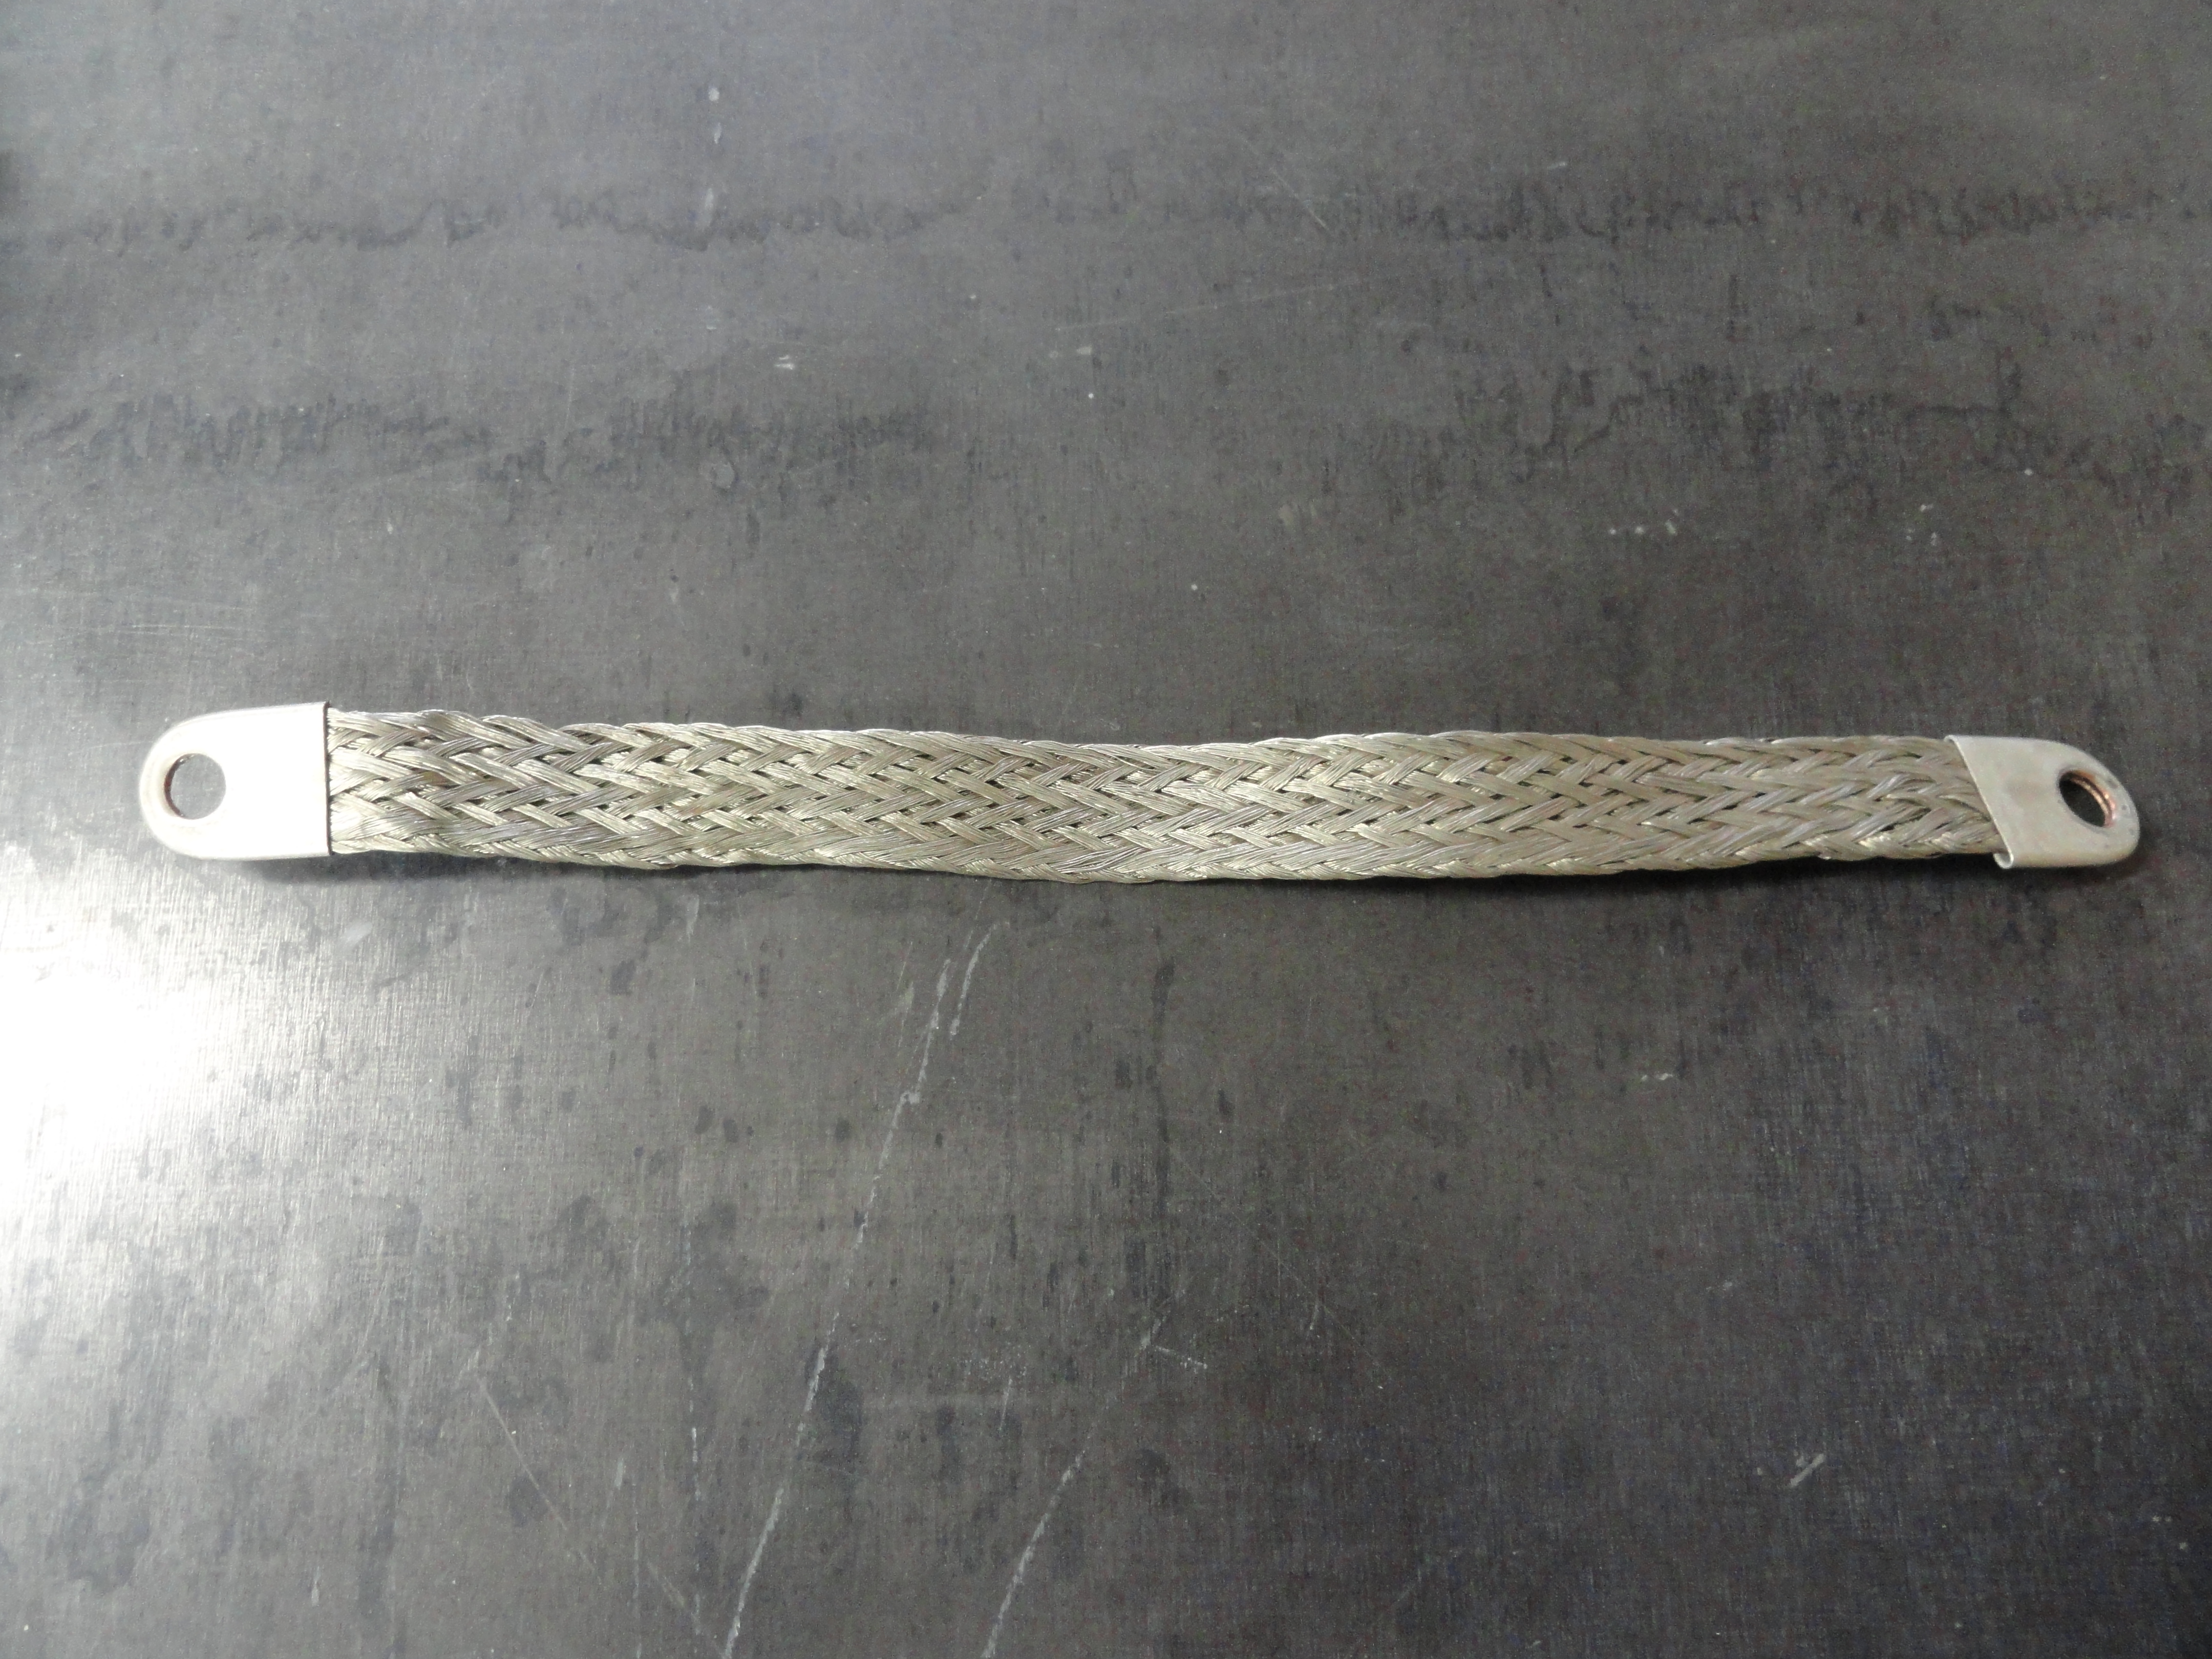
Preliminary Step One: Let us start at the very beginning and change out the ground strap. This is a standard vendor of your choice item because it is a 12 volt system and the ground straps they sell are appropriate for this application. A few bolts and we are done right? Not so fast!
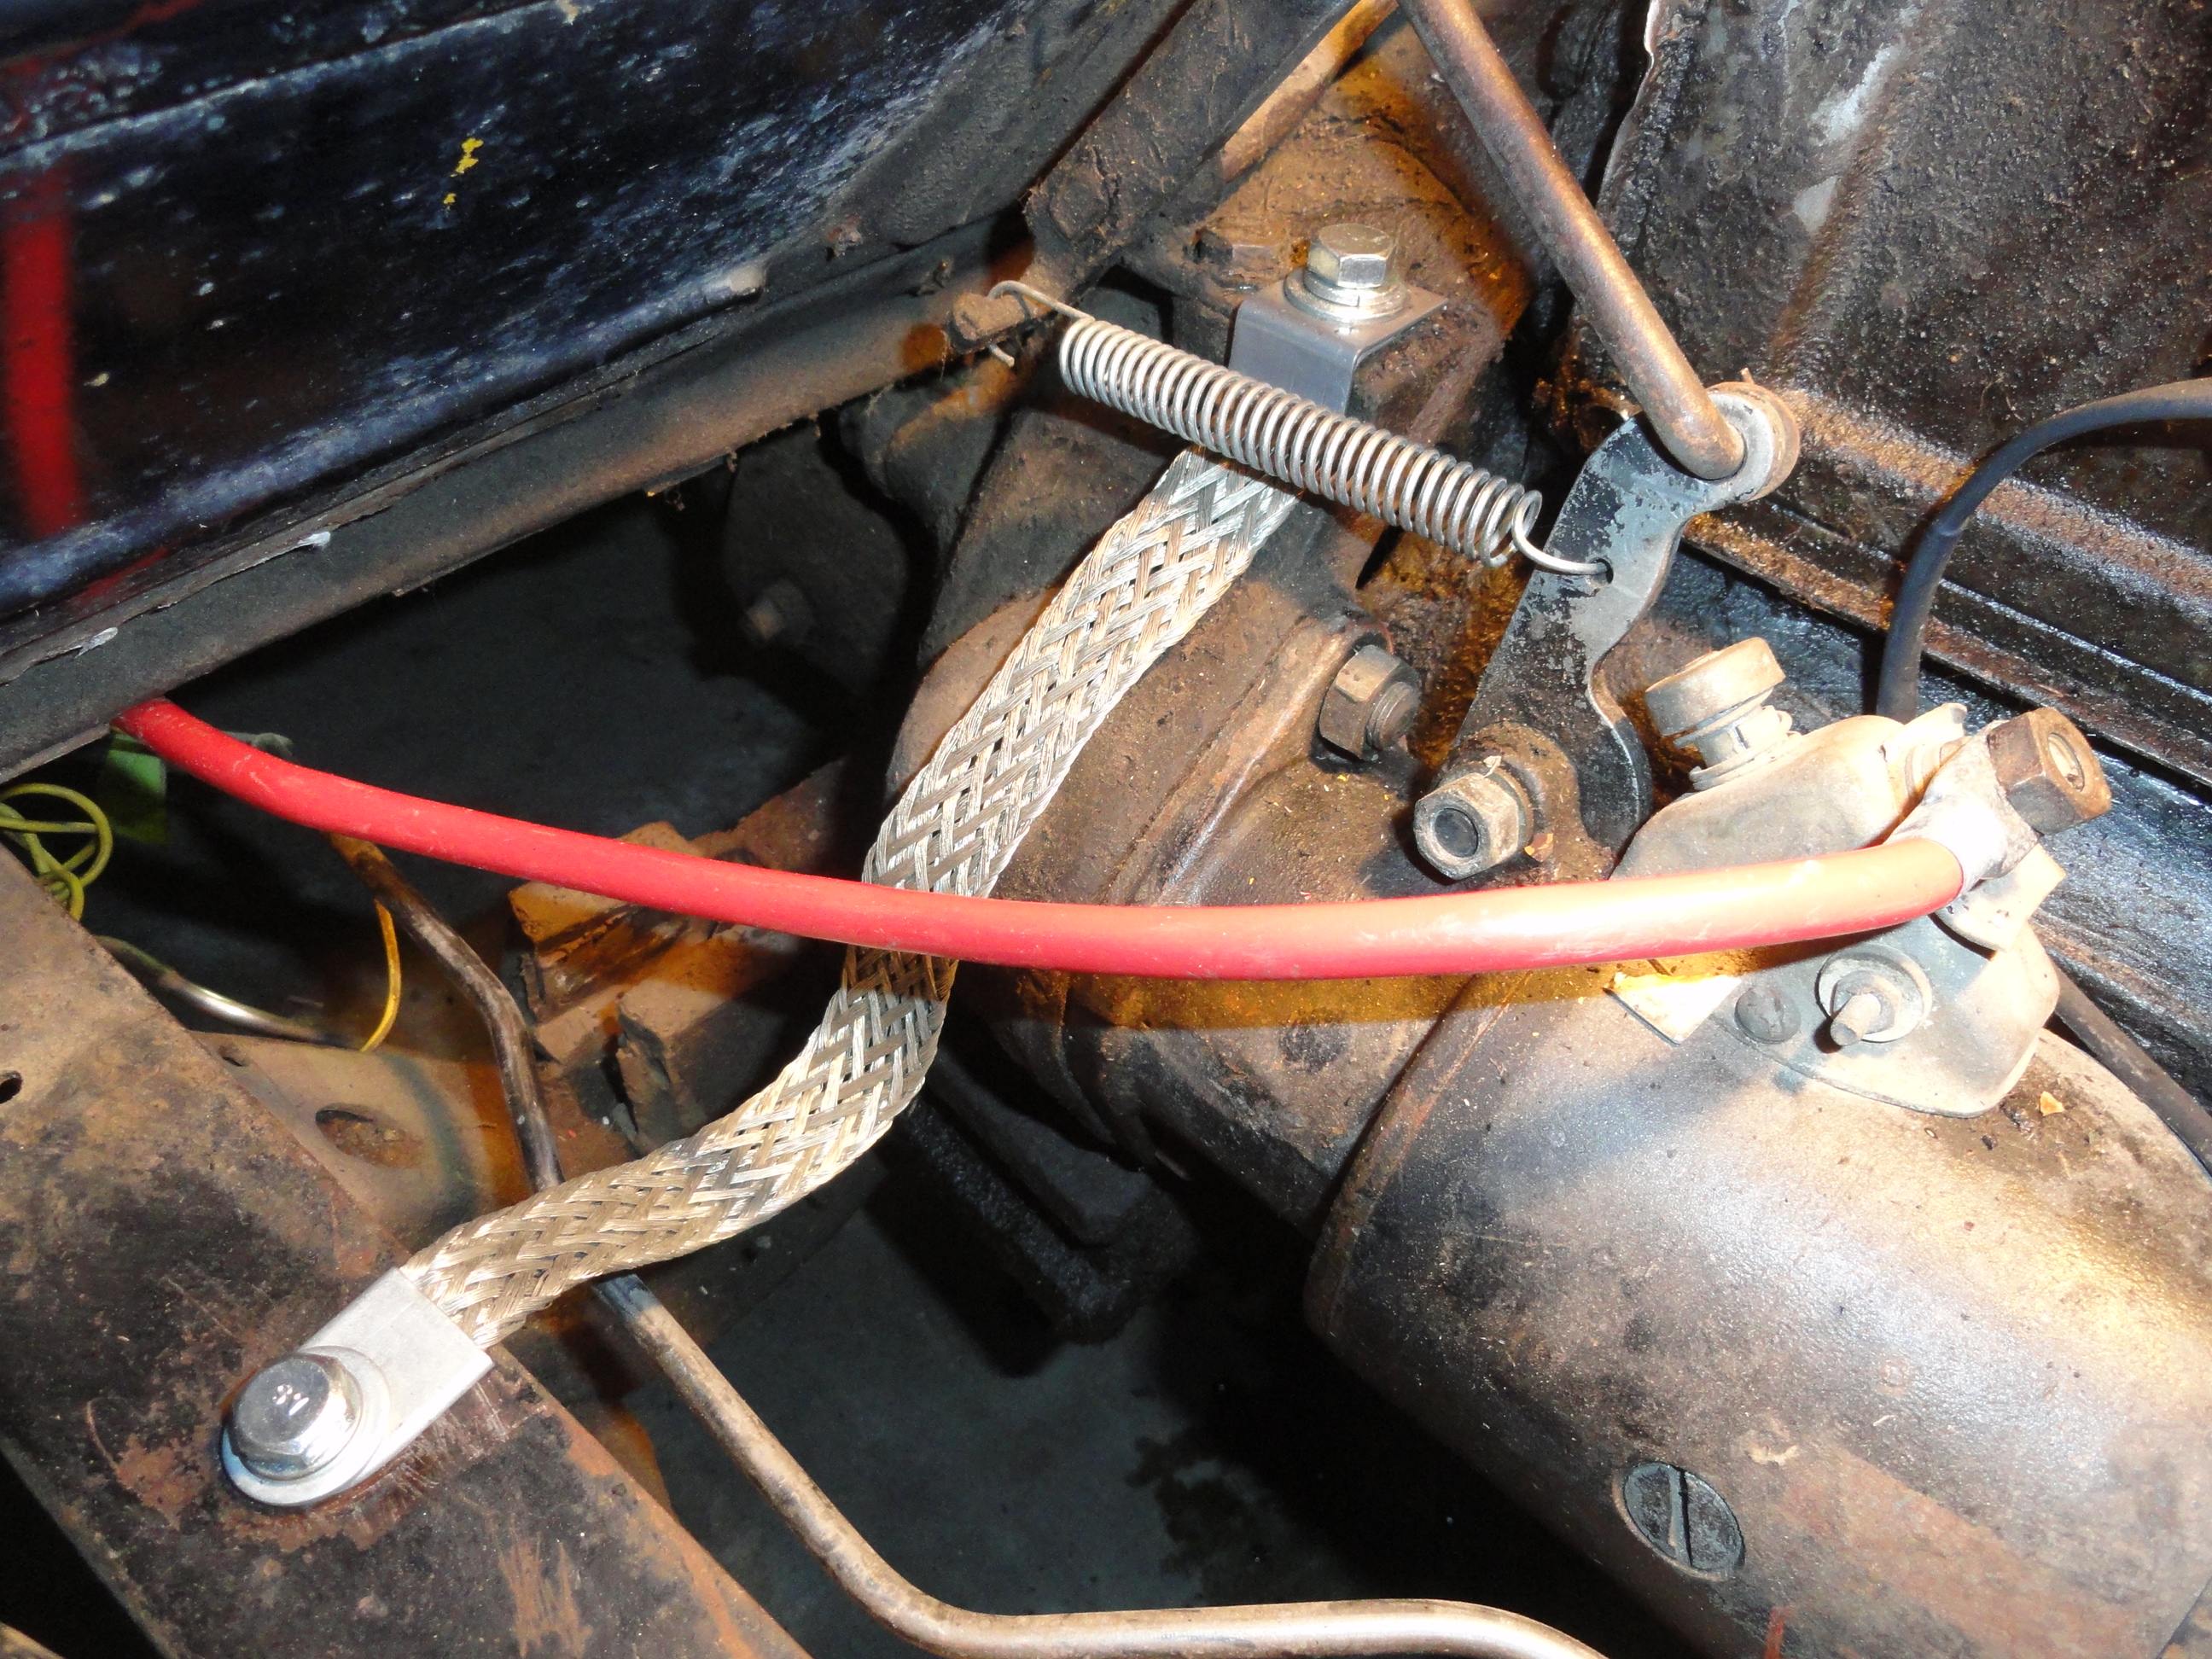
The original ground strap has a metal piece that is bent in such a way as to get around the foot starters return spring. Most people do not have this because it's easy to lose. This is kind of a nice piece because it redirects around that spring very nicely. All you have to do is bend the ground strap to accommodate this metal bracket and we are good to go. Now the ground strap will never interfere with the return spring. I replaced the bolts and washers, scraped and cleaned the surfaces, and installed the strap. Grounding issues will not be one of our problems.
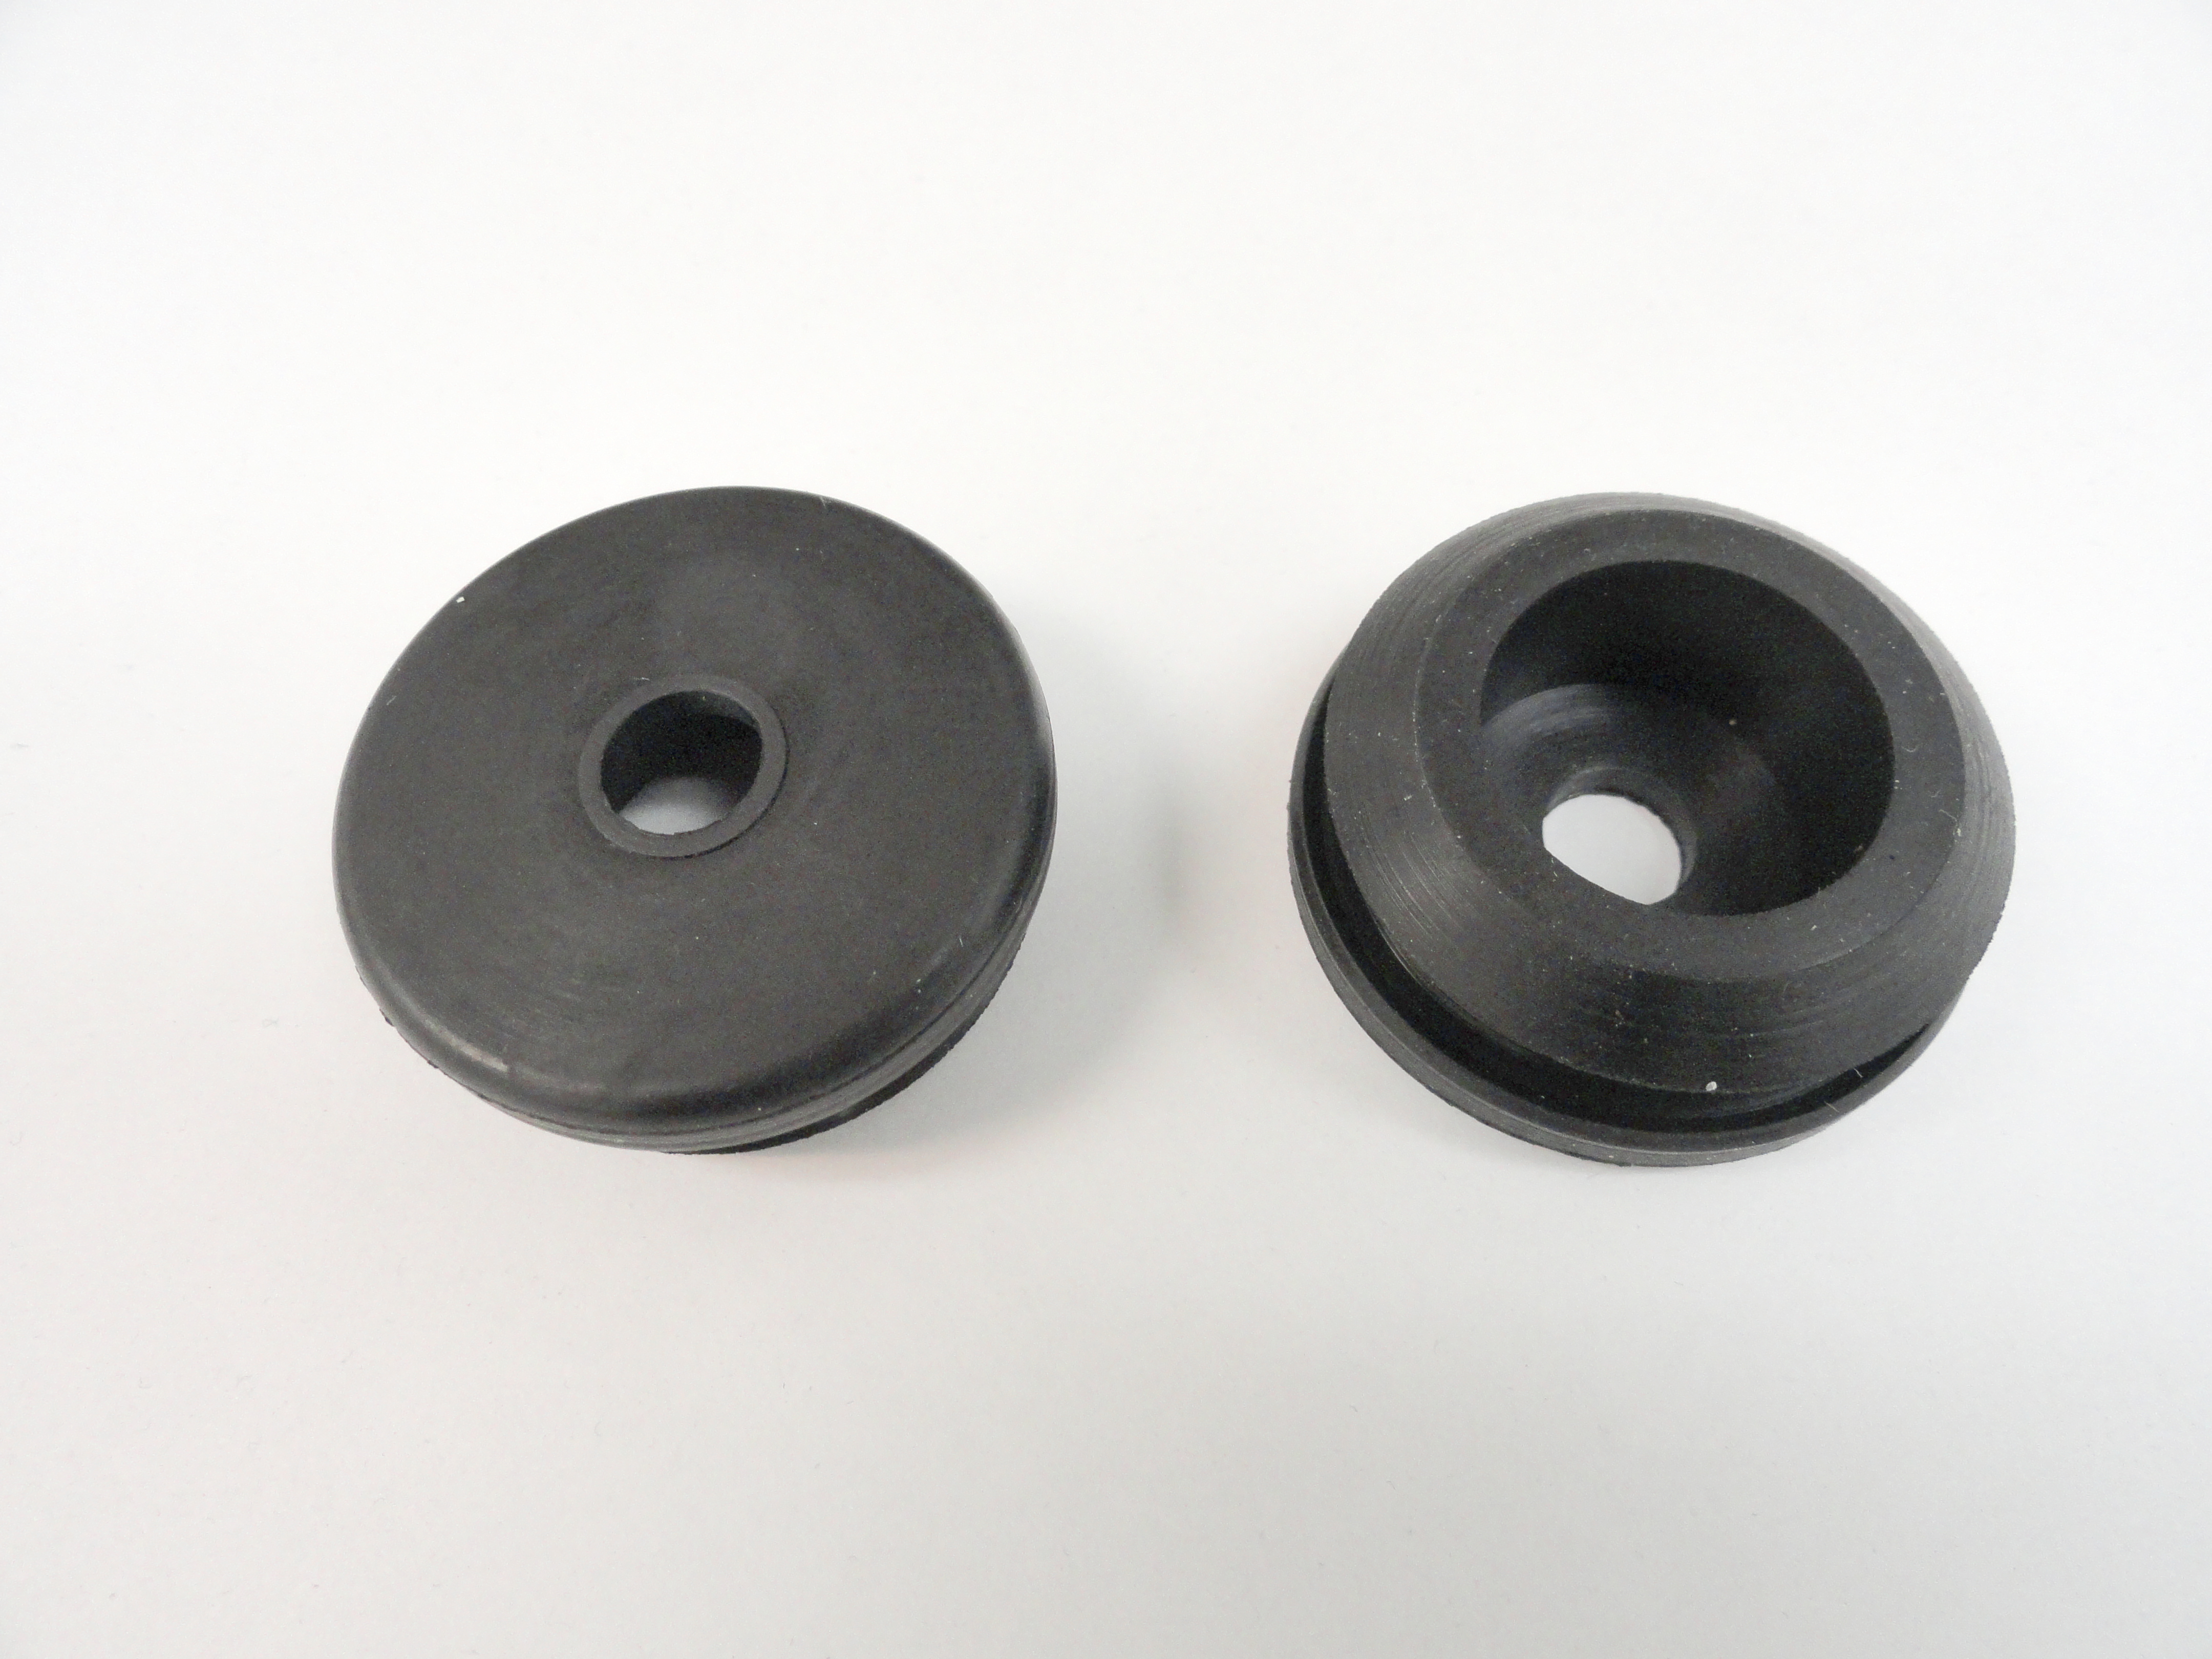
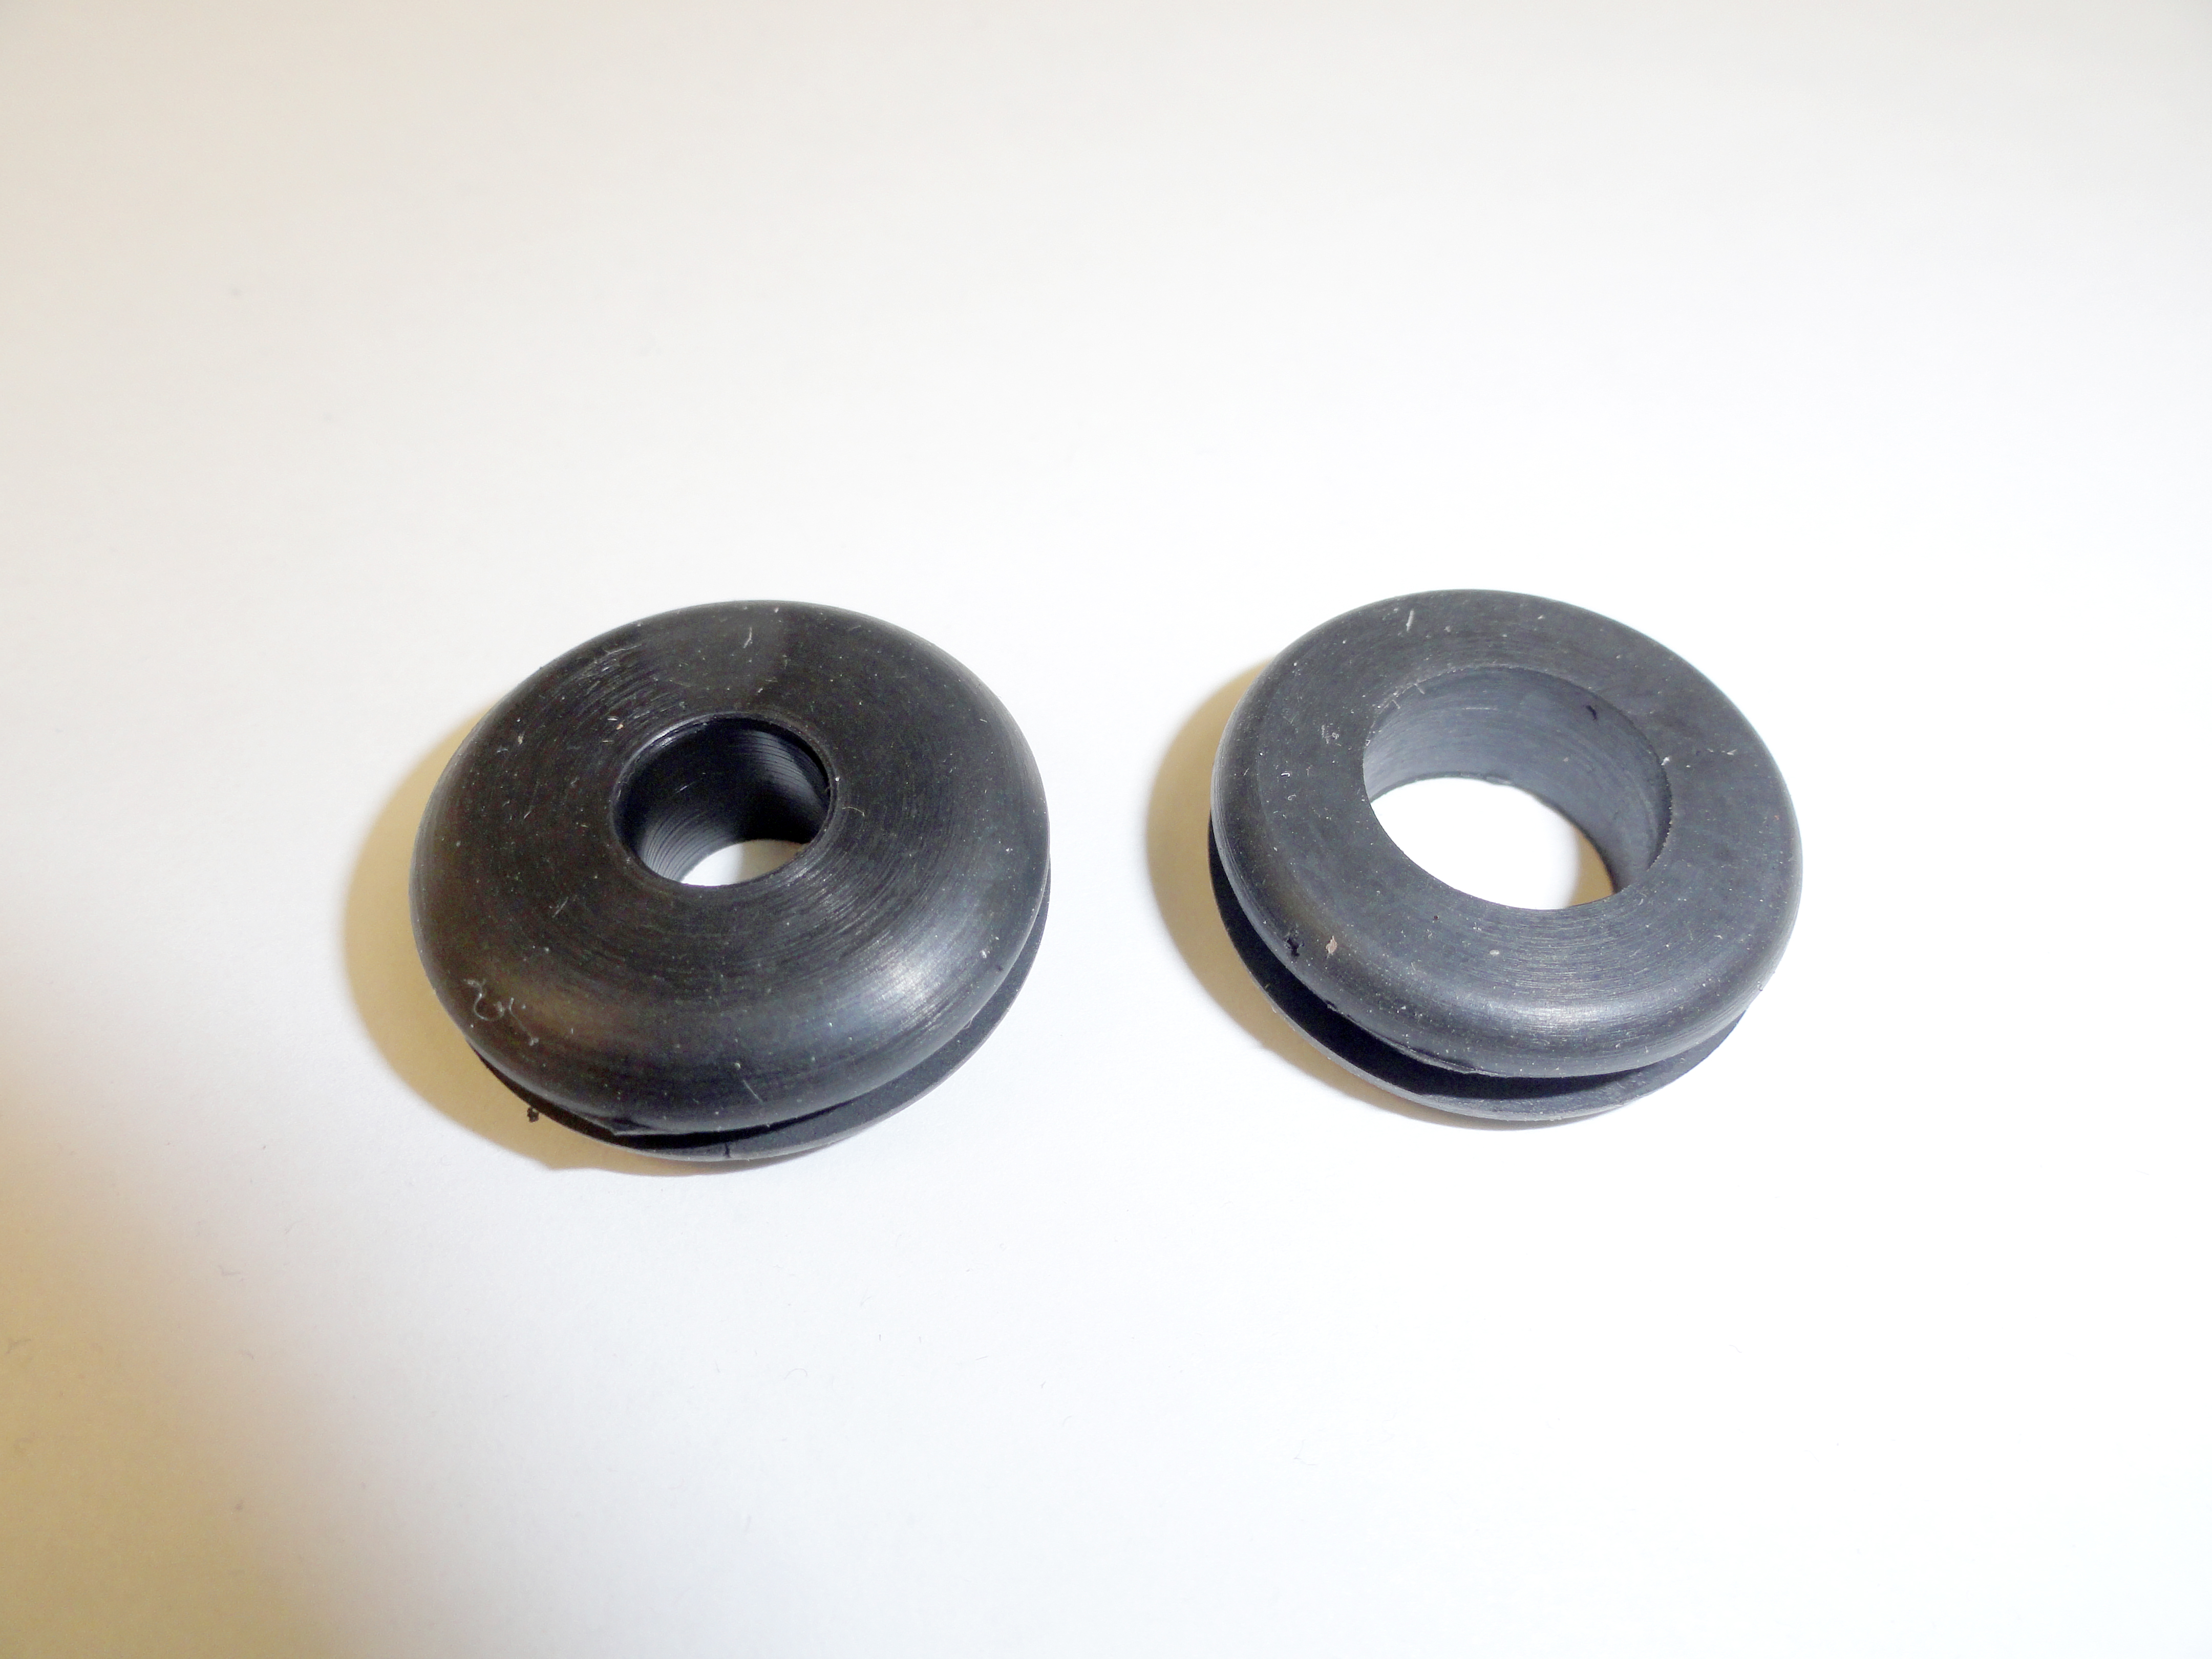
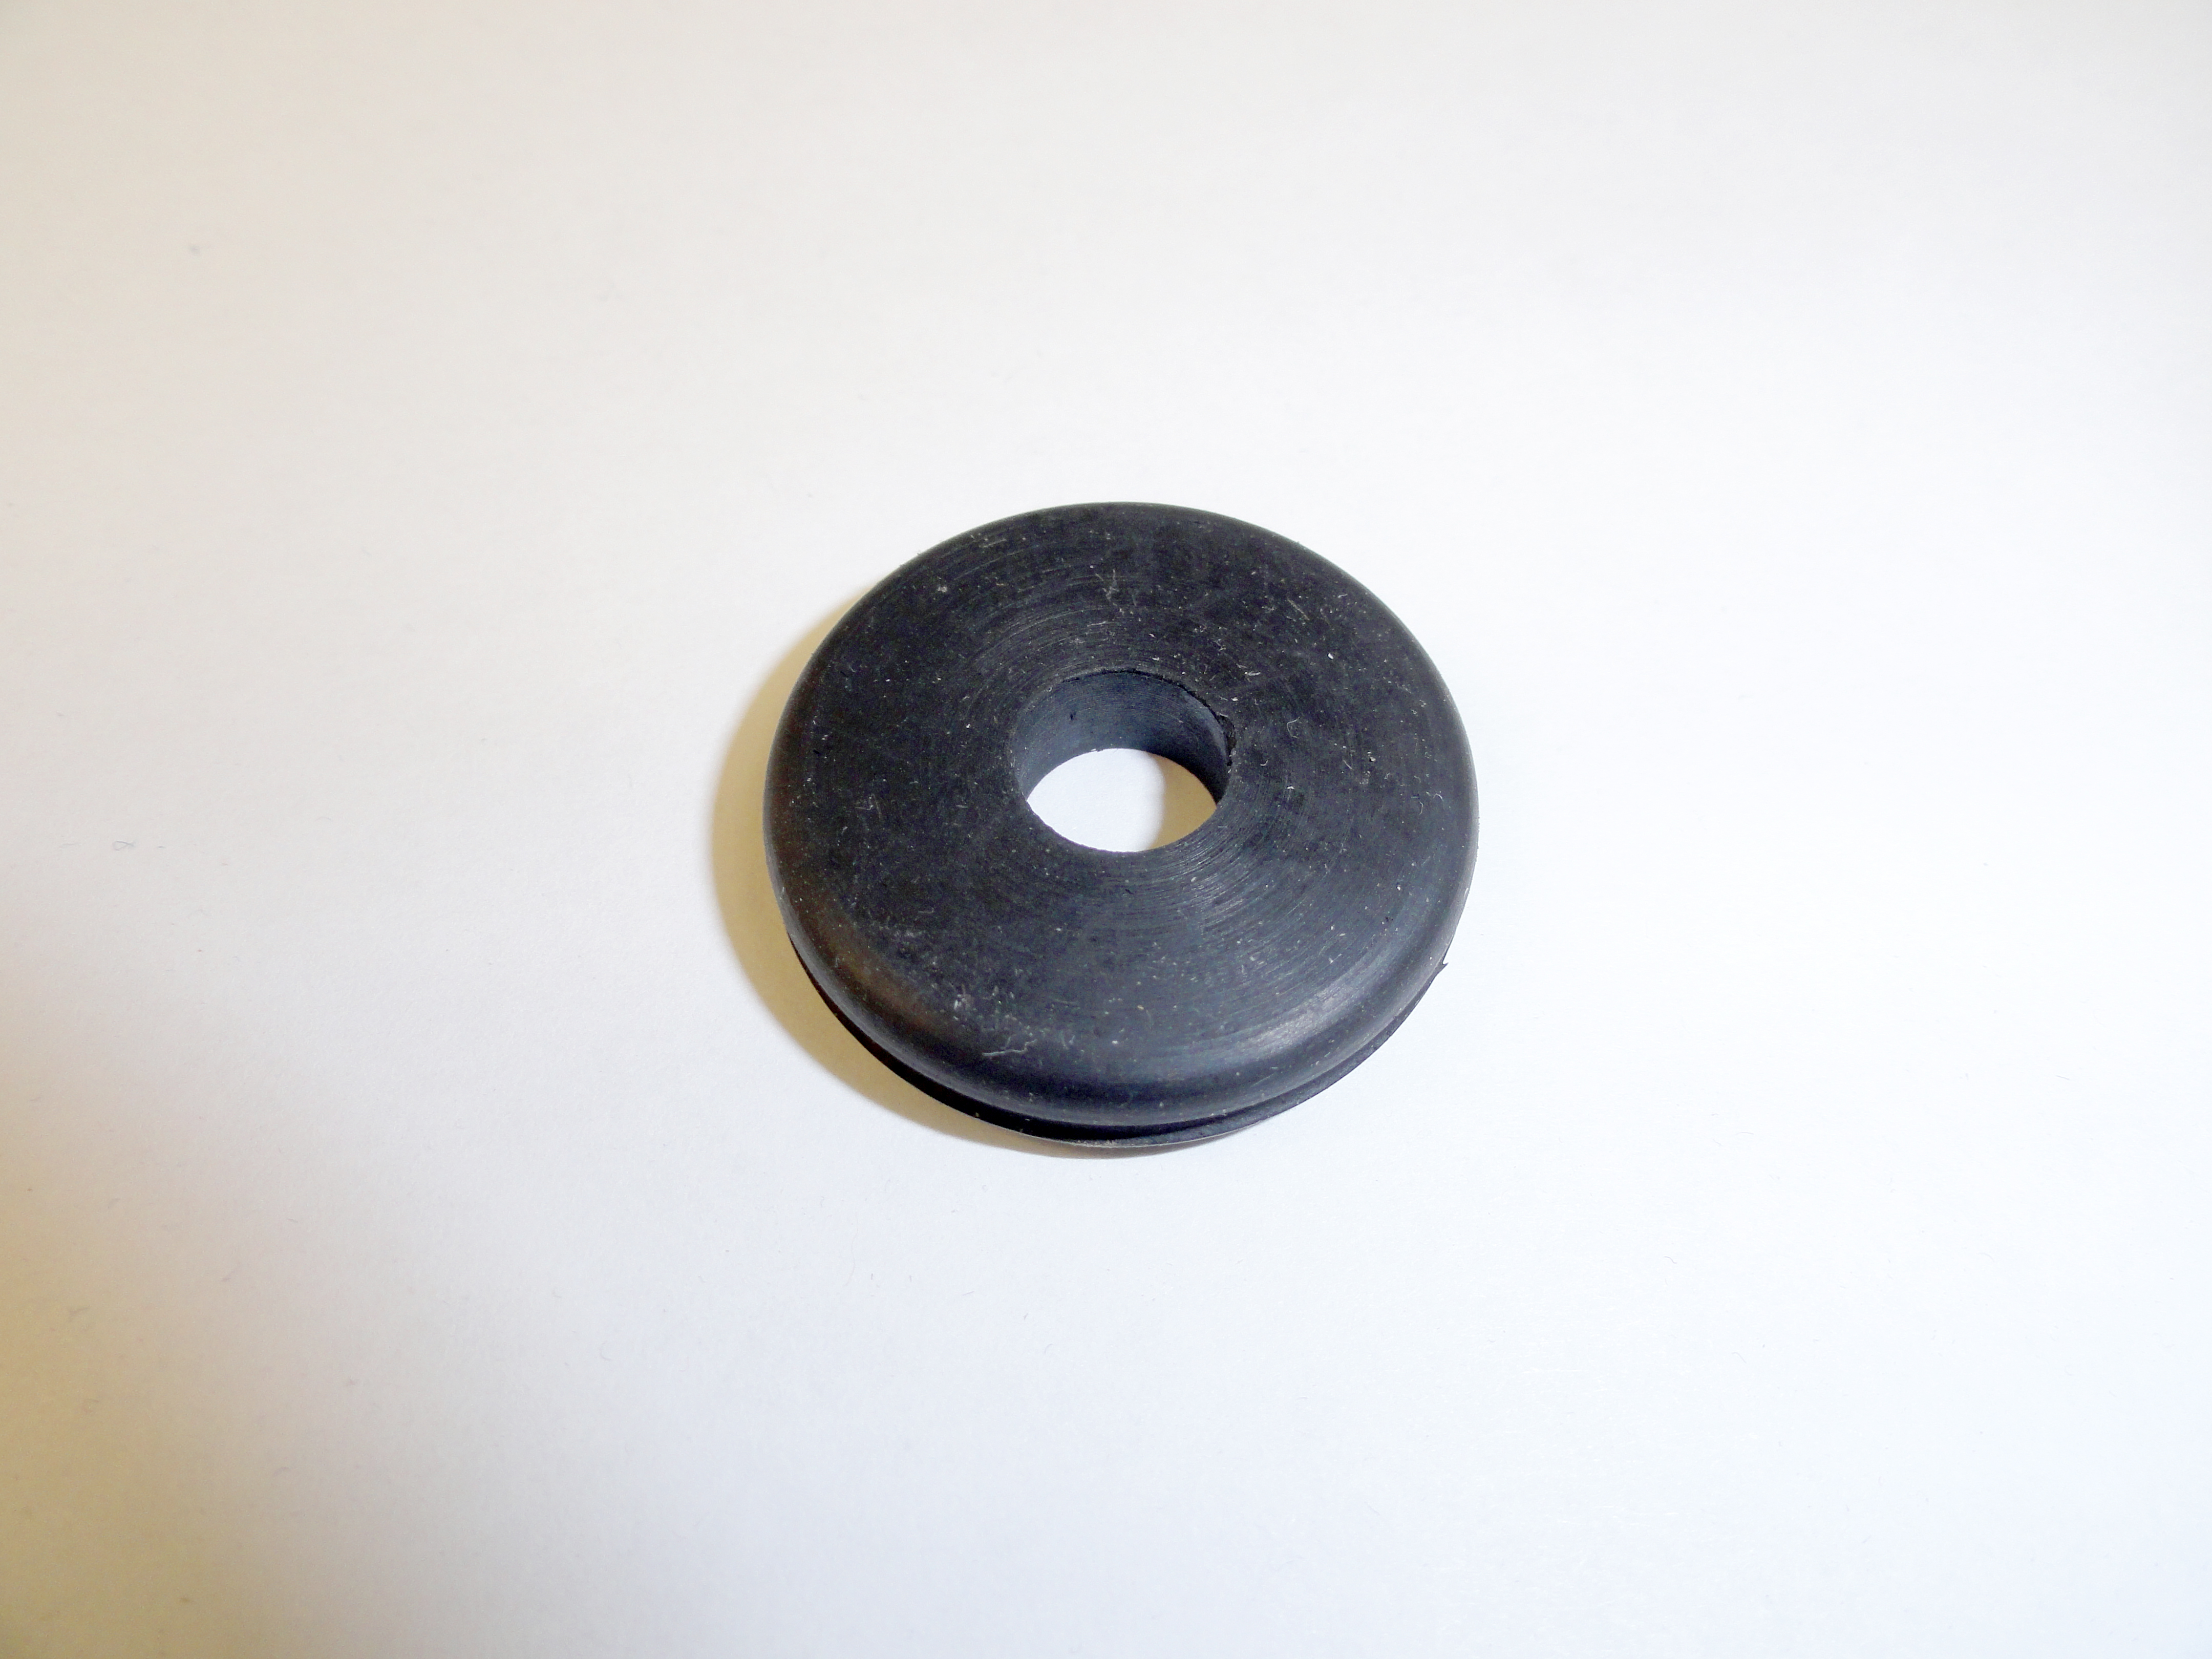
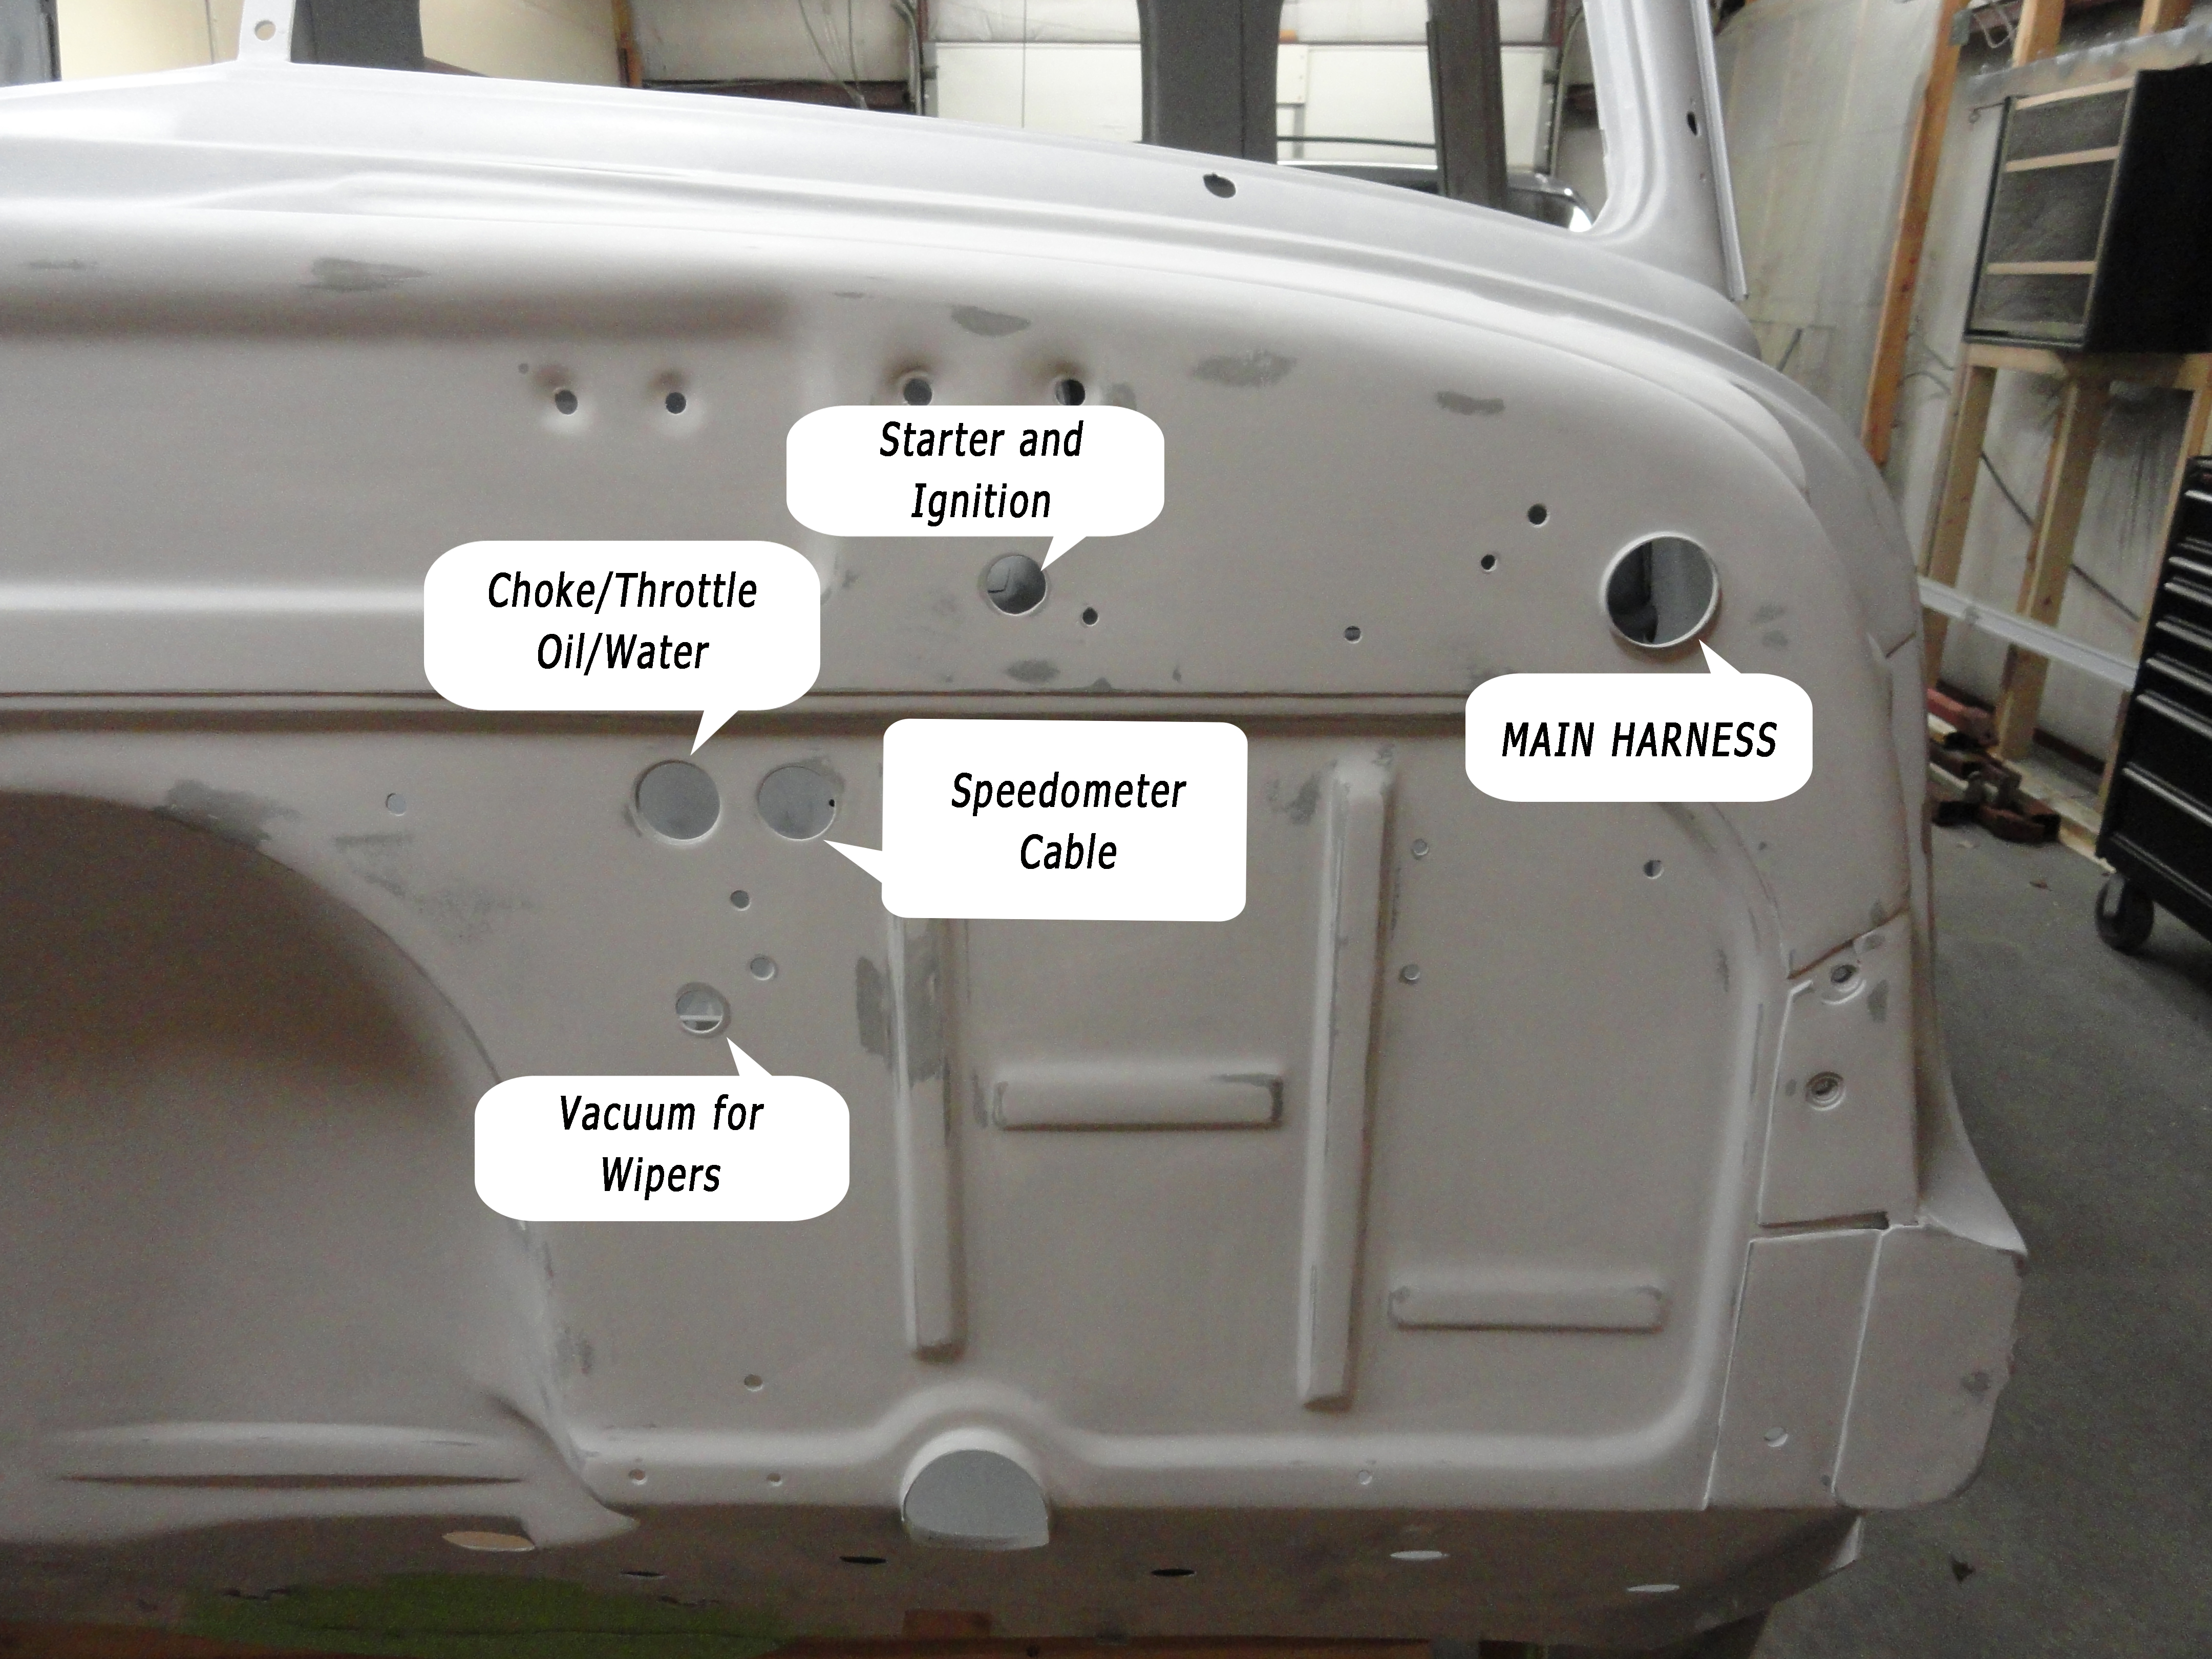 Preliminary Step Two: There are 5 firewall grommets that will be affected by our electrical system upgrade. This is another vendor of your choice item. I have ordered a few sets in the past from various vendors and they are all the same quality and work fine. Get the 6 piece Firewall Grommet Set. For 1953 we want the one with a 4 hole grommet included. The Grommets in the package are:
1) 4 Hole Grommet for Choke Cable, Throttle Cable, Water Temperature Sensor and Oil Pressure Line.
2) Speedometer Grommet
3) Main Harness Grommet
4) Starter and Coil Wire Grommet
5) Vacuum Wiper Hose Grommet (x2)

The time to address anything having to do with the firewall is now before it is populated with everything. Since both gauge clusters will be removed for this, we want to plan ahead and make sure that anything under the dash is addressed at this once in a very long time opportunity.

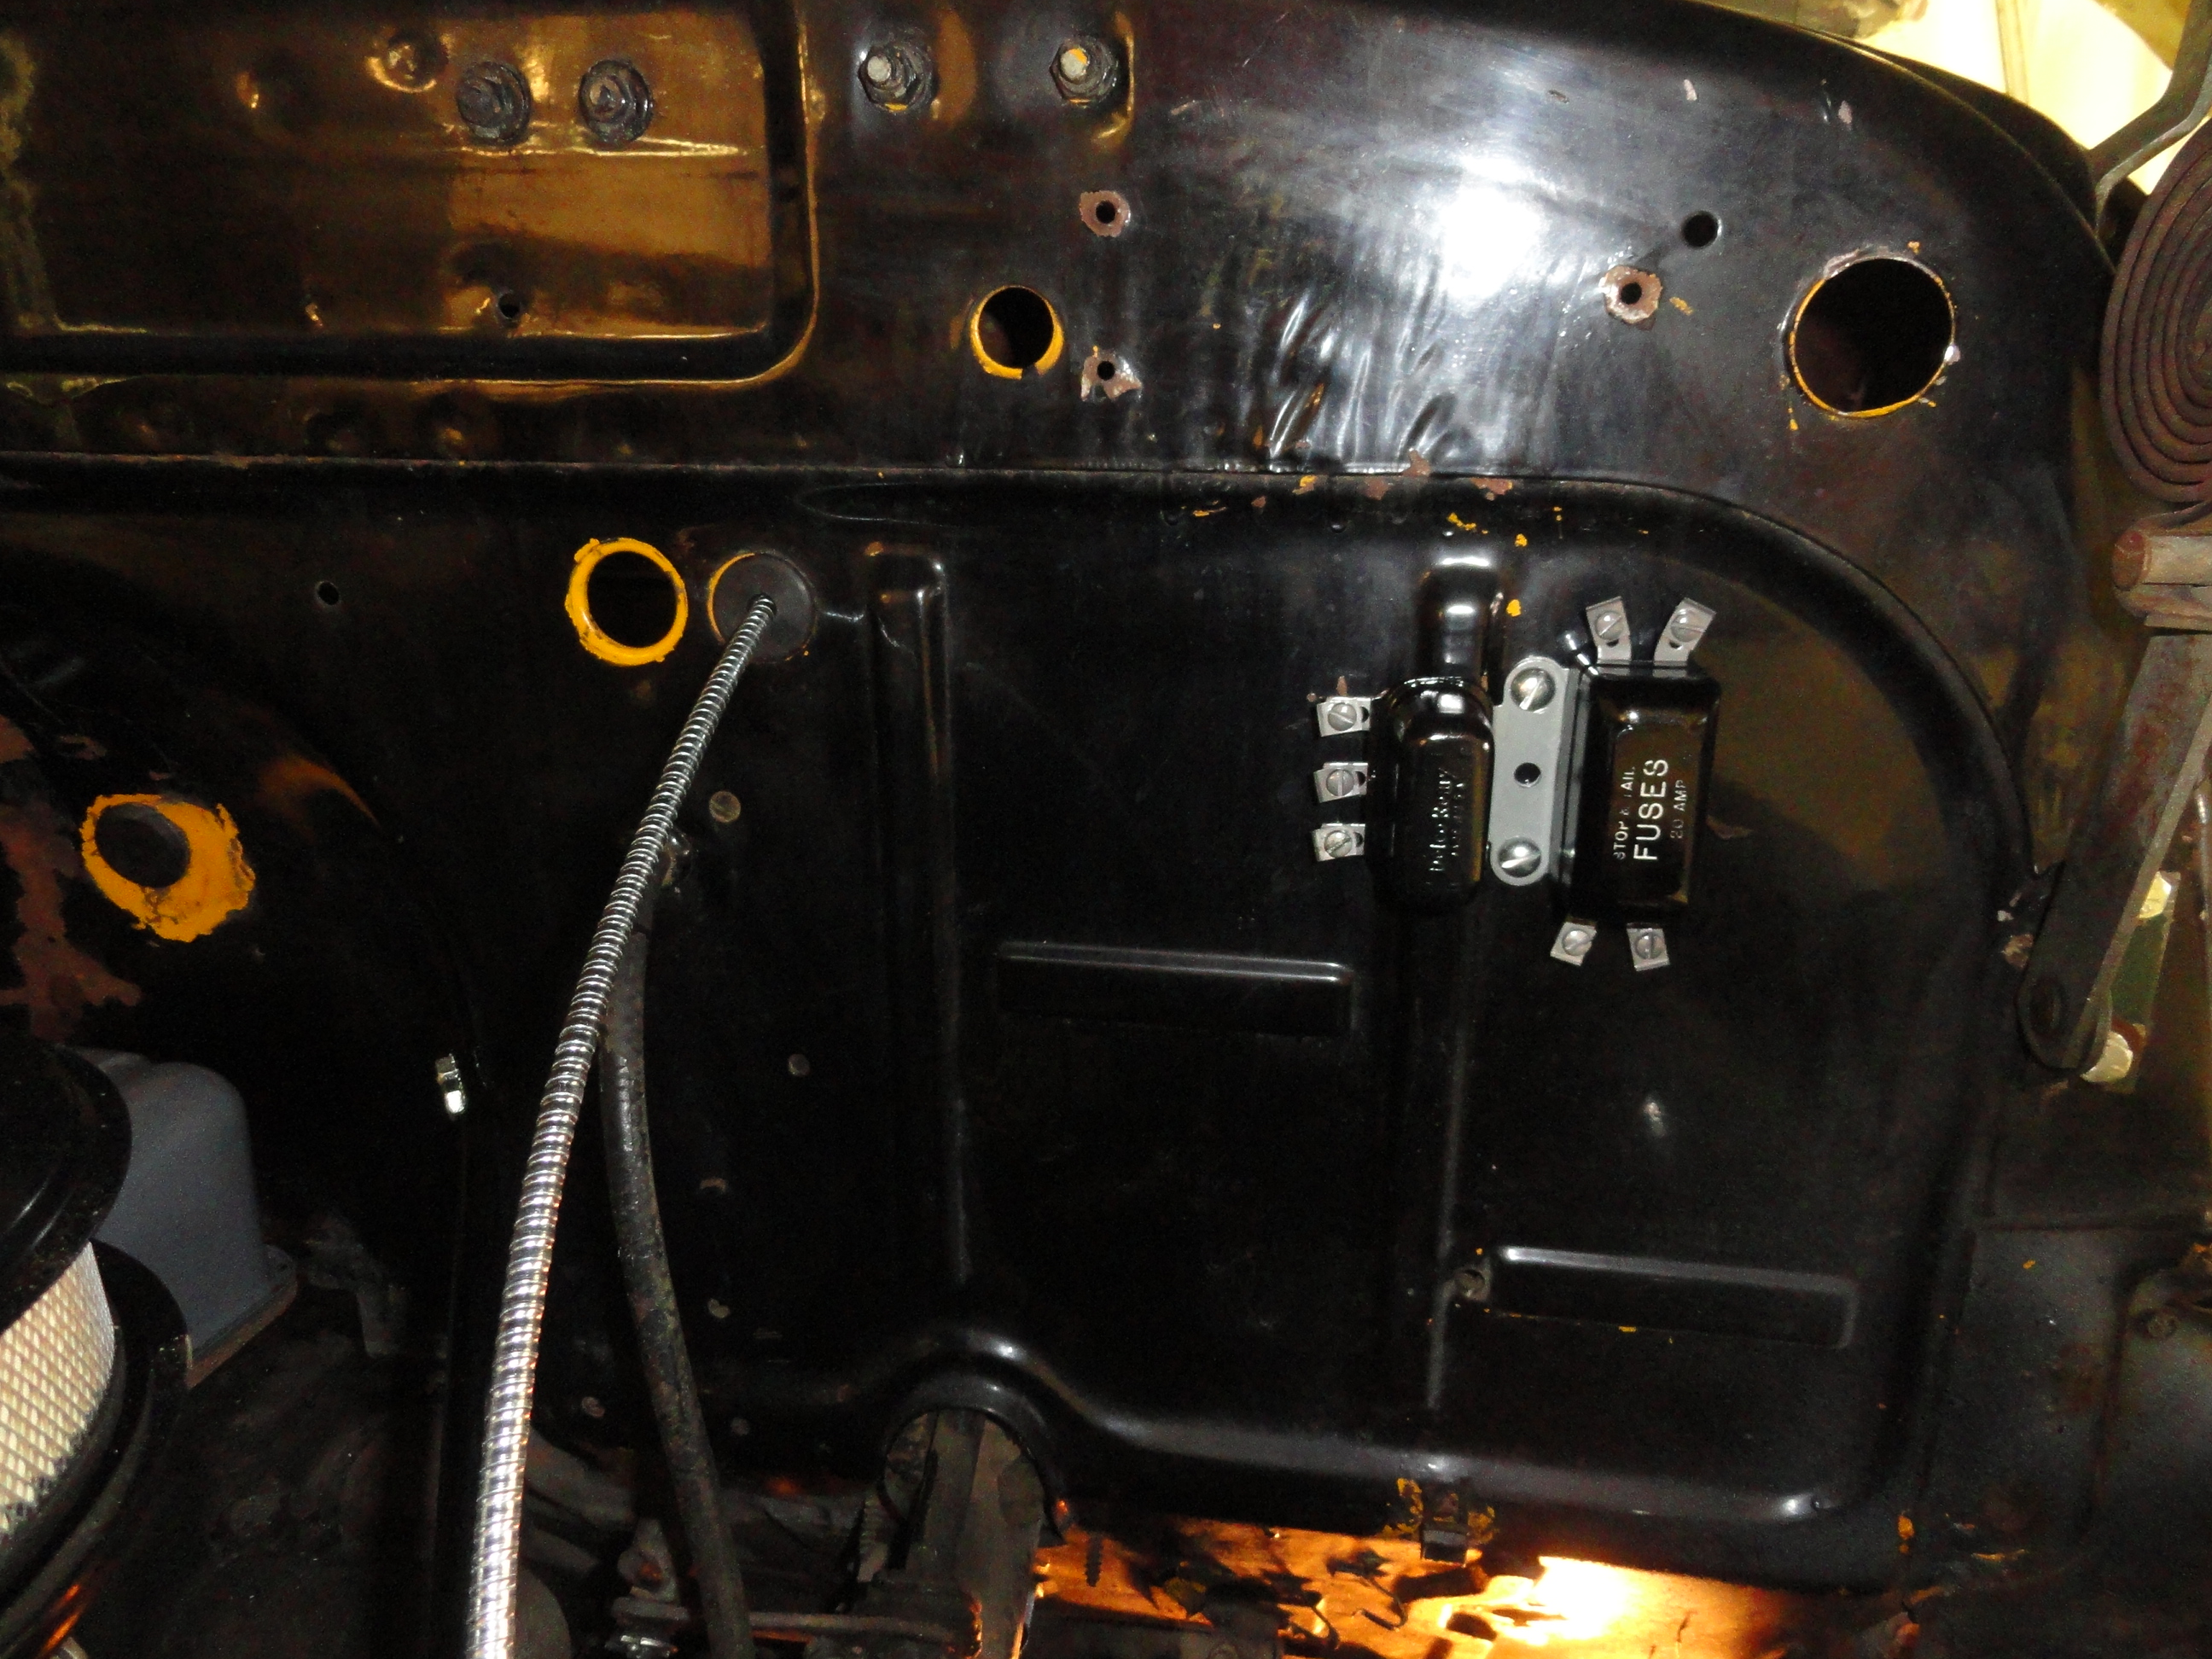
Preliminary Step Three: I took the time to change out the Speedometer Cable. Since it is one of the included grommets, and since the Speedo cluster needs to be removed anyway, now is a good time. I opted for the vendor of your choice Metal Speedometer Cable. If your cable does not need replacing, in the very least grease the ends and check them for serviceability.
The small end goes to the gauge and the large end to the transmission. I routed it just like the old one which is between the drivers side frame rail behind the master cylinder bracket. The idea is to get a very smooth route where nothing is turned too tightly and everything is routed away from other moving parts.
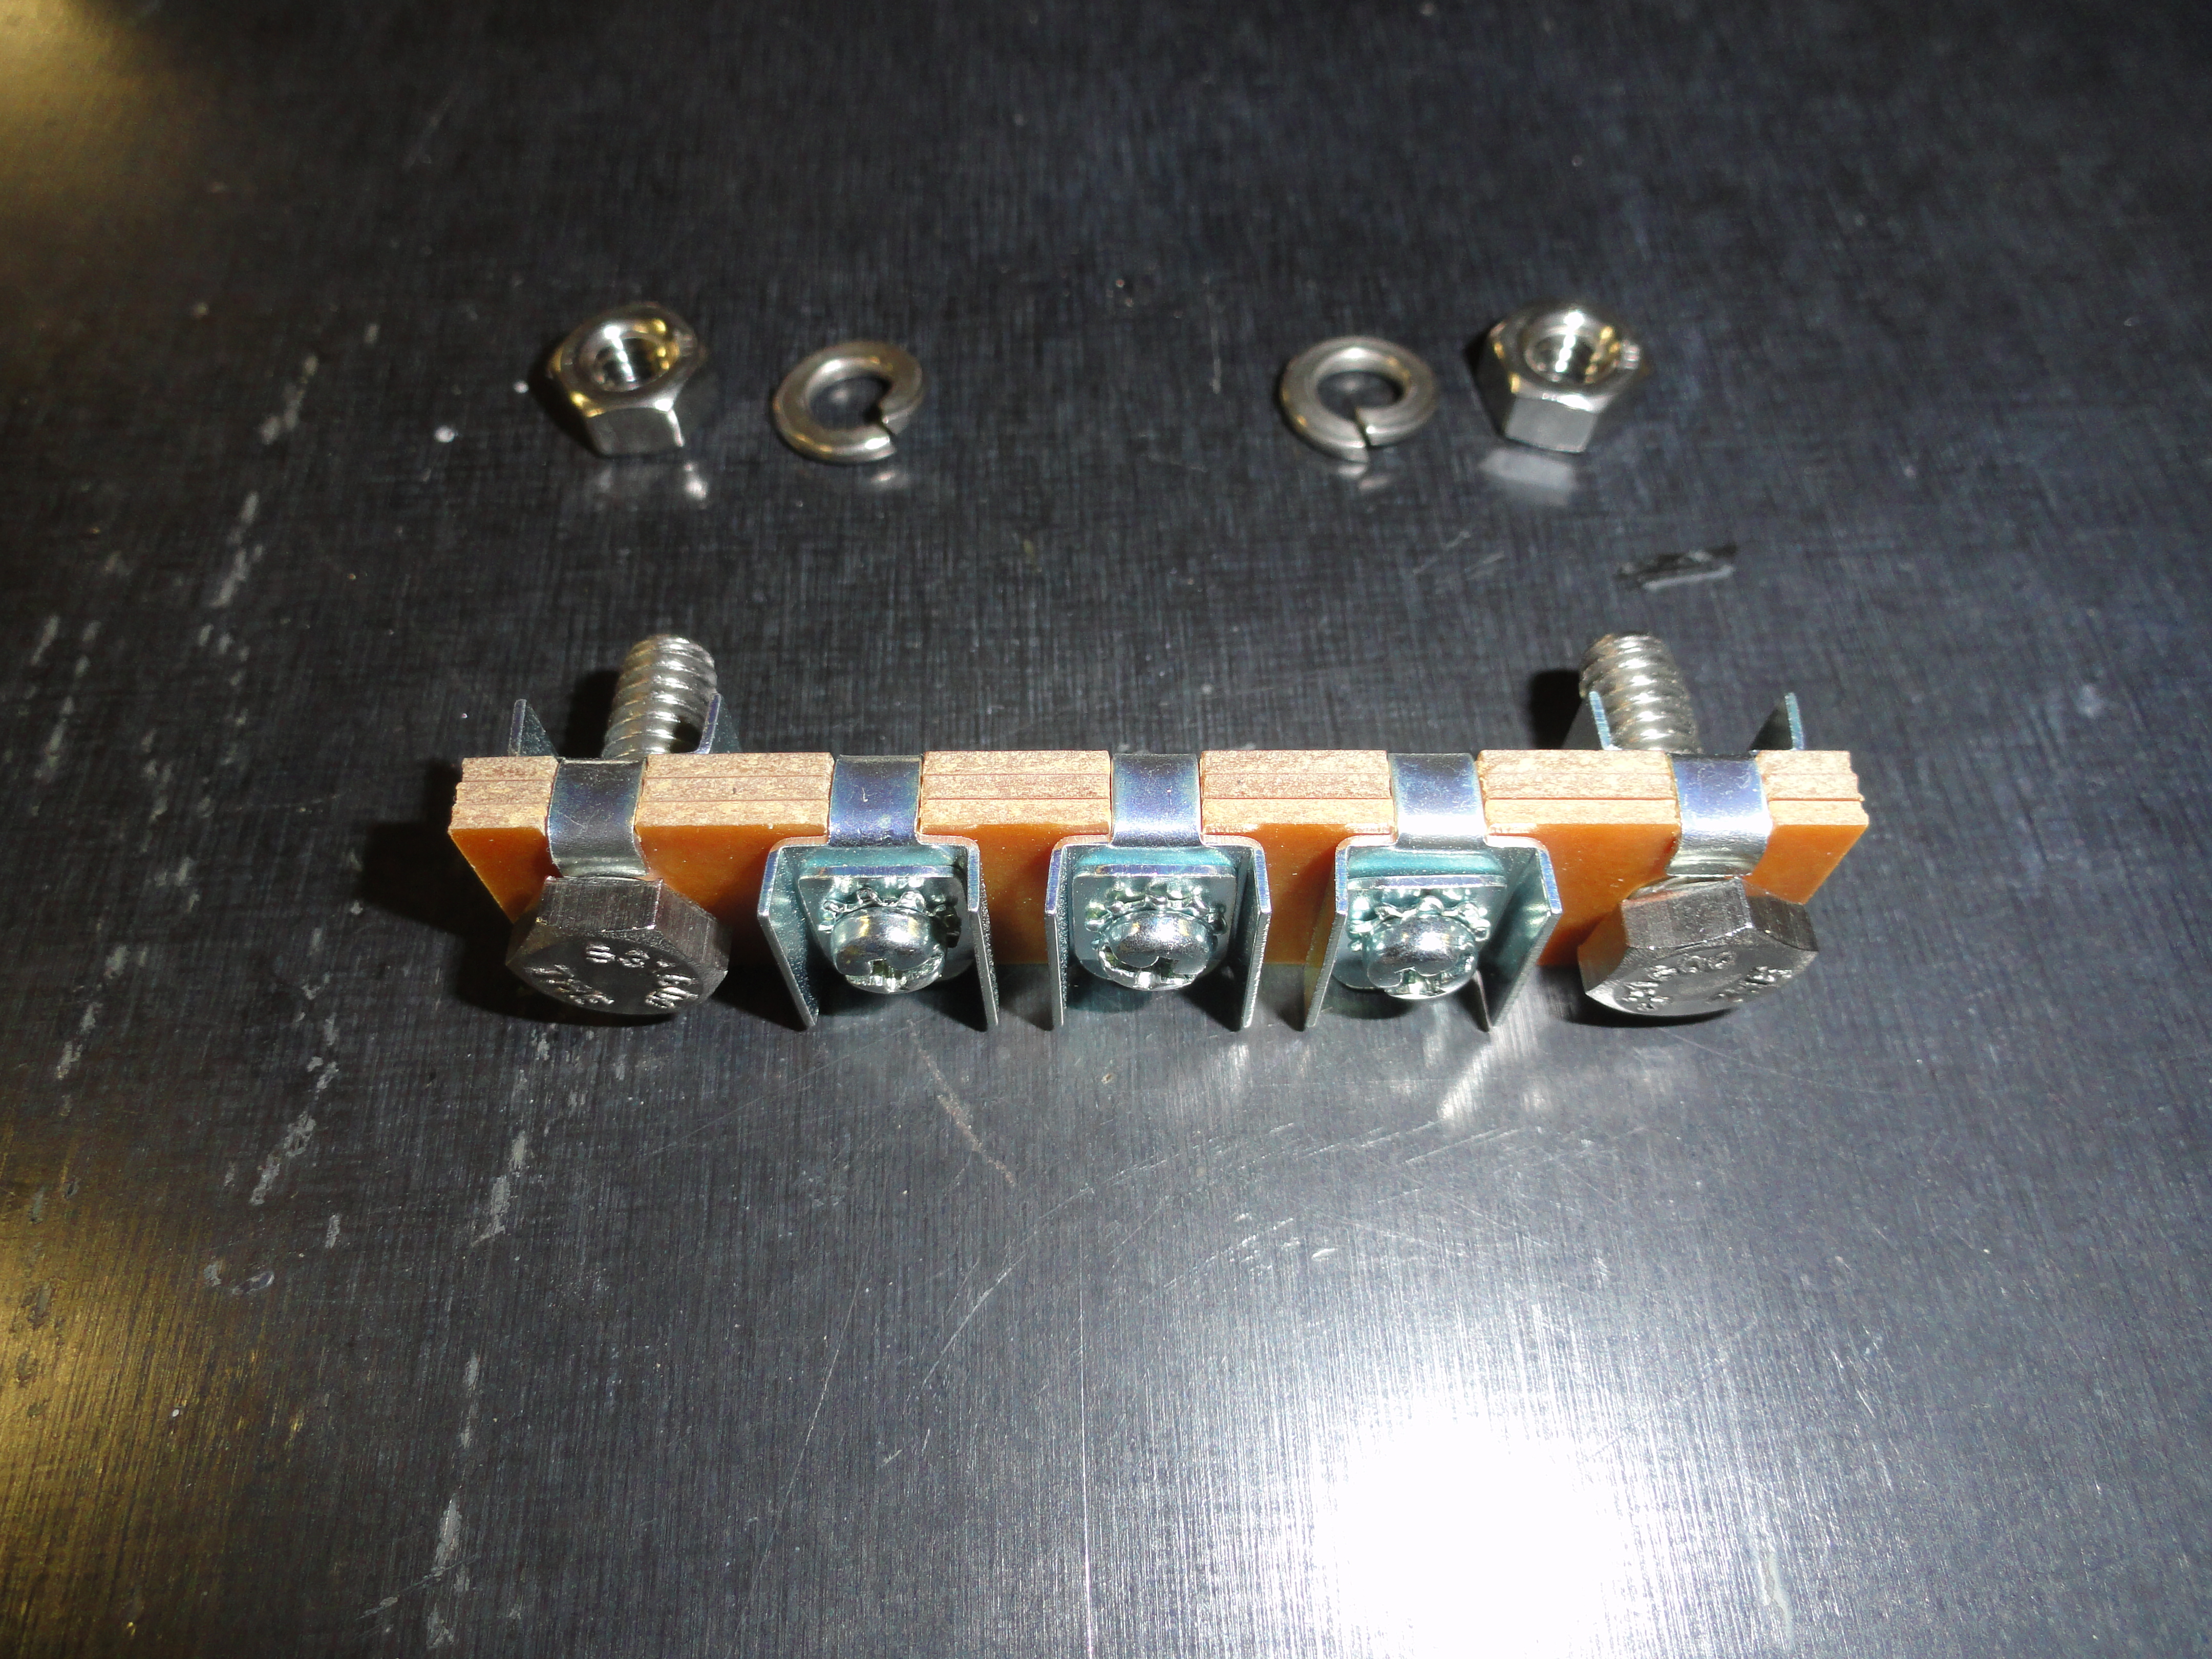
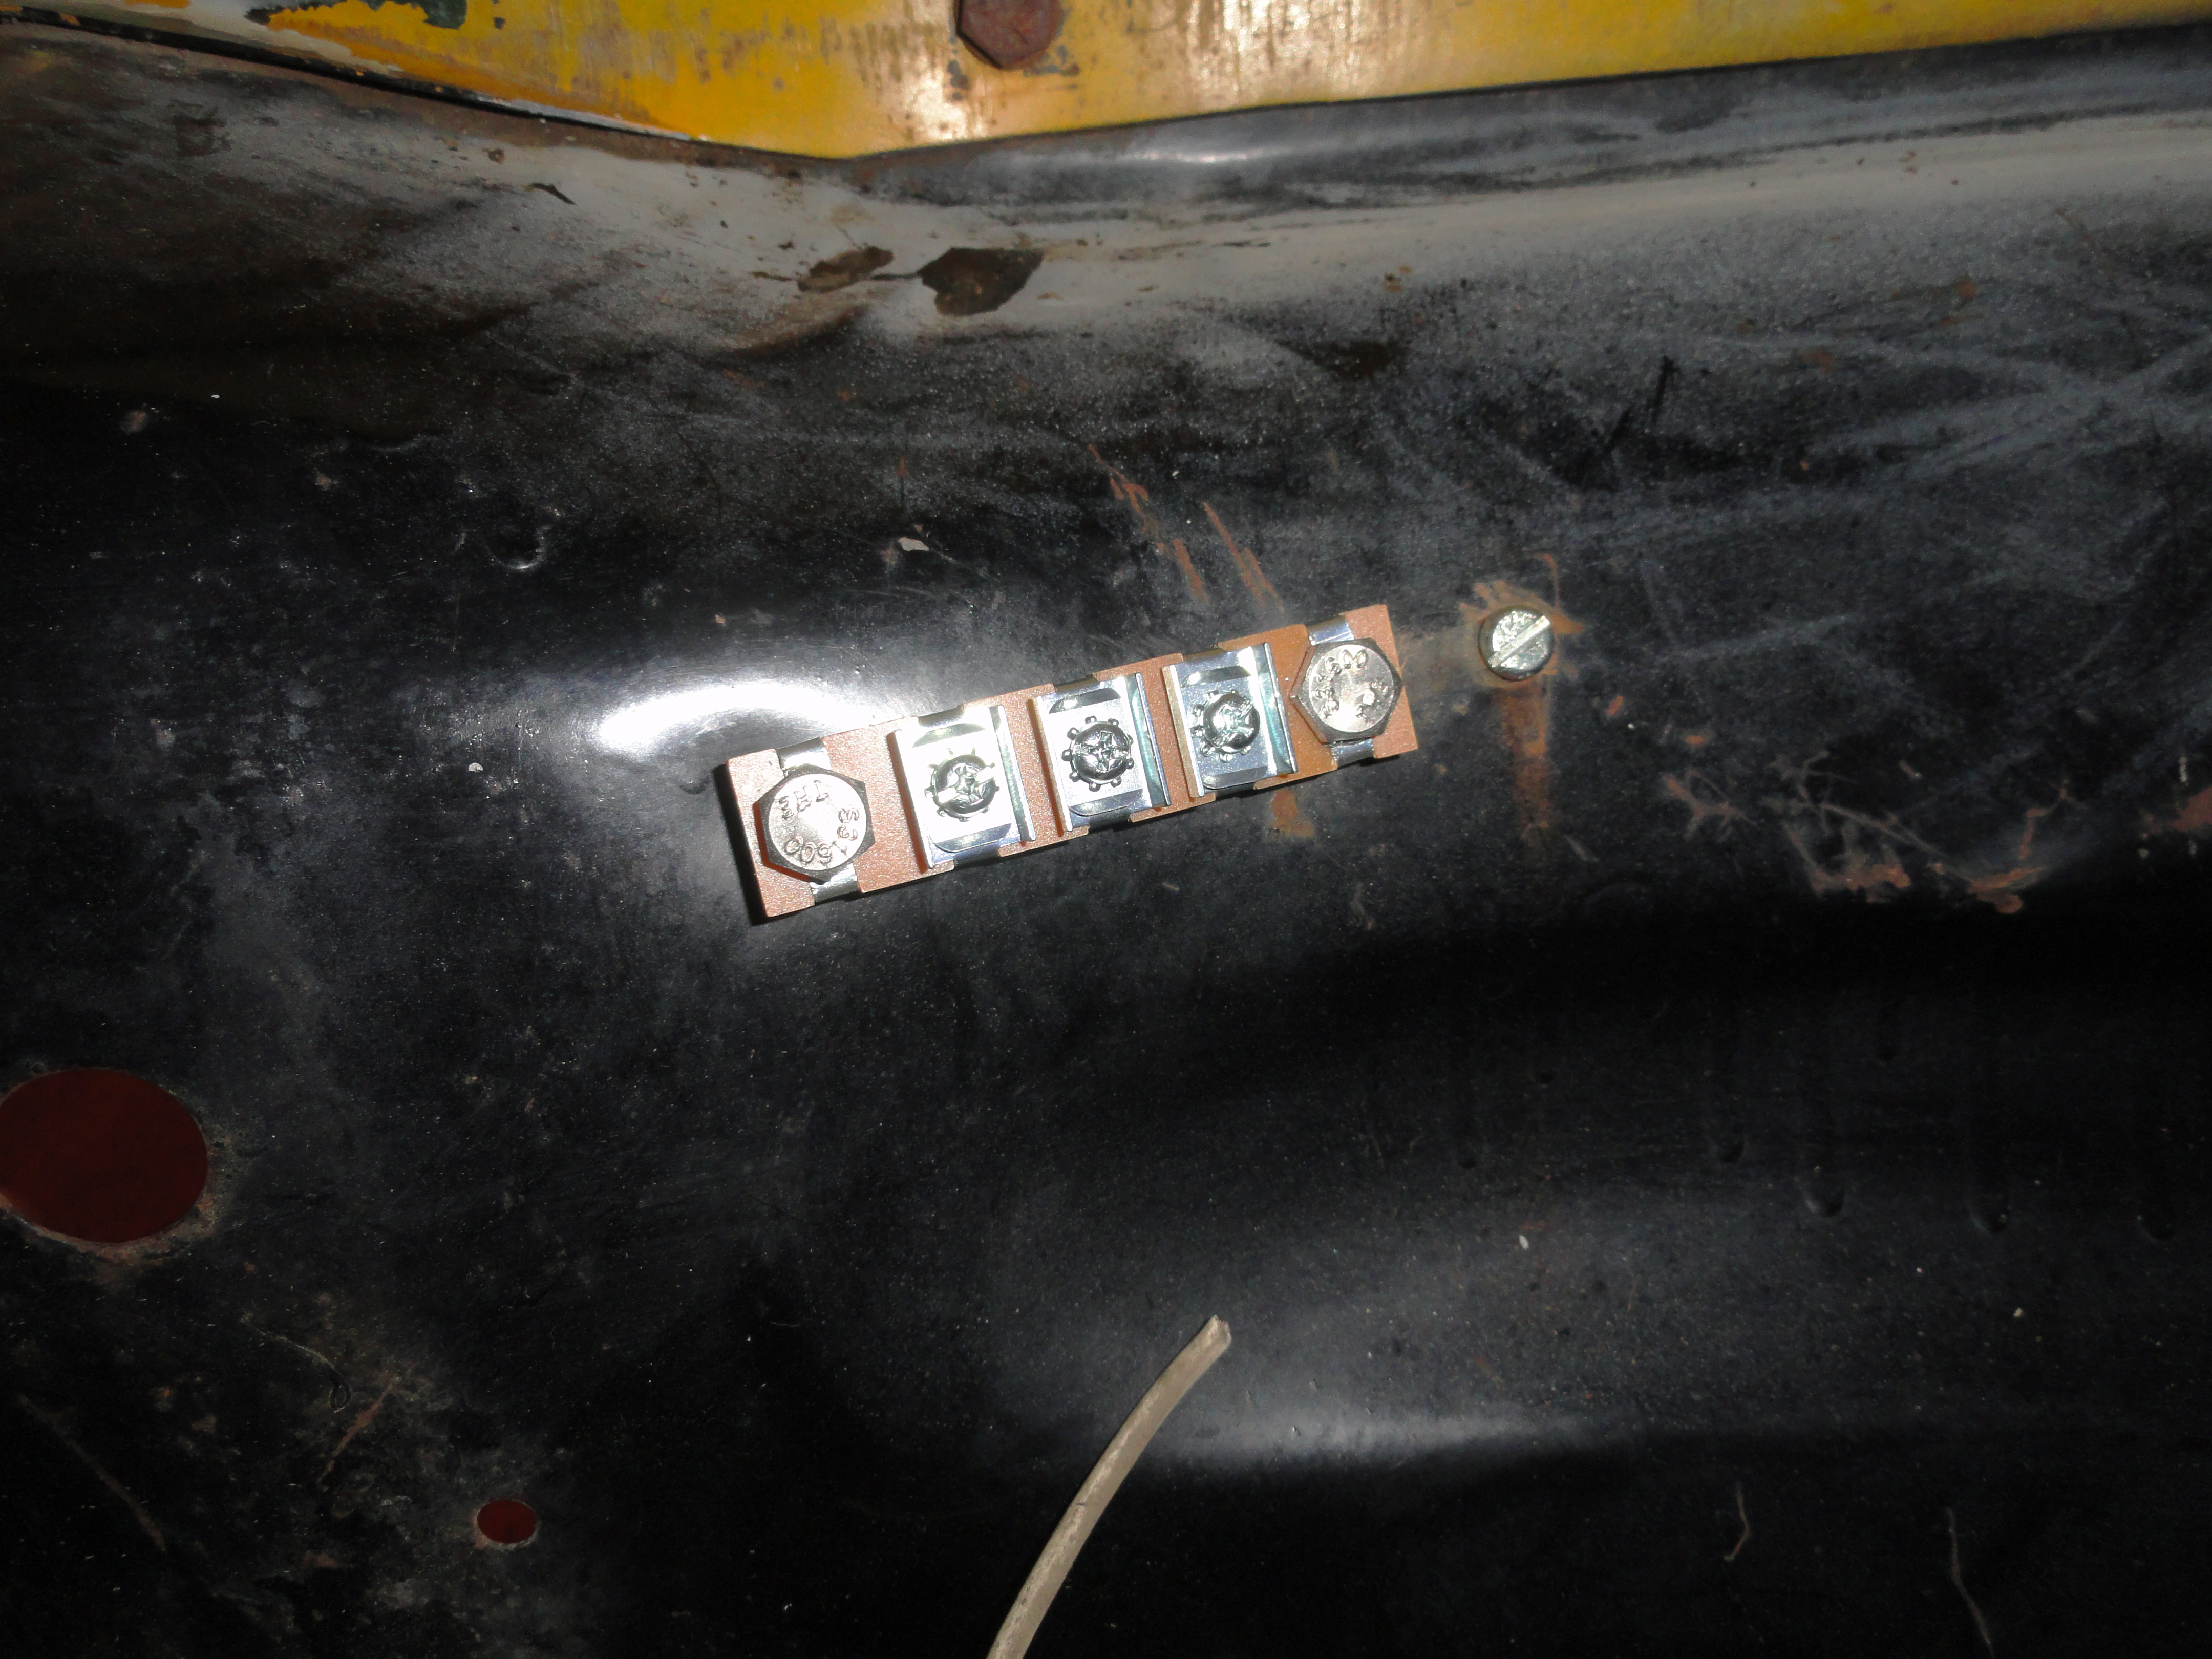
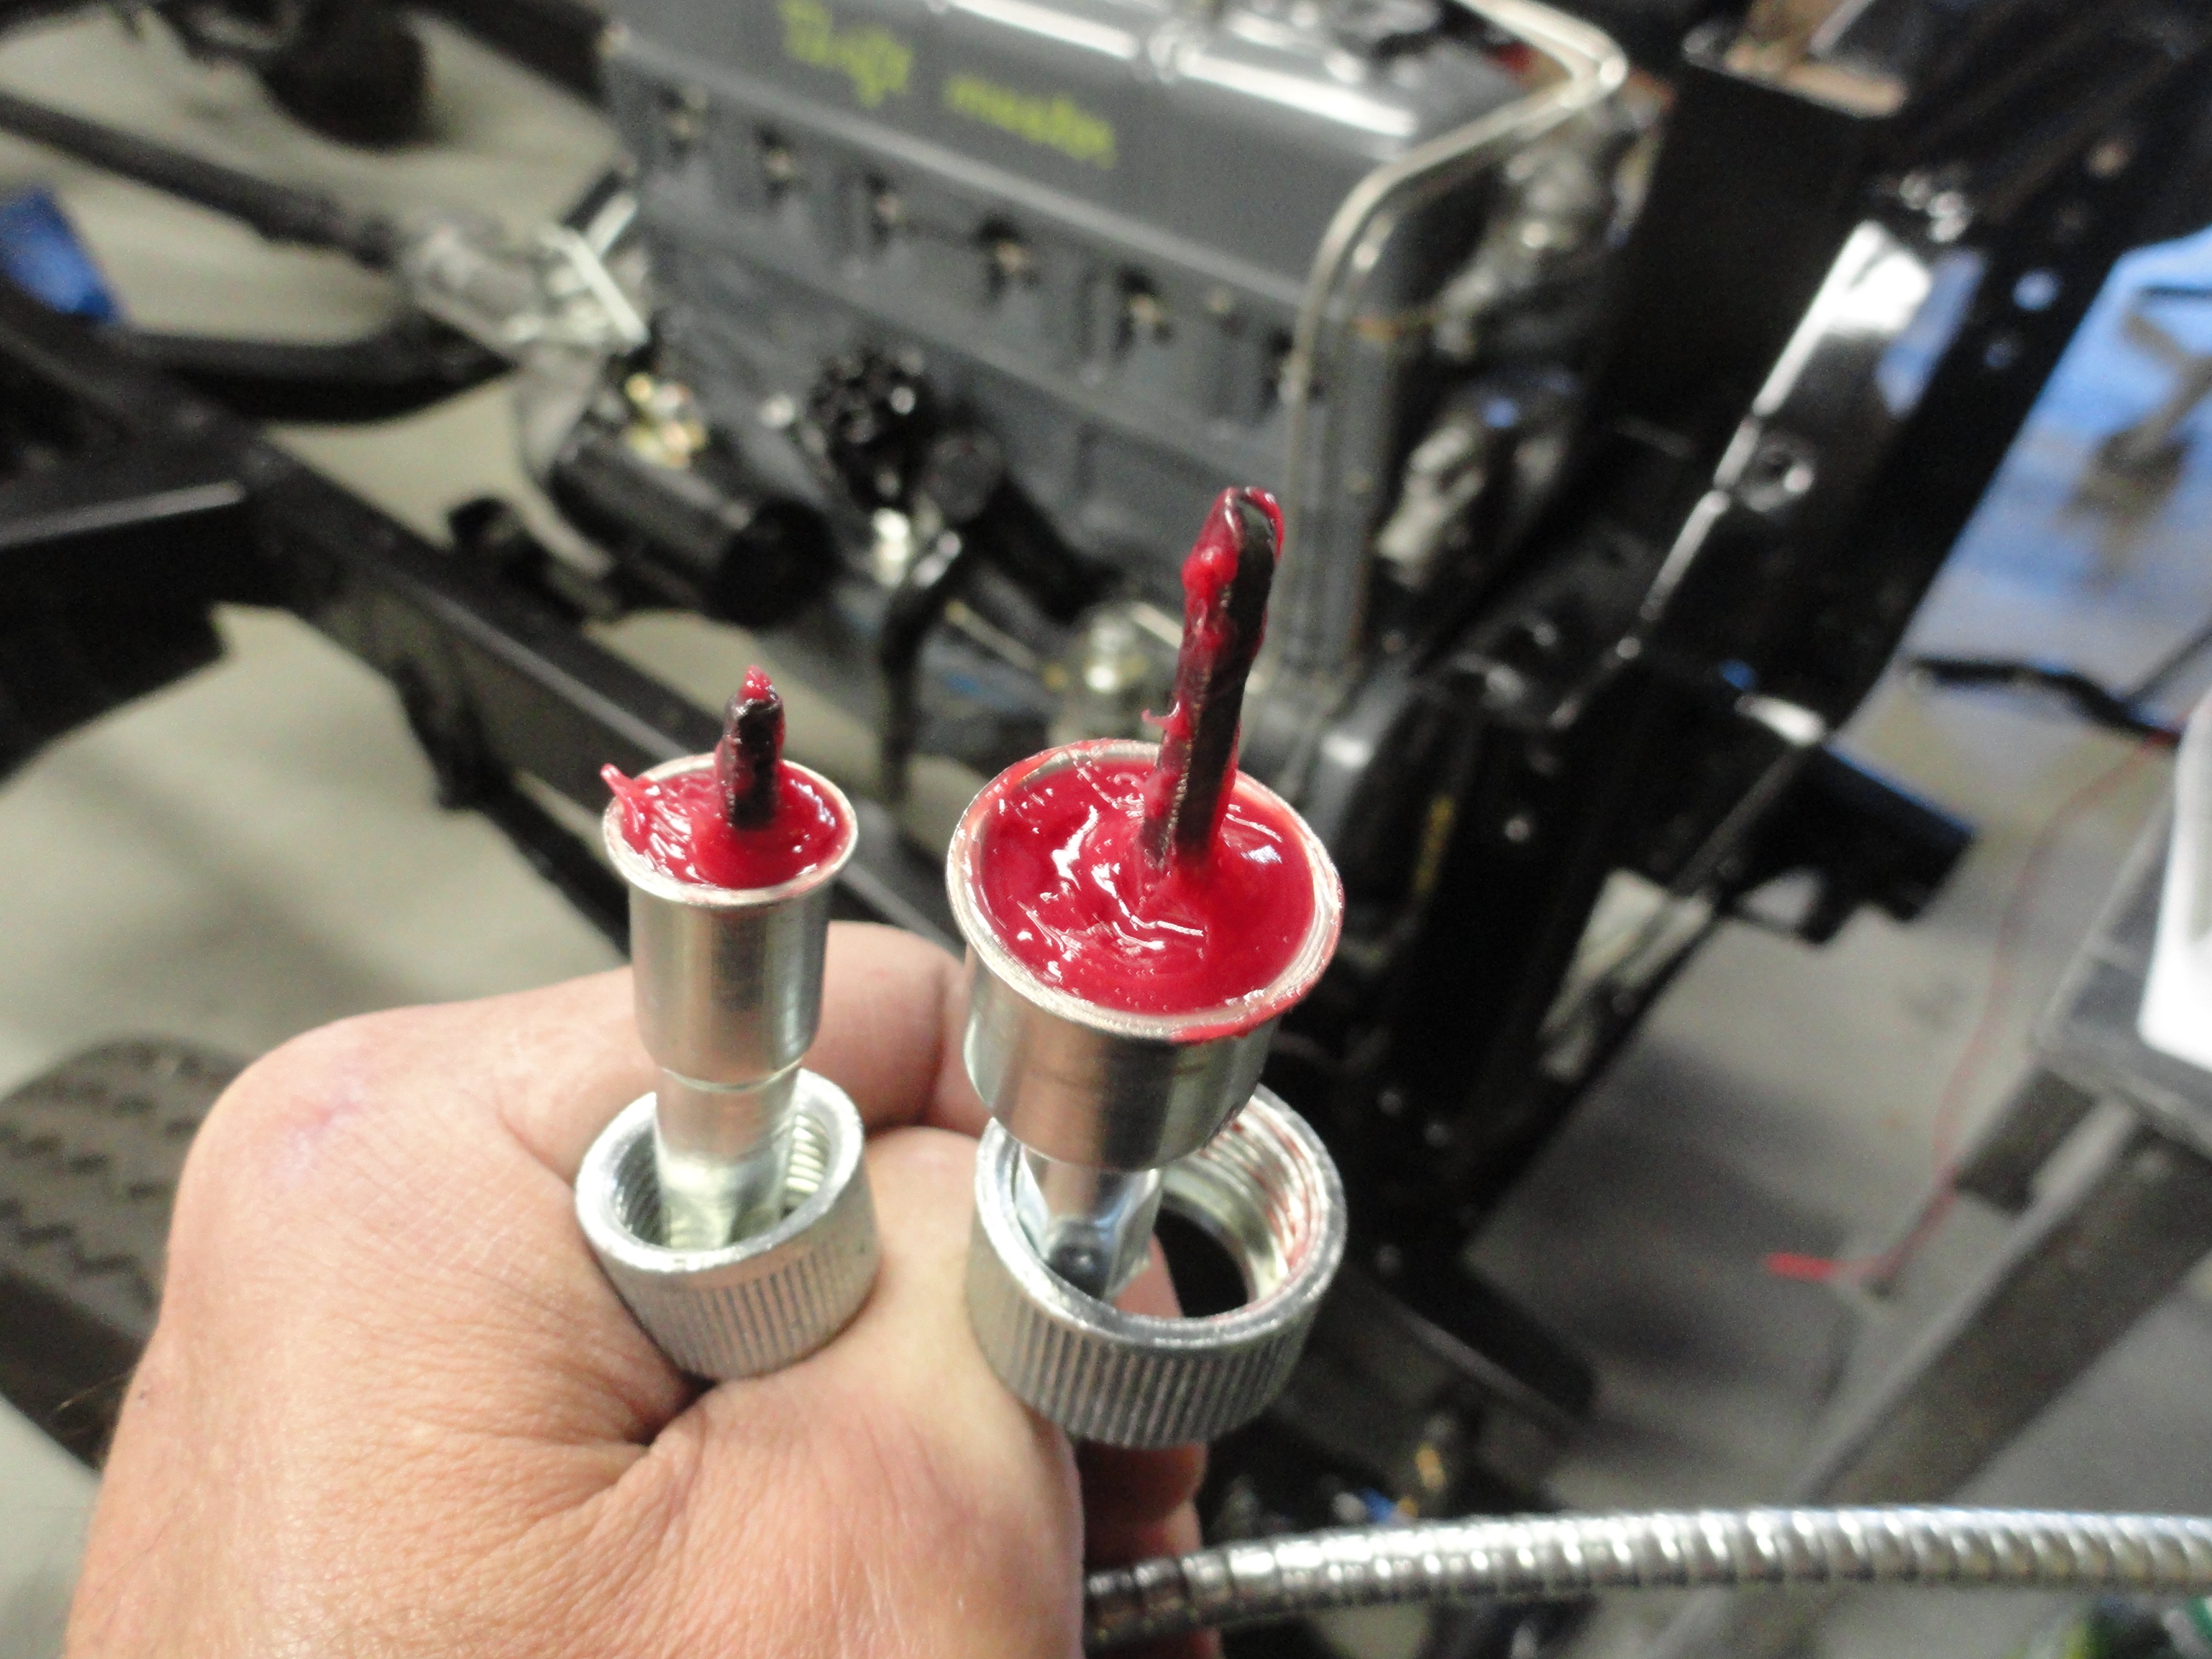
Preliminary Step Four: The Headlight Terminal Blocks, another vendor of your choice part, were missing from the inner fenders. Two of them are required. One on each side. There are bolt holes for this purpose and we need the 3 screw terminal type for this model year. I found these to be of good quality and we need them to finish the job.
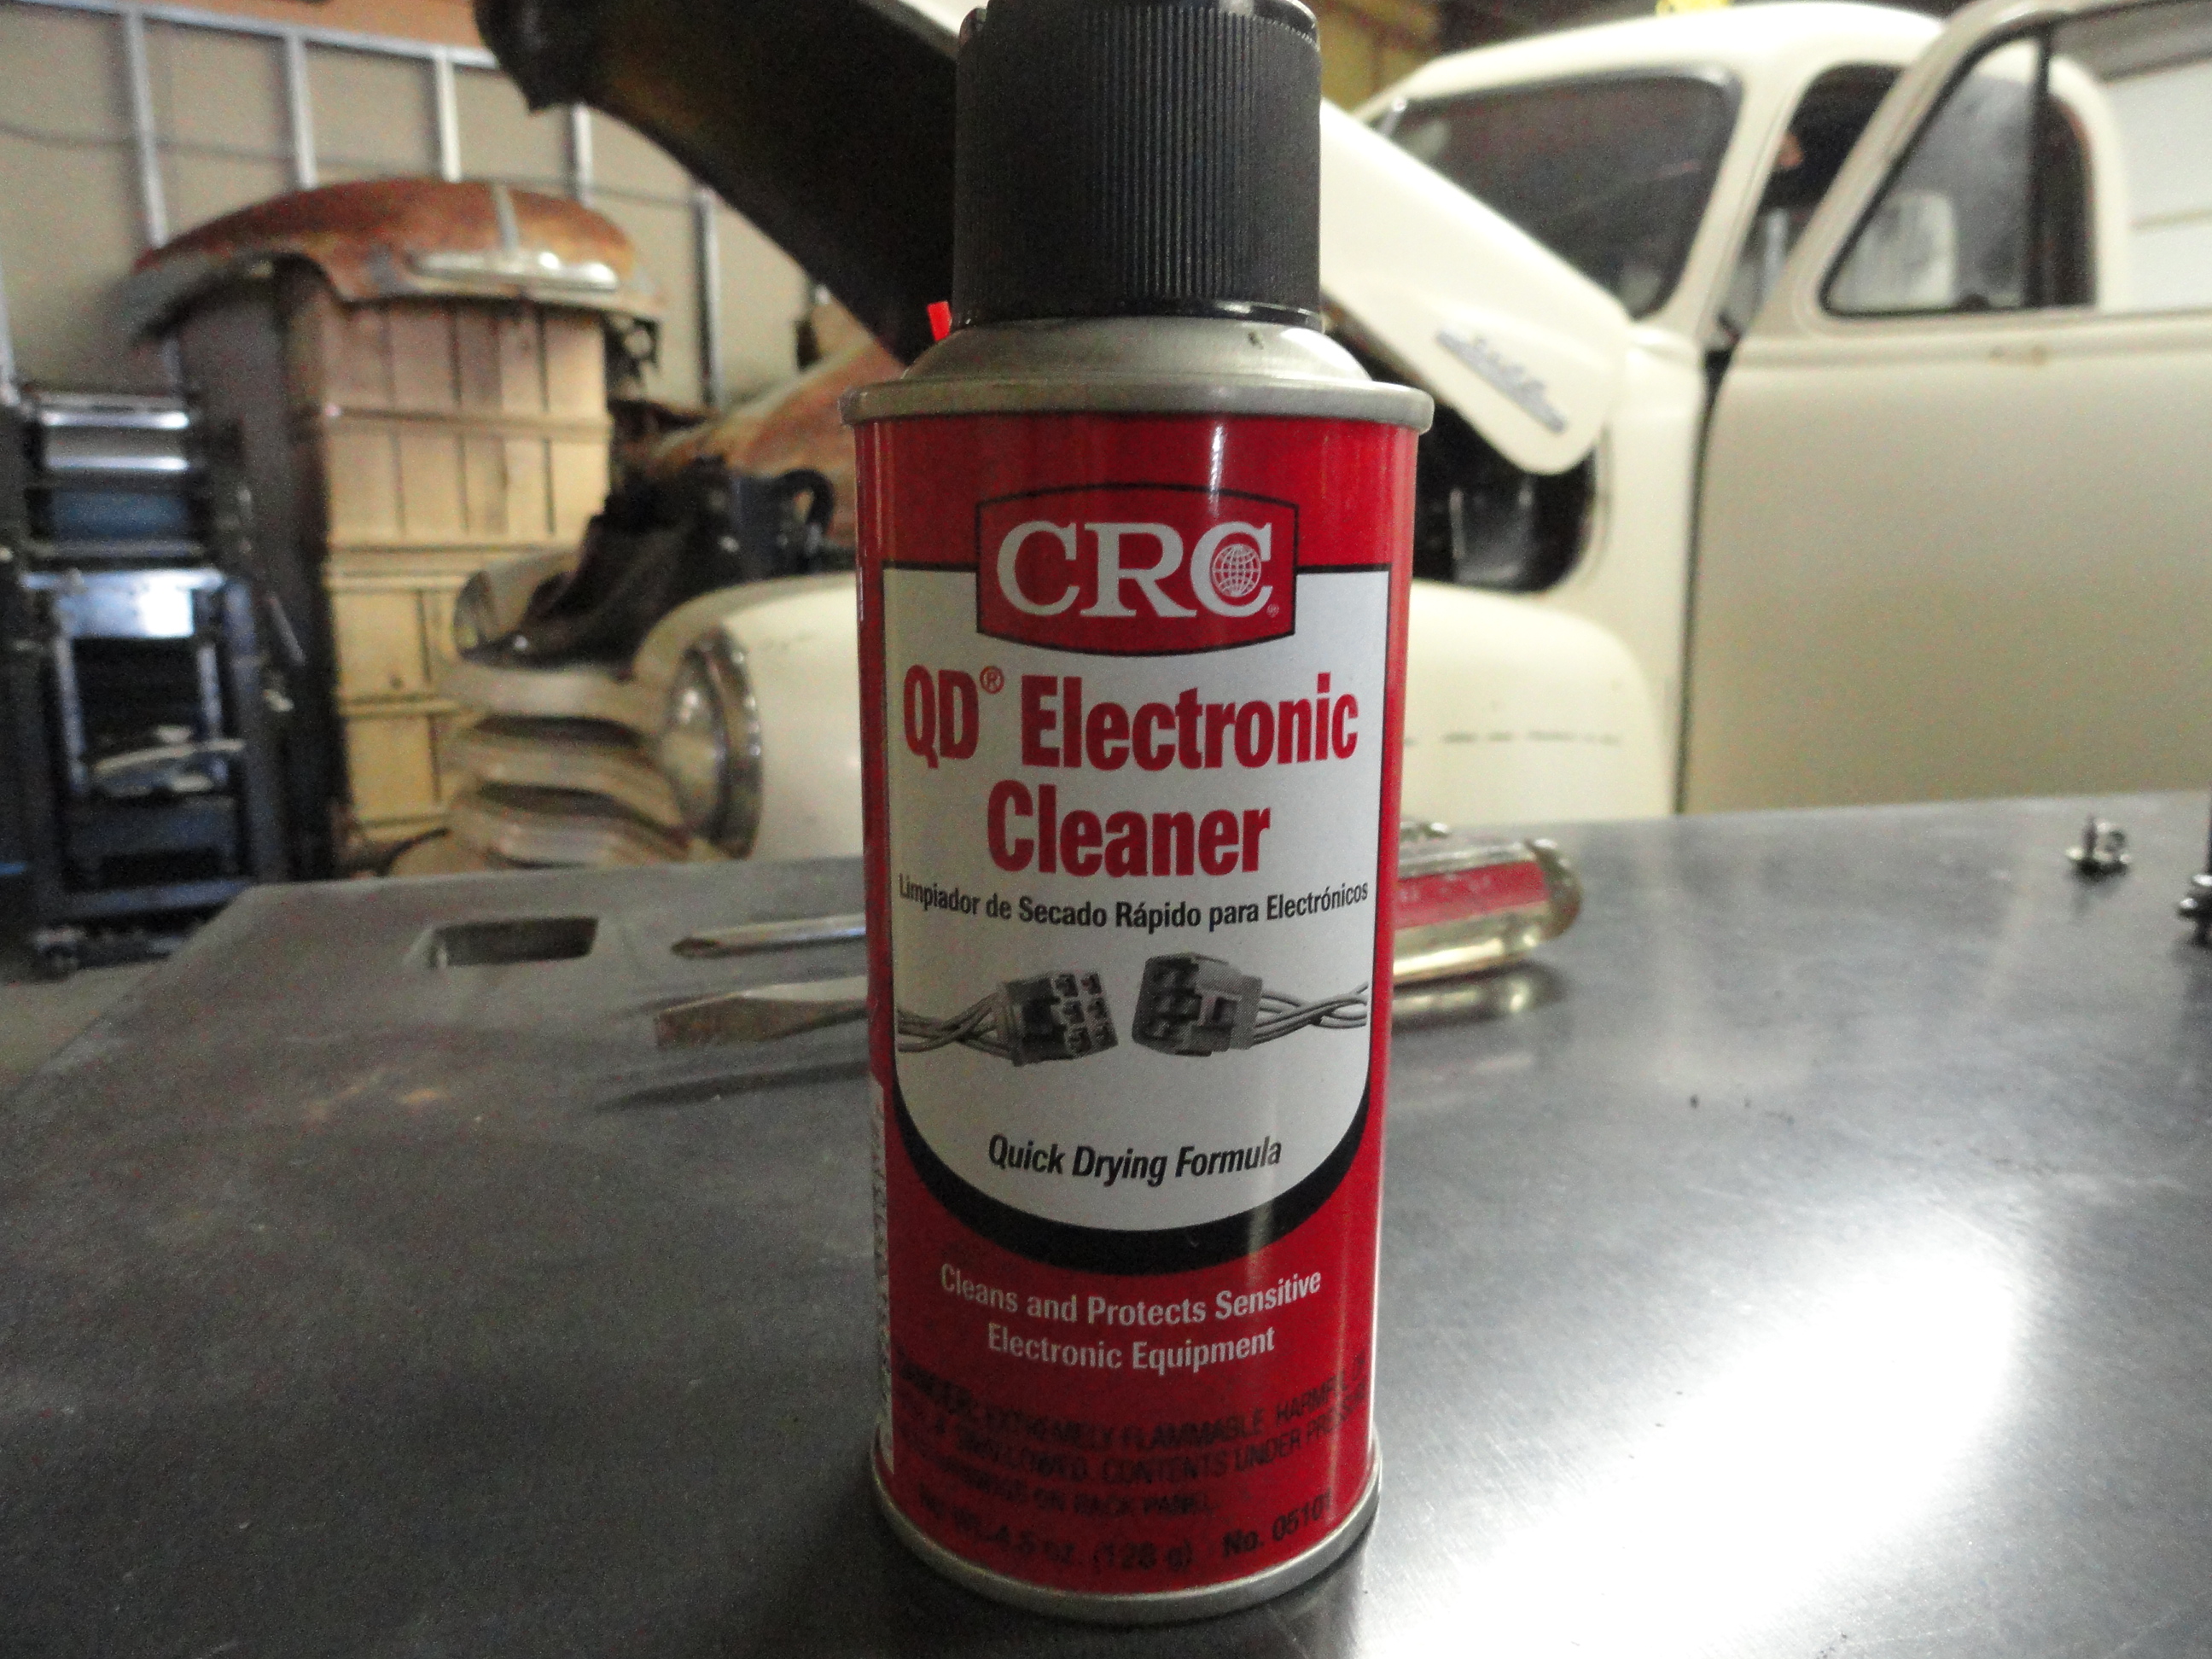
Preliminary Step Five: Since all of the switches, fuse blocks, relays, etc are all unknown (even if they are not) we want to clean and service each part to make sure there are no surprises after the install of the harness. Of course, we need to remove the gauge clusters. To do this right, order yourself a few 12 oz. cans of Electronic Cleaning Spray. This stuff is awesome for cleaning relay contacts, switches, etc. On parts this old, a necessity.
Since no stone is left unturned in this process, we need to remove the gas tank sending unit. This will serve a few purposes. First we can shine a flashlight in the empty tank and see what we see. In this case, pretty clean but before it gets filled again, an inline filter just below the tank (between the soft line and the hard line at the frame rail) will be installed. Meanwhile, let's examine the sending unit.
6 screws and the sending unit comes out. This is where you get to use the Multimeter. Set it for Ohms. Put the positive lead on the center terminal, the negative lead to the top case of the unit. The reading for a good sending unit for a 1953 Chevy Truck is from Zero to 30 Ohms. Zero is empty, 30 is full. Move the arm through its full scale. The ohms should read off cleanly with no jumping around or erroneous numbers. This is where your cleaning spray comes in. I was able to make mine read like brand new after cleaning. Reinstall making sure to put it in so the arm is free to move up and down.
Next week we will get a lot more of the preliminaries out of the way. There is a reason for doing this slowly and deliberately. You can see where all of this is going by taking a sneak peek at some of the pictures and diagrams to come at:
http://www.devestechnet.com/Home/MorePix#ADWiringInfo