


 Welcome to Deves Technet.com Forums. I encourage everyone to register so we can get a better idea of the traffic and its usefulness. Please leave a word or two describing your stay and what we can do to make it more enjoyable. Thanks!
 Tweet
Tweet
Bed Maintenance on a 1953 1/2 Ton
Those of you following the Saga of this particular 1953 AD are probably shaking your head at the shear intensity of these articles. It's one thing right after the other, but in the end, the truck will make a very good shop vehicle. This week we take a look at the Bed. Now not alot of thanks to me, but rather several other contributors, we have the best, most first class, comprehensive Bed How-To Article right here on the main site. But this is different! This is me actually taking the steps and doing the work in real time! So there are a few things that will be added to the main article as a result of this.
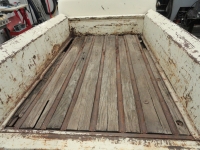
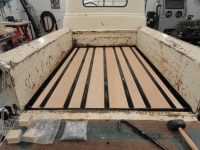
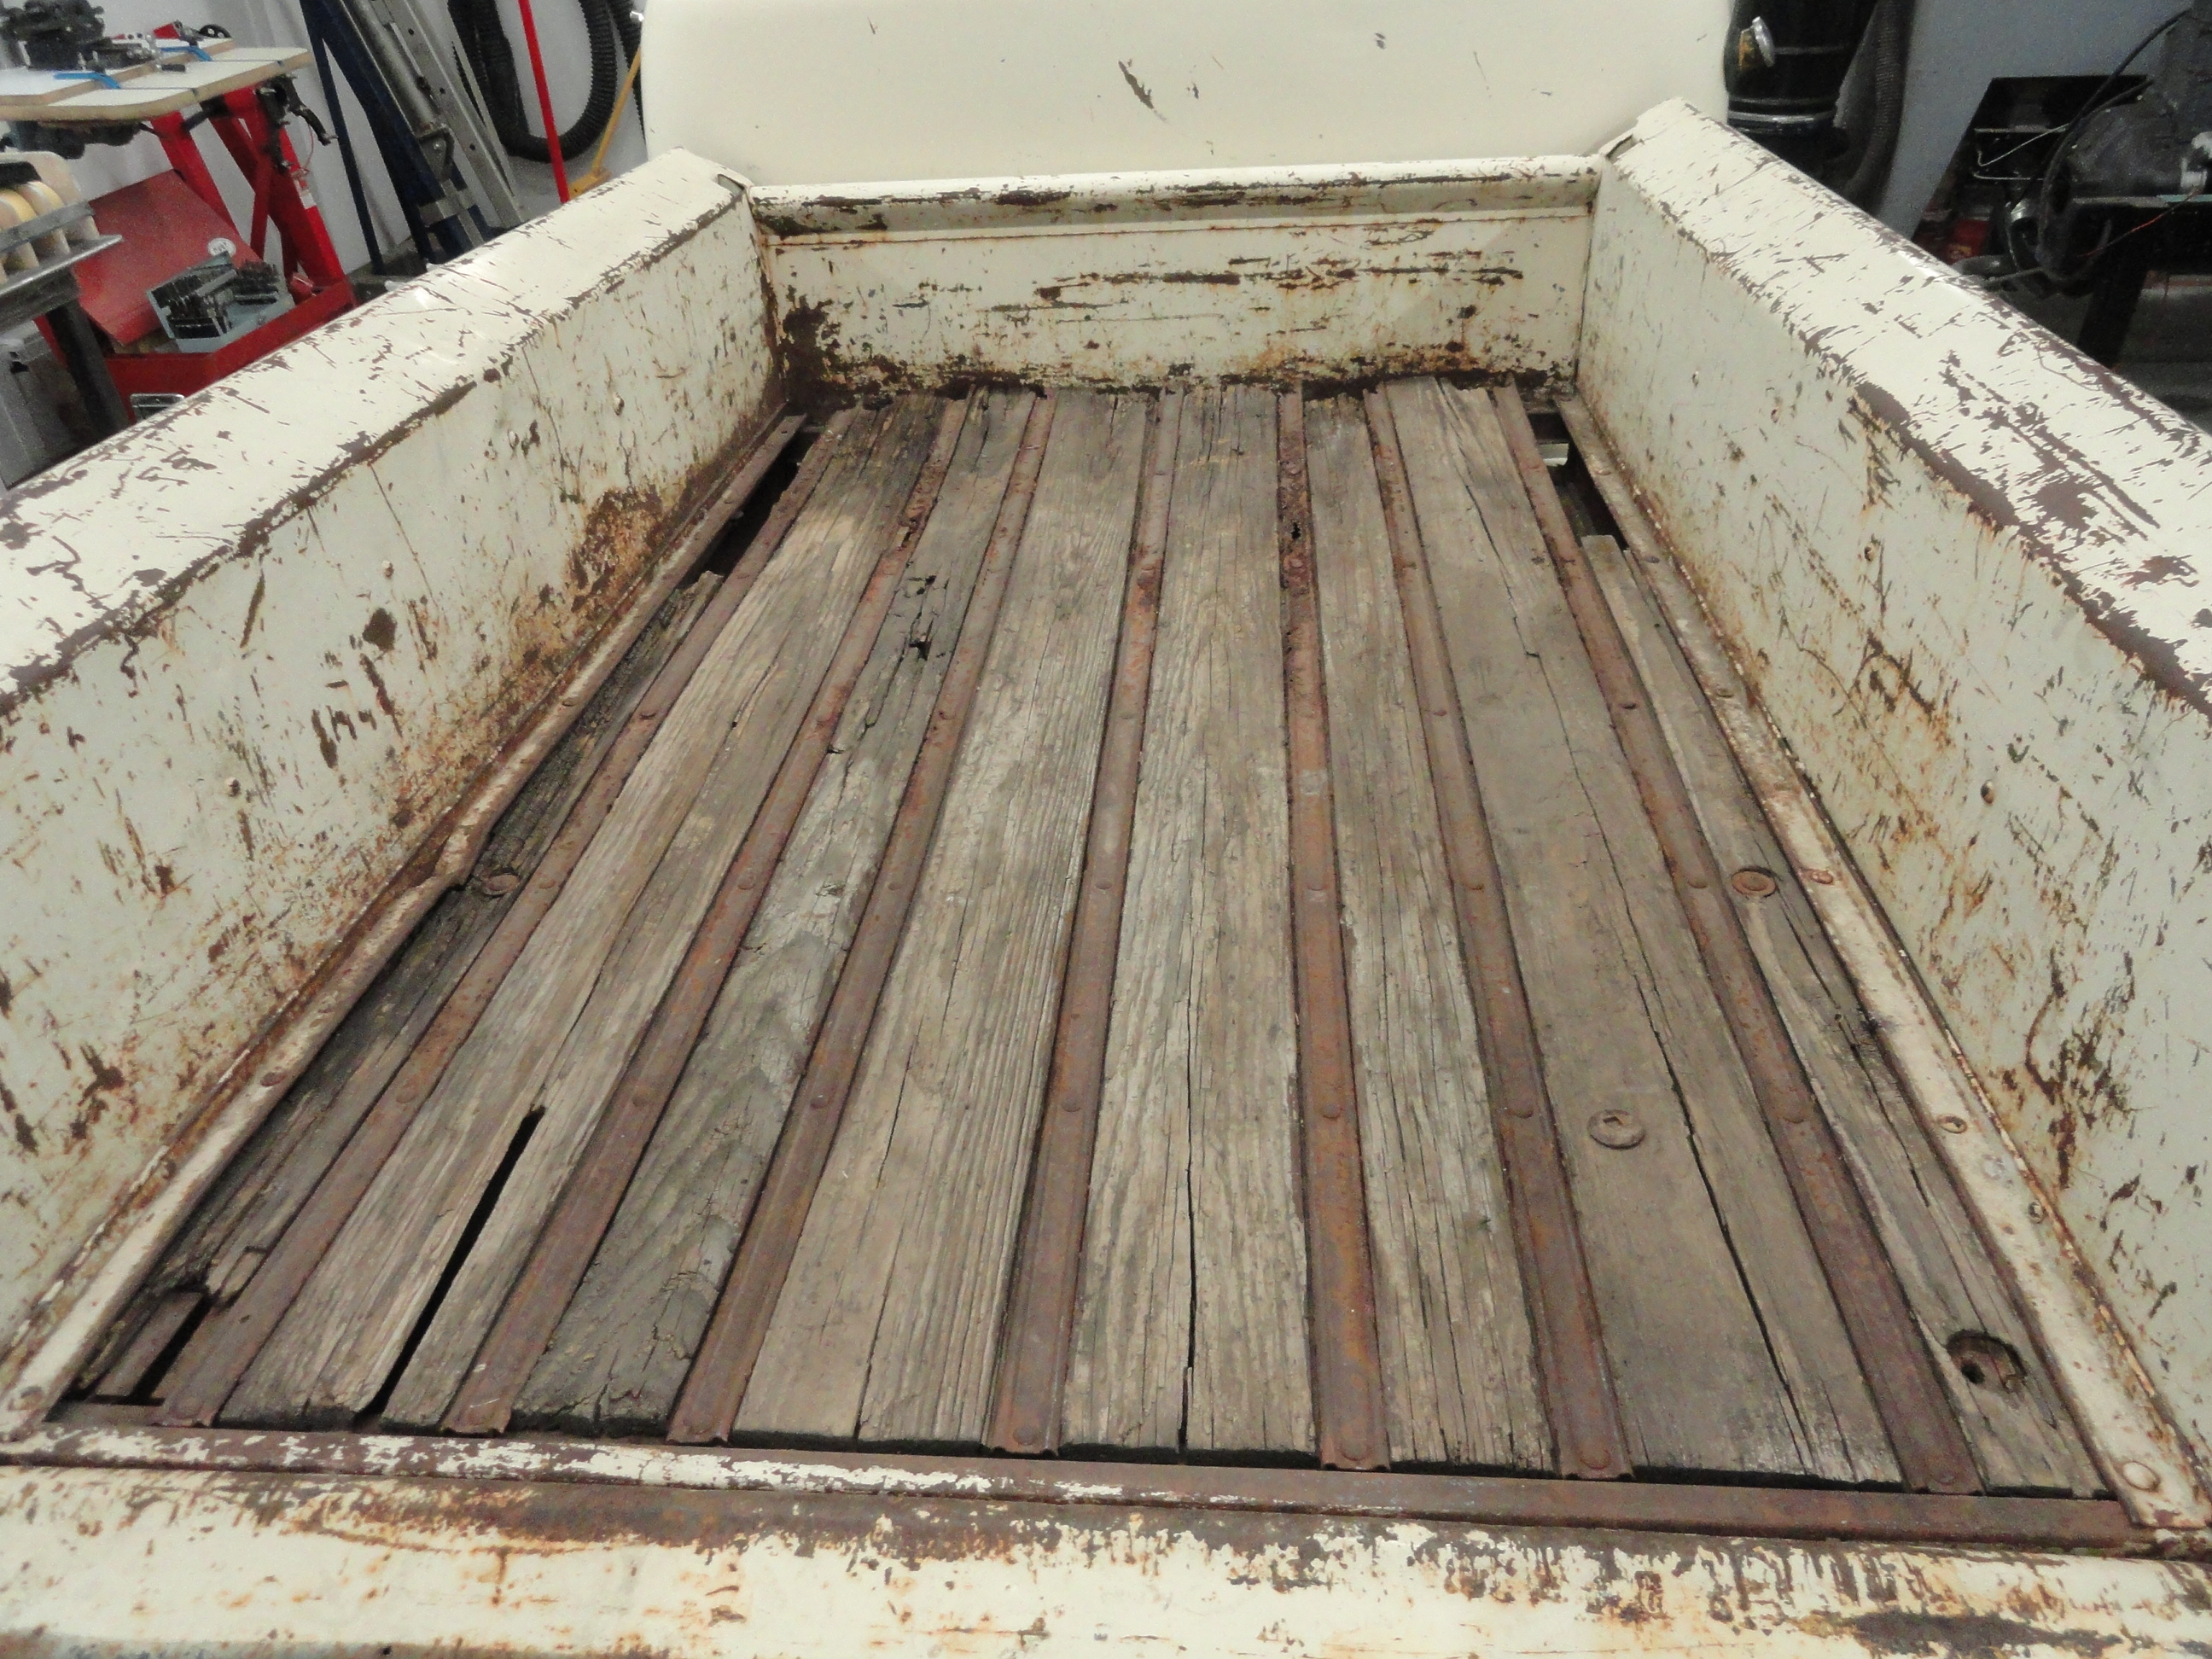
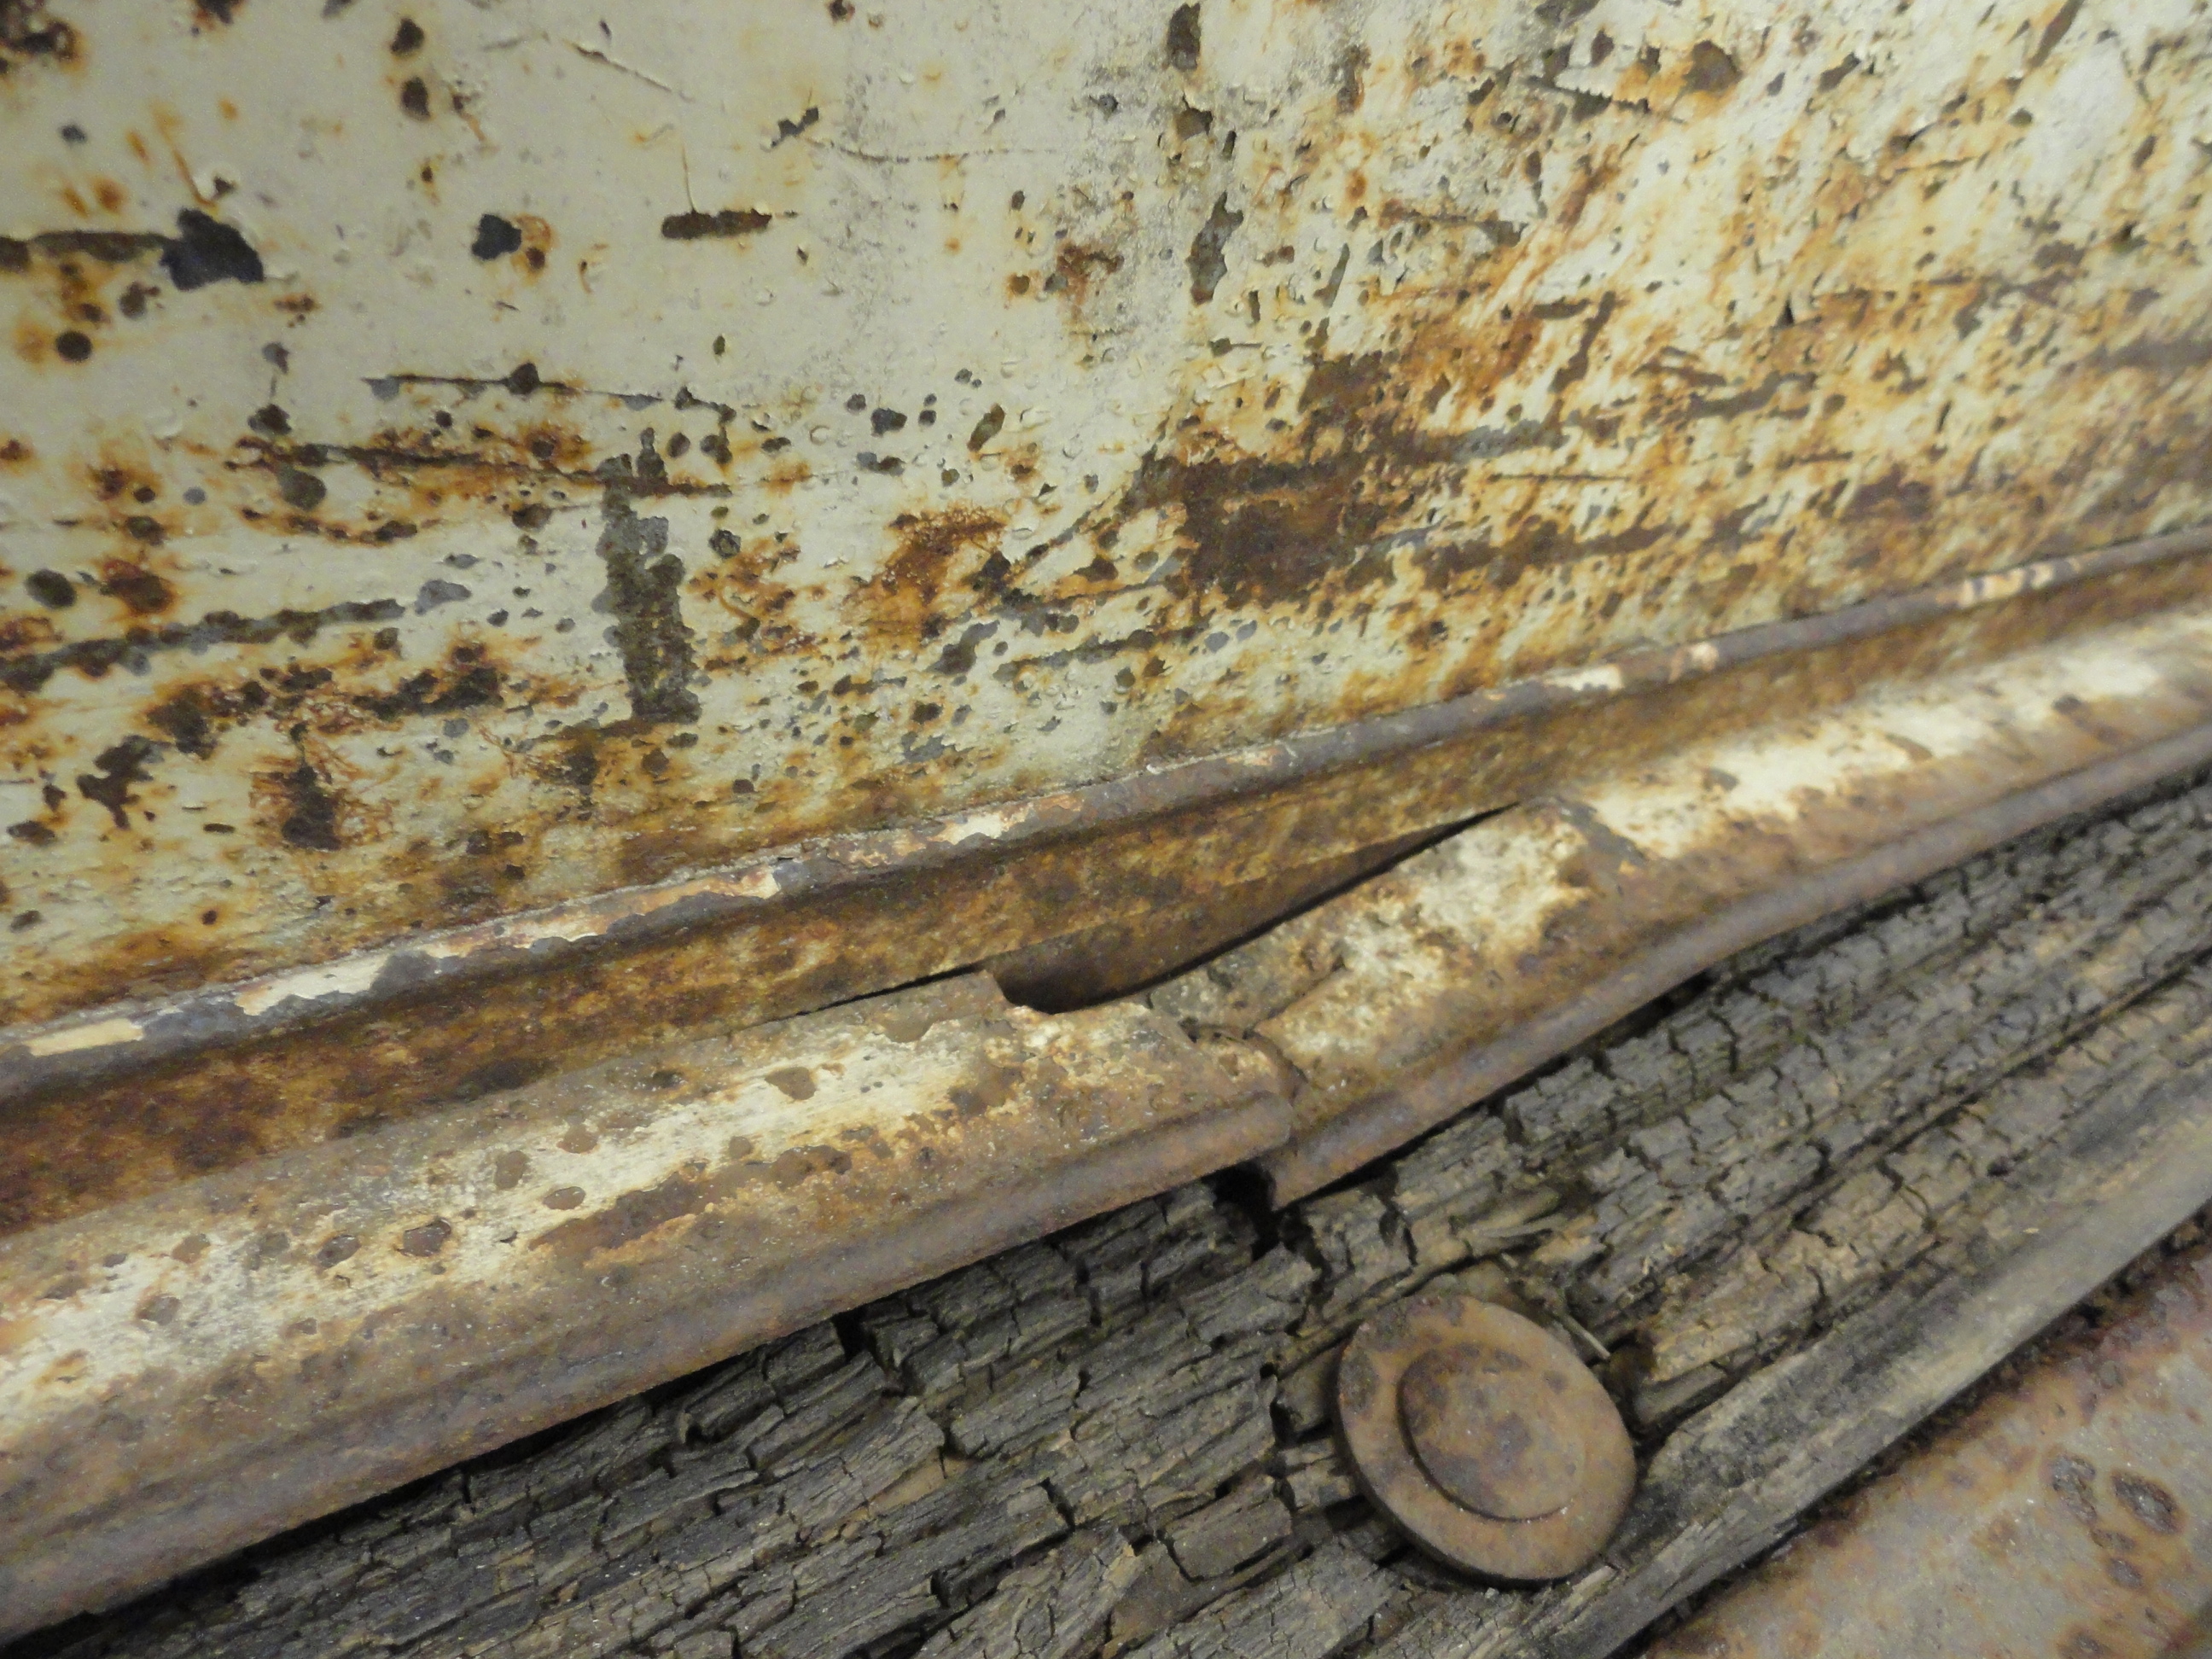
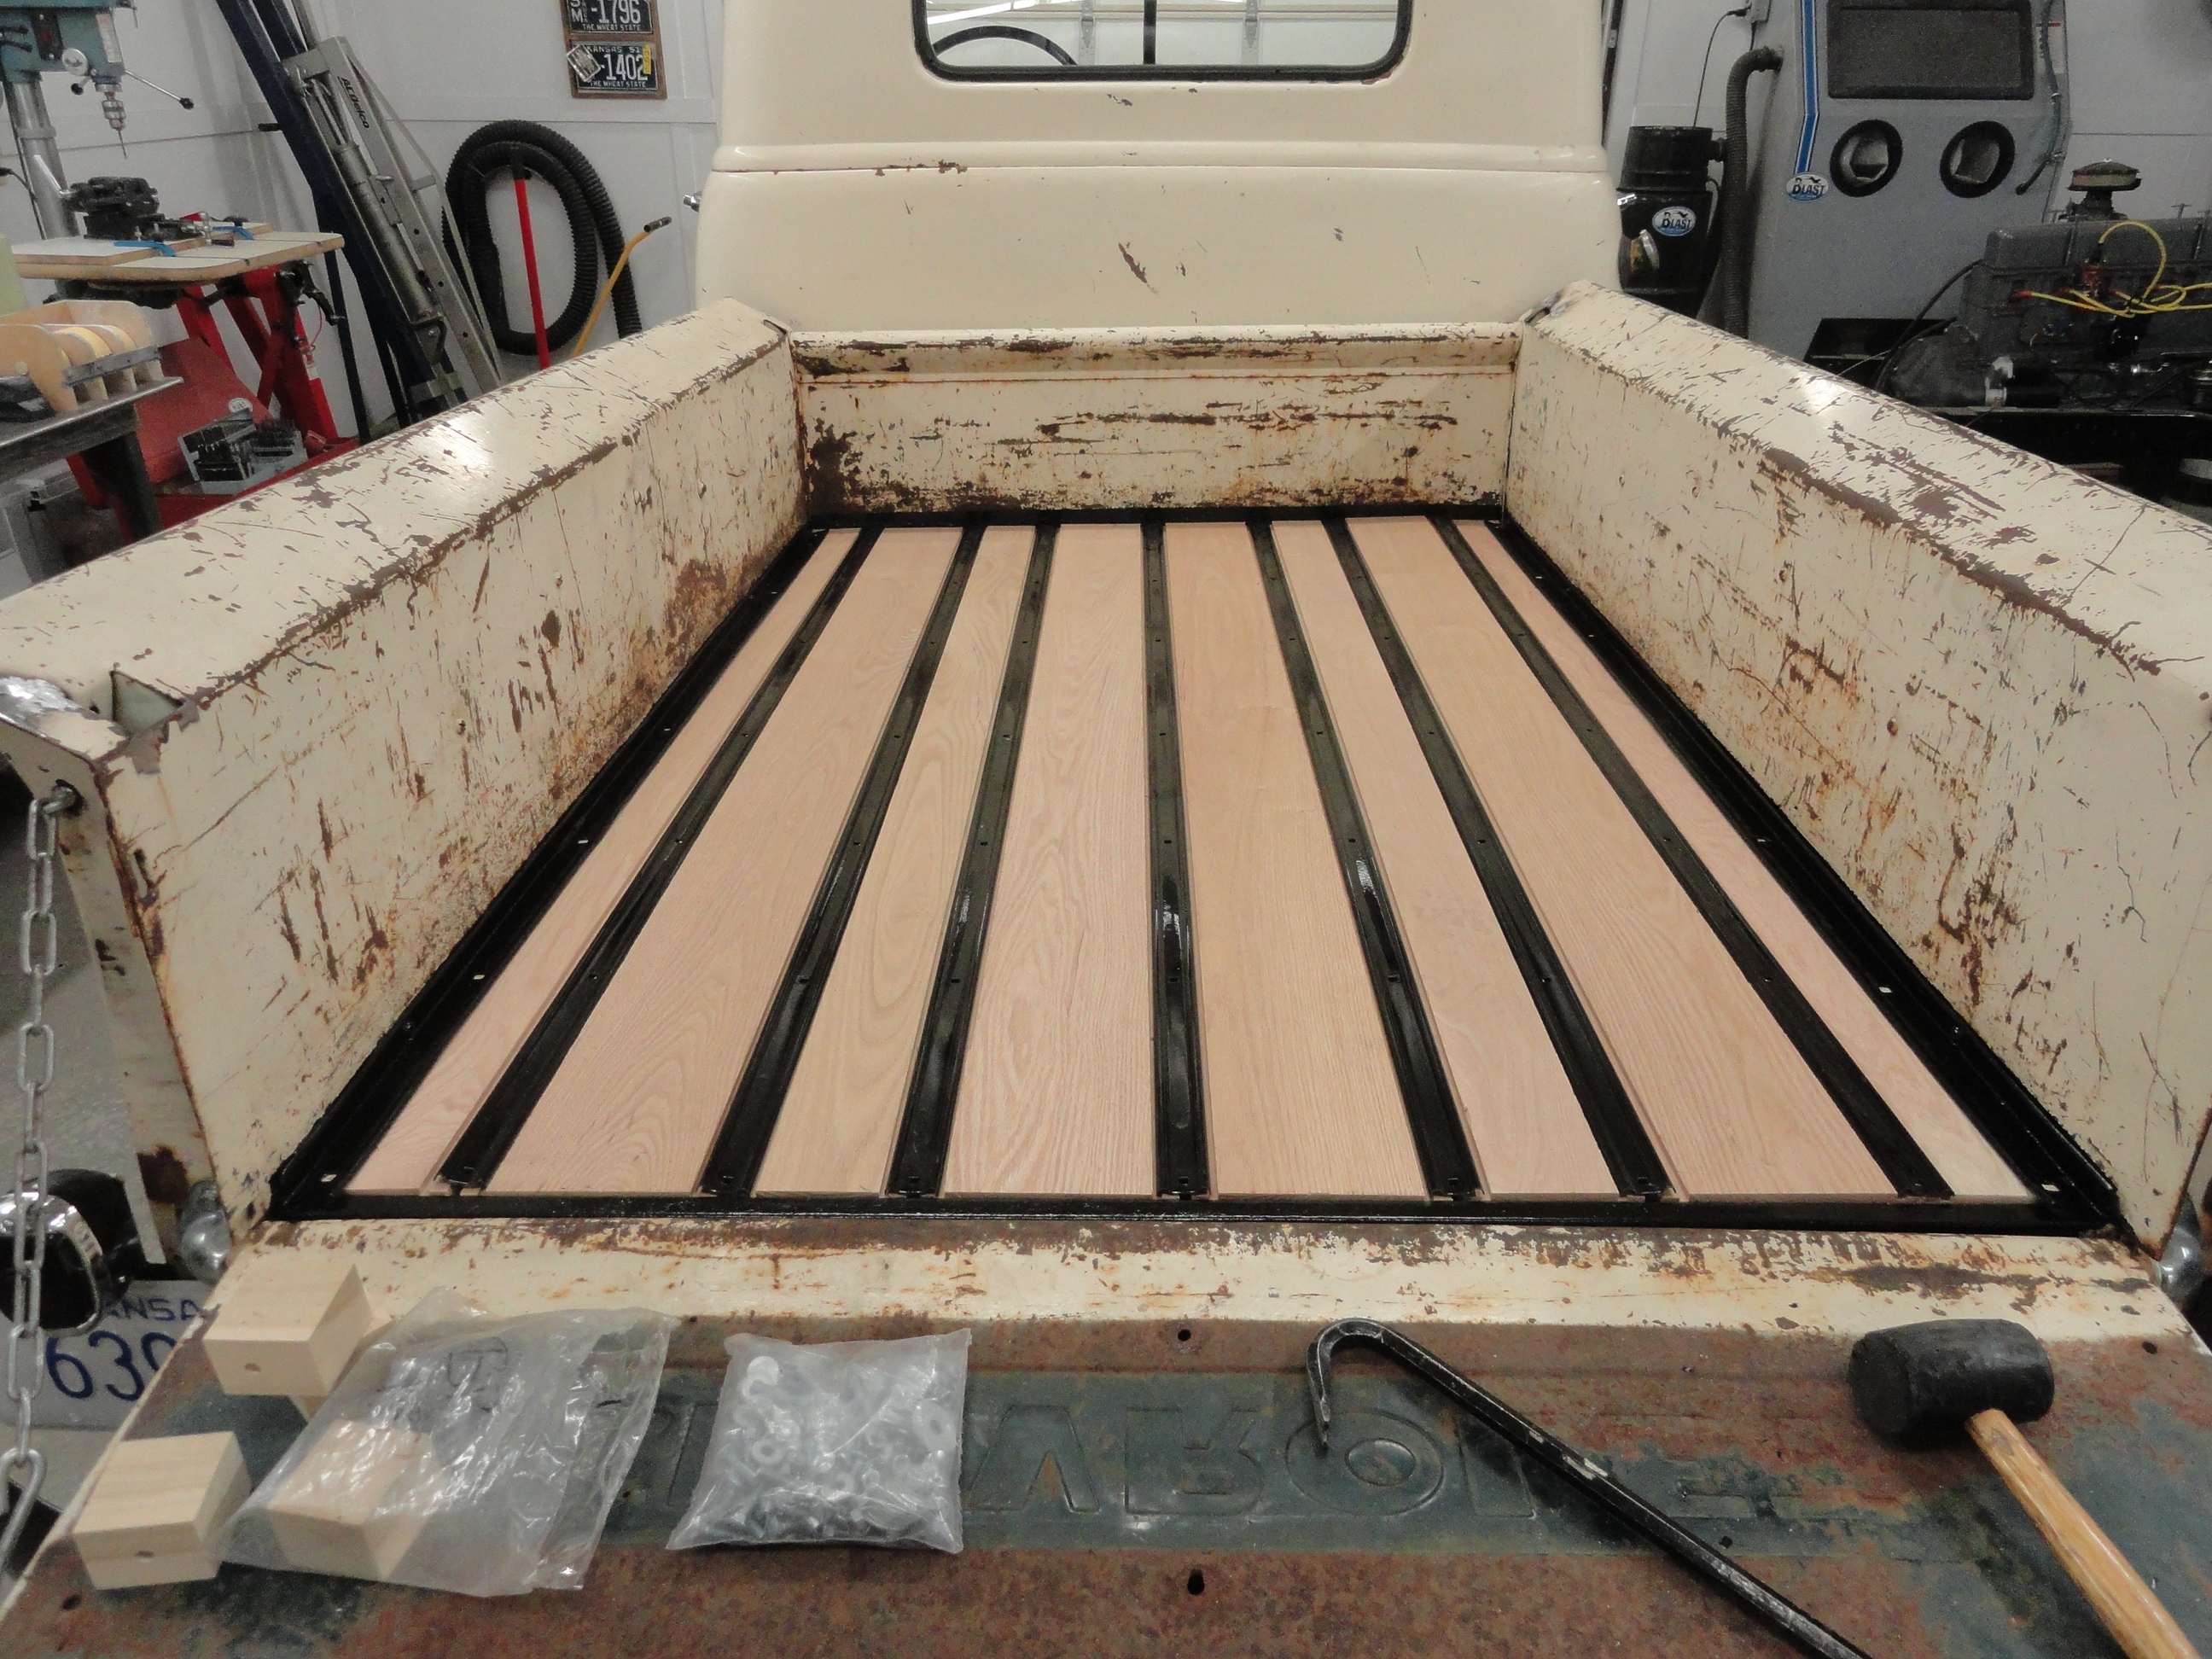
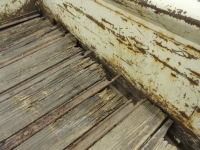 This is a good time to do something with this mess! These pics are where we are starting. Keep in mind this is a shop truck so we won't address the paint just yet. What we WILL do is make sure to address any rust problems or any issues that will come back and bite us later. This is probably the original wood. It appears to be either Pine or Douglas Fir, so what we will do is try to get some clues to how it was bolted to the frame, what damage needs repaired, and what needs to be protected. With all of the wood removed, it is apparent that nothing has been done to protect anything. All of the original paint is gone, everything is coated with rust. The good news is, everything is in relatively decent condition as far as little rust through and mostly serviceable metal. Time to break out the Welder!
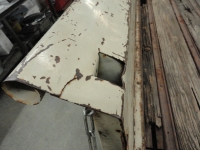

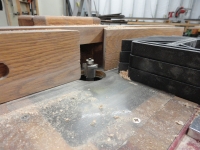
There were a few areas needing to be addressed with the MIG. As you can see, we can do one of two things. We can either repair these issues, or get new metal to replace. This is a shop truck that will be used to haul greasy engines, etc, etc. and I do not think these parts are at the end of their lives. Be careful when welding around the gas tank cap! I soaked a rag in water and draped it over the cap. I am not into surprises! With the welding and then the appropriate grinding out of the way, we can get moving on the preservation aspects of the project.
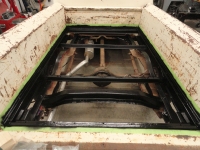
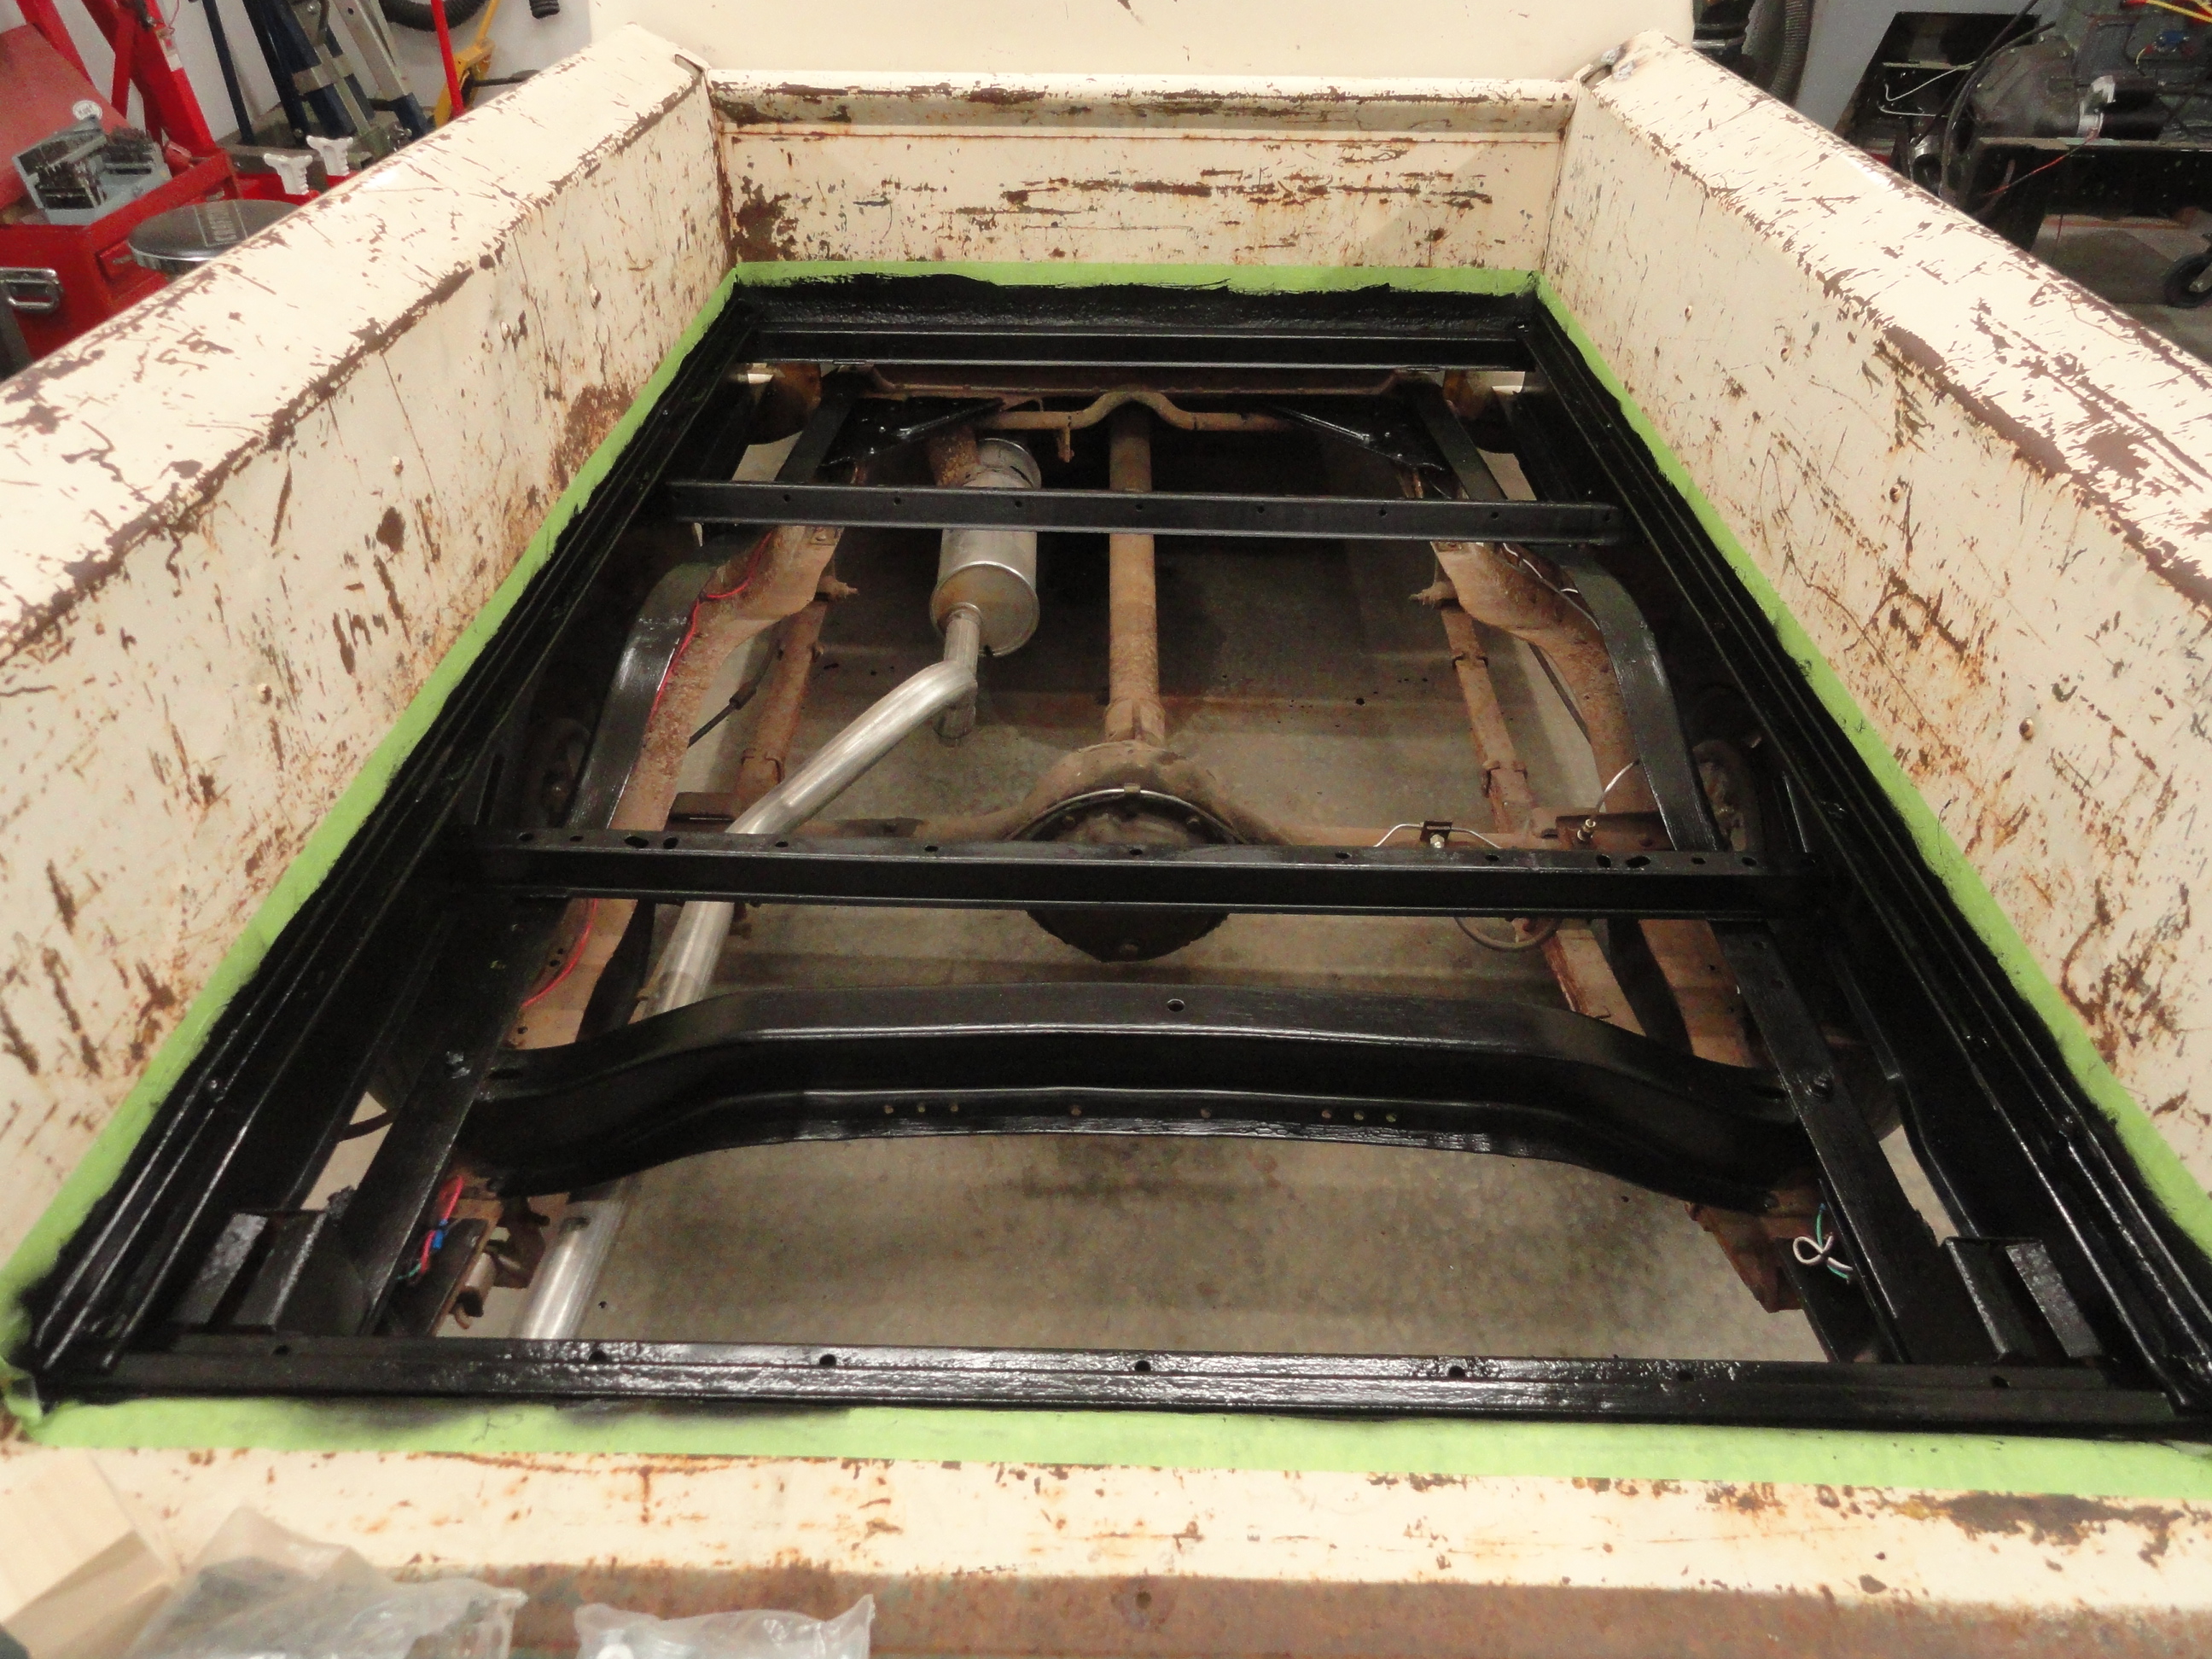
As you can see, we needed to cover all of the rust with a product that will preserve the metal for a possible full restoration later. Using 80 grit sandpaper, I sanded the chassis, bed cross sills and lower bed parts. I then cleaned it all with a PPG's metal prep cleaner really well and then put on POR-15 Antique Satin Black. This stuff is bulletproof and will save the rusted metal for better days. I brushed it on rather than used my HVLP system because it is not a product I would use in a full restoration, so it would all be sandblasted off later anyway. With everything taped off properly, I painted this stuff on everything that I cannot get to later. POR-15 is great stuff with one weakness. It is not very good in sunlight and the UV rays do damage on it faster than most paints. As long as it is not exposed to sunlight, it will last forever.
The bedwood is of course the main issue when doing this sort of thing. You want a very solid wood and something that will last forever. If you have never seen the Mar-K article on Bedwood solutions and how long they last, you should check it out. This being a shop truck, I want this bed to last as long as the truck. That being the goal, we will use Red Oak and paint it with POR-15 after all of the drilling and shaping, then coat it with three coats of Behr Premium Satin Black Latex Exterior paint. This is Mar-K's recommendation for the longest lasting coatings.
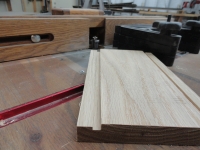
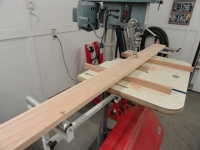
The way I chose to shape the boards is different. Most everyone uses a table saw and several passes to do the profile. Some use a regular blade and some use a Dado blade. As an experienced woodworker, I know the ups and downs of each and decided to opt for using the Router Table. I have about 5 more beds after this to do, so I need a tool that gets the job done! This router bit costs $225, but its Carbide and has the 1/2" shank that will last a very long time. This entire bed, all 8 boards took about 20 minutes to complete. I was very happy with the results and very glad I made the 'plunge'!

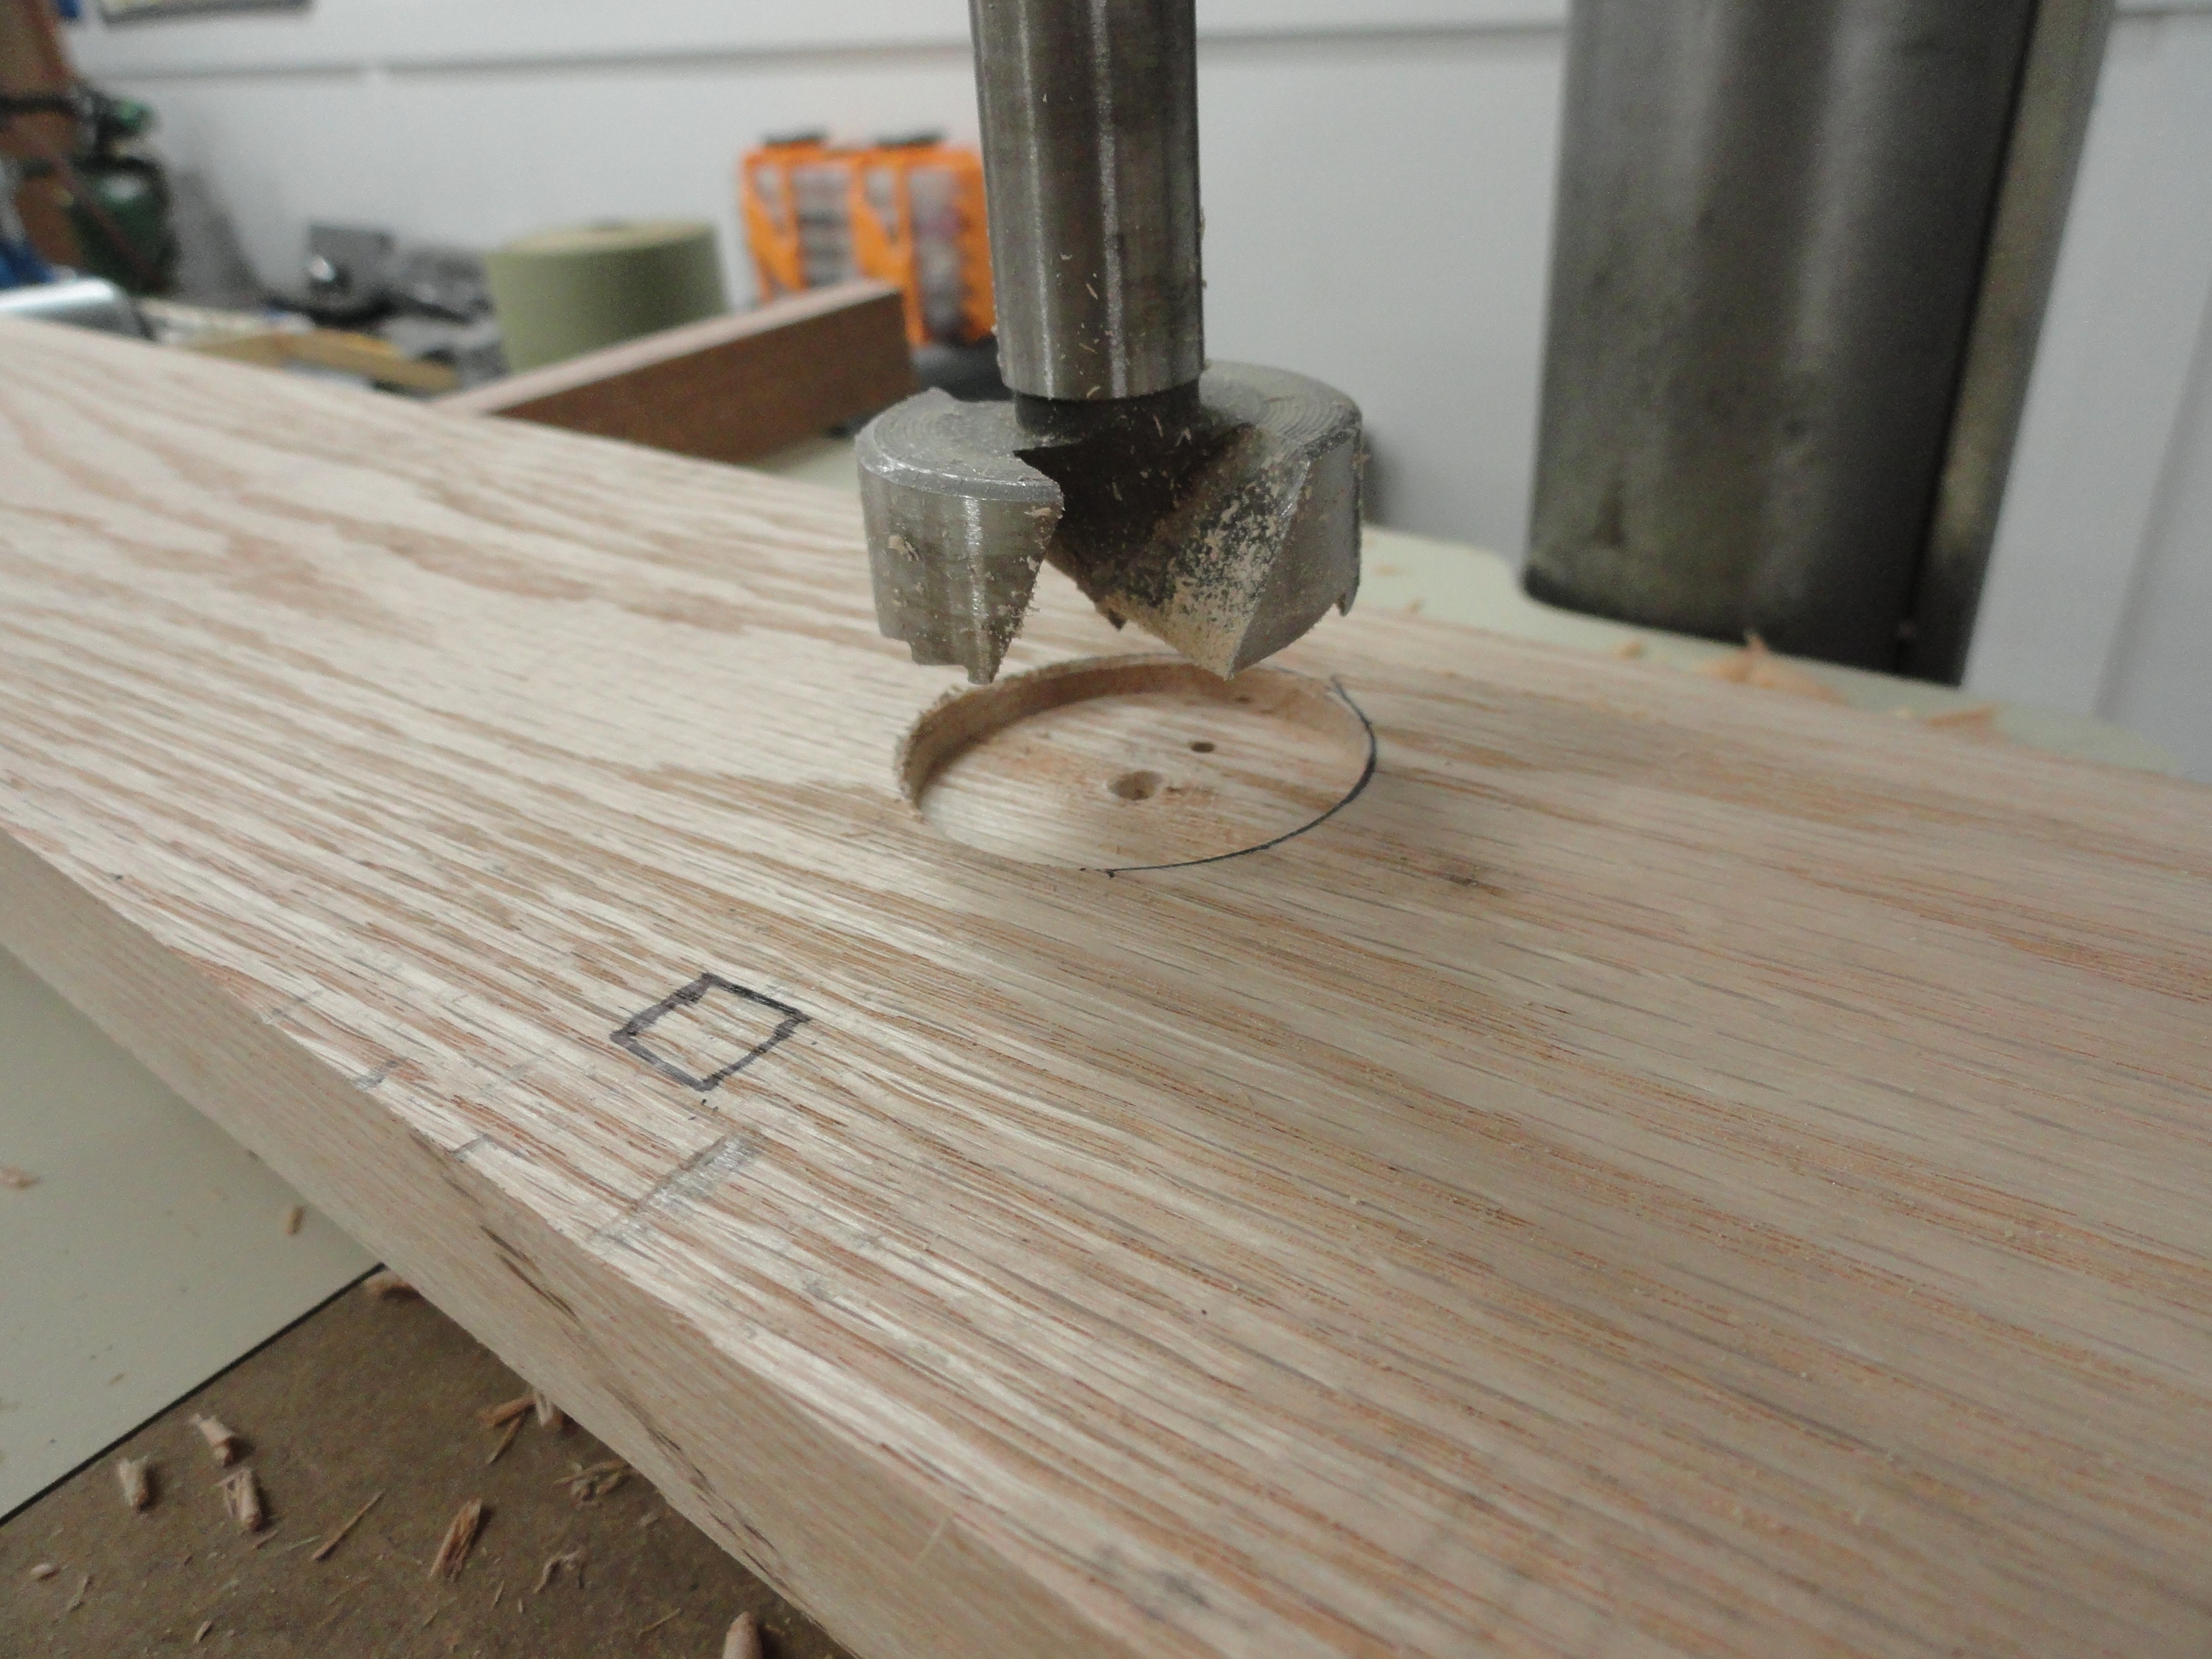
 The next thing is to drill all of the holes in the two 4-1/4" side boards and the first two 7-1/4" boards for the forward bed/chassis mounts. This requires careful measurement and then making an indention for the offset washer into the boards. The 1-1/2" Forstner Bit will get that done, but placement is critical. The best way to do this is to put the bolt into the hole and then measure from the boards side where it comes into contact with the strip mounts. This is something that you really take your time on. On this particular 1953 bed, the dimensions for making the chassis mount holes is:
1) Driver and Passenger REAR mount holes are the same... From the End edge, 3-1/2". From the Side edge, 2-7/8". This is where the 3/8" mounting bolt will go through, but we have a complication in the offset washer. So I marked the mounting bolt hole, then placed the offset washer over it so the square hole comes out exactly in the right place, then marked the 1-1/2" circle for the washer and the center of it for the Forstner bit. I drilled a 1/8" hole all the way through for the mounting hole, and a pilot hole (not all the way through) for the Forstner Bit. The third cross sill (the one closest to the rear sill) is also a Chassis mount point. This one is the very same 2-7/8" from the side but 23-1/4" from the rear of the plank.
2) The above measurements are probably good for every 51-55 bed out there, but the next ones may be specific to this truck, so do not drill them this way, rather put the boards into place, mark them appropriately and then drill the center. In this case only, the Passenger side, siderail drilling measurements are: (9/16" from the side edge on all) 1/2" / 11-1/4" / 23-1/4" / 36-3/8" / 50" / 62-3/8" / 75-1/8".The drivers siderail measurements are: 1/2" / 11-7/8" / 23-1/4" / 36-3/8" / 50" / 60-3/4" / 75-1/8".
As I said to begin with, I am doing this in real time, so it is not finished yet. Next week I will provide further information on this project. There is sanding and painting of the boards left, then installation. This is not something that just fits together without issues, but I am determined! As I have time later, I will update the main site's How-To article. Seeya Next Week!
Those of you following the Saga of this particular 1953 AD are probably shaking your head at the shear intensity of these articles. It's one thing right after the other, but in the end, the truck will make a very good shop vehicle. This week we take a look at the Bed. Now not alot of thanks to me, but rather several other contributors, we have the best, most first class, comprehensive Bed How-To Article right here on the main site. But this is different! This is me actually taking the steps and doing the work in real time! So there are a few things that will be added to the main article as a result of this.
 This is a good time to do something with this mess! These pics are where we are starting. Keep in mind this is a shop truck so we won't address the paint just yet. What we WILL do is make sure to address any rust problems or any issues that will come back and bite us later. This is probably the original wood. It appears to be either Pine or Douglas Fir, so what we will do is try to get some clues to how it was bolted to the frame, what damage needs repaired, and what needs to be protected. With all of the wood removed, it is apparent that nothing has been done to protect anything. All of the original paint is gone, everything is coated with rust. The good news is, everything is in relatively decent condition as far as little rust through and mostly serviceable metal. Time to break out the Welder!
There were a few areas needing to be addressed with the MIG. As you can see, we can do one of two things. We can either repair these issues, or get new metal to replace. This is a shop truck that will be used to haul greasy engines, etc, etc. and I do not think these parts are at the end of their lives. Be careful when welding around the gas tank cap! I soaked a rag in water and draped it over the cap. I am not into surprises! With the welding and then the appropriate grinding out of the way, we can get moving on the preservation aspects of the project.
As you can see, we needed to cover all of the rust with a product that will preserve the metal for a possible full restoration later. Using 80 grit sandpaper, I sanded the chassis, bed cross sills and lower bed parts. I then cleaned it all with a PPG's metal prep cleaner really well and then put on POR-15 Antique Satin Black. This stuff is bulletproof and will save the rusted metal for better days. I brushed it on rather than used my HVLP system because it is not a product I would use in a full restoration, so it would all be sandblasted off later anyway. With everything taped off properly, I painted this stuff on everything that I cannot get to later. POR-15 is great stuff with one weakness. It is not very good in sunlight and the UV rays do damage on it faster than most paints. As long as it is not exposed to sunlight, it will last forever.


The bedwood is of course the main issue when doing this sort of thing. You want a very solid wood and something that will last forever. If you have never seen the Mar-K article on Bedwood solutions and how long they last, you should check it out. This being a shop truck, I want this bed to last as long as the truck. That being the goal, we will use Red Oak and paint it with POR-15 after all of the drilling and shaping, then coat it with three coats of Behr Premium Satin Black Latex Exterior paint. This is Mar-K's recommendation for the longest lasting coatings.
The way I chose to shape the boards is different. Most everyone uses a table saw and several passes to do the profile. Some use a regular blade and some use a Dado blade. As an experienced woodworker, I know the ups and downs of each and decided to opt for using the Router Table. I have about 5 more beds after this to do, so I need a tool that gets the job done! This router bit costs $225, but its Carbide and has the 1/2" shank that will last a very long time. This entire bed, all 8 boards took about 20 minutes to complete. I was very happy with the results and very glad I made the 'plunge'!
 The next thing is to drill all of the holes in the two 4-1/4" side boards and the first two 7-1/4" boards for the forward bed/chassis mounts. This requires careful measurement and then making an indention for the offset washer into the boards. The 1-1/2" Forstner Bit will get that done, but placement is critical. The best way to do this is to put the bolt into the hole and then measure from the boards side where it comes into contact with the strip mounts. This is something that you really take your time on. On this particular 1953 bed, the dimensions for making the chassis mount holes is:
1) Driver and Passenger REAR mount holes are the same... From the End edge, 3-1/2". From the Side edge, 2-7/8". This is where the 3/8" mounting bolt will go through, but we have a complication in the offset washer. So I marked the mounting bolt hole, then placed the offset washer over it so the square hole comes out exactly in the right place, then marked the 1-1/2" circle for the washer and the center of it for the Forstner bit. I drilled a 1/8" hole all the way through for the mounting hole, and a pilot hole (not all the way through) for the Forstner Bit. The third cross sill (the one closest to the rear sill) is also a Chassis mount point. This one is the very same 2-7/8" from the side but 23-1/4" from the rear of the plank.
2) The above measurements are probably good for every 51-55 bed out there, but the next ones may be specific to this truck, so do not drill them this way, rather put the boards into place, mark them appropriately and then drill the center. In this case only, the Passenger side, siderail drilling measurements are: (9/16" from the side edge on all) 1/2" / 11-1/4" / 23-1/4" / 36-3/8" / 50" / 62-3/8" / 75-1/8".The drivers siderail measurements are: 1/2" / 11-7/8" / 23-1/4" / 36-3/8" / 50" / 60-3/4" / 75-1/8".
As I said to begin with, I am doing this in real time, so it is not finished yet. Next week I will provide further information on this project. There is sanding and painting of the boards left, then installation. This is not something that just fits together without issues, but I am determined! As I have time later, I will update the main site's How-To article. Seeya Next Week!