


 Welcome to Deves Technet.com Forums. I encourage everyone to register so we can get a better idea of the traffic and its usefulness. Please leave a word or two describing your stay and what we can do to make it more enjoyable. Thanks!
 Tweet
Tweet
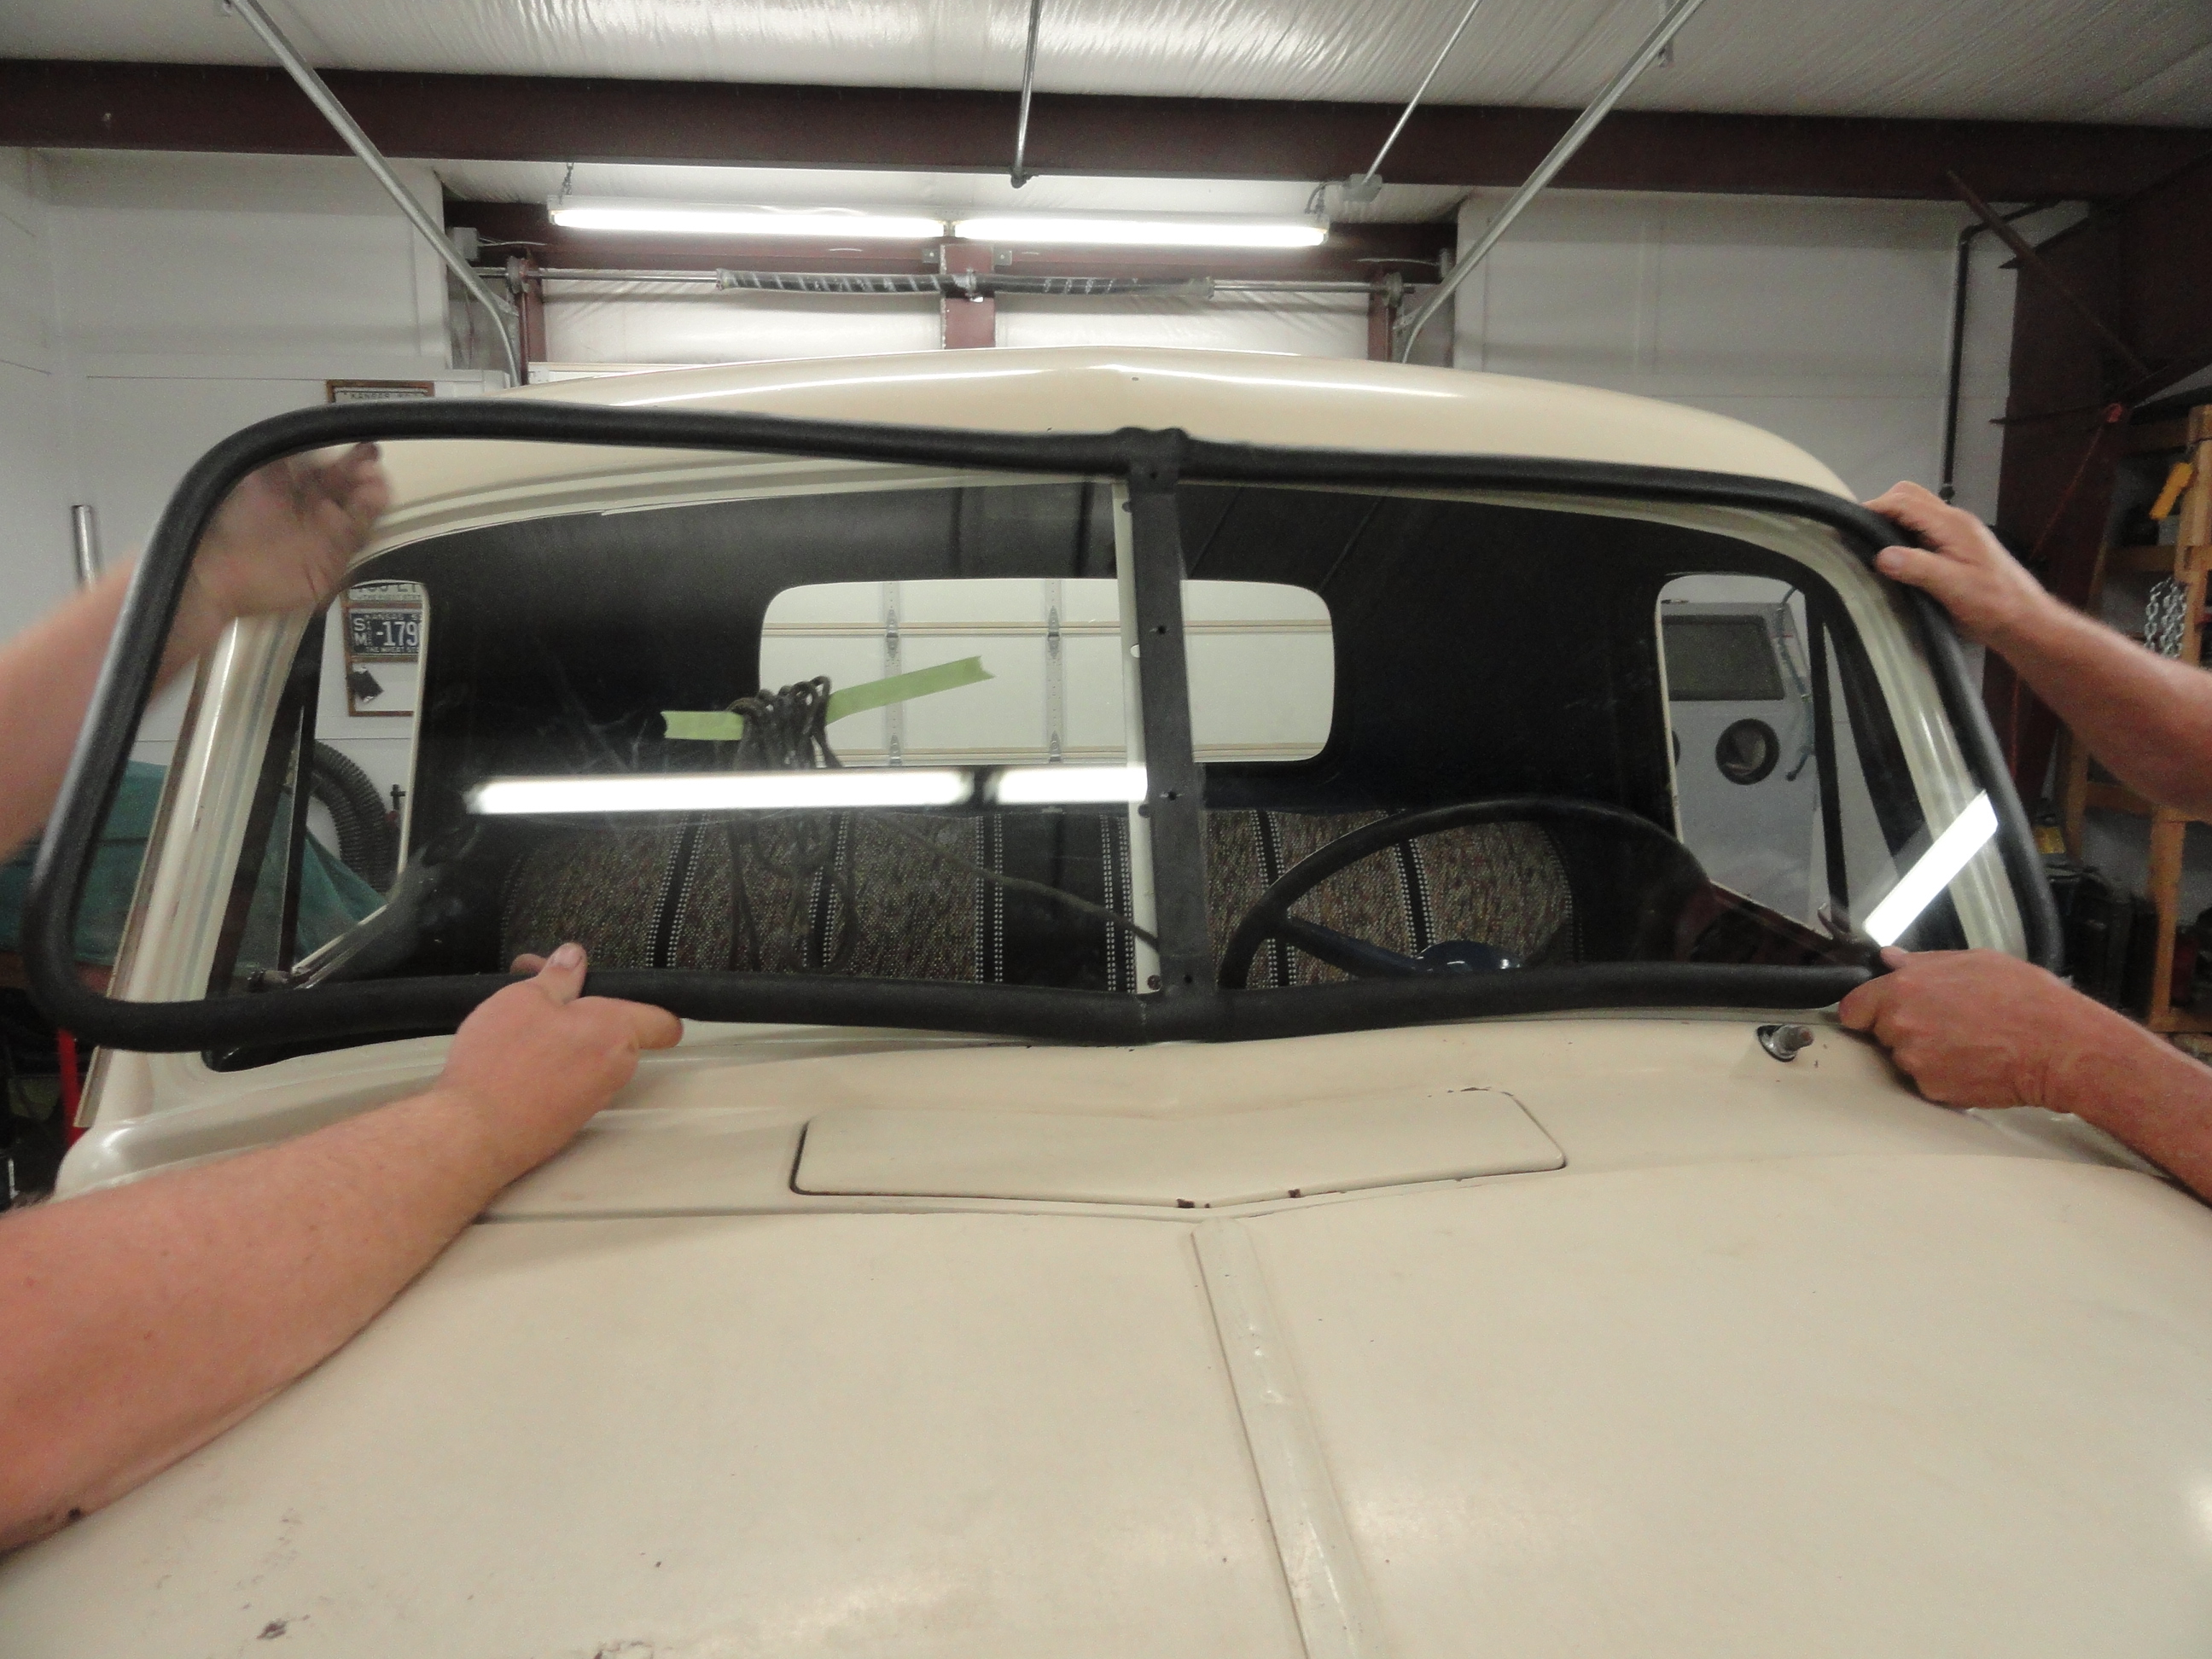
Welcome to the 50th straight Tip of the Week. This week out of necessity, I am documenting how to change out the Windshield Glass on a 1953 Chevy 3100. These steps would be the same for all Advance Design Era trucks from 1947-1953. To do this job right, we have to remove the old windshield and rubber and take a close look at the condition of the metal around the windshield opening. It is not within the scope of this article to go into how to do the sheet metal repairs, but it is very important to especially check the lower outside corners and the lower middle junction for rust-through damage. These areas are especially prone to damage because GM never used weatherstrip adhesive, or any kind of sealer when installing these windshields in the first place. They were just installed dry. This can be problematic because if there is any path for water to accumulate, you can bet that it will. When it does, it does a lot of damage.

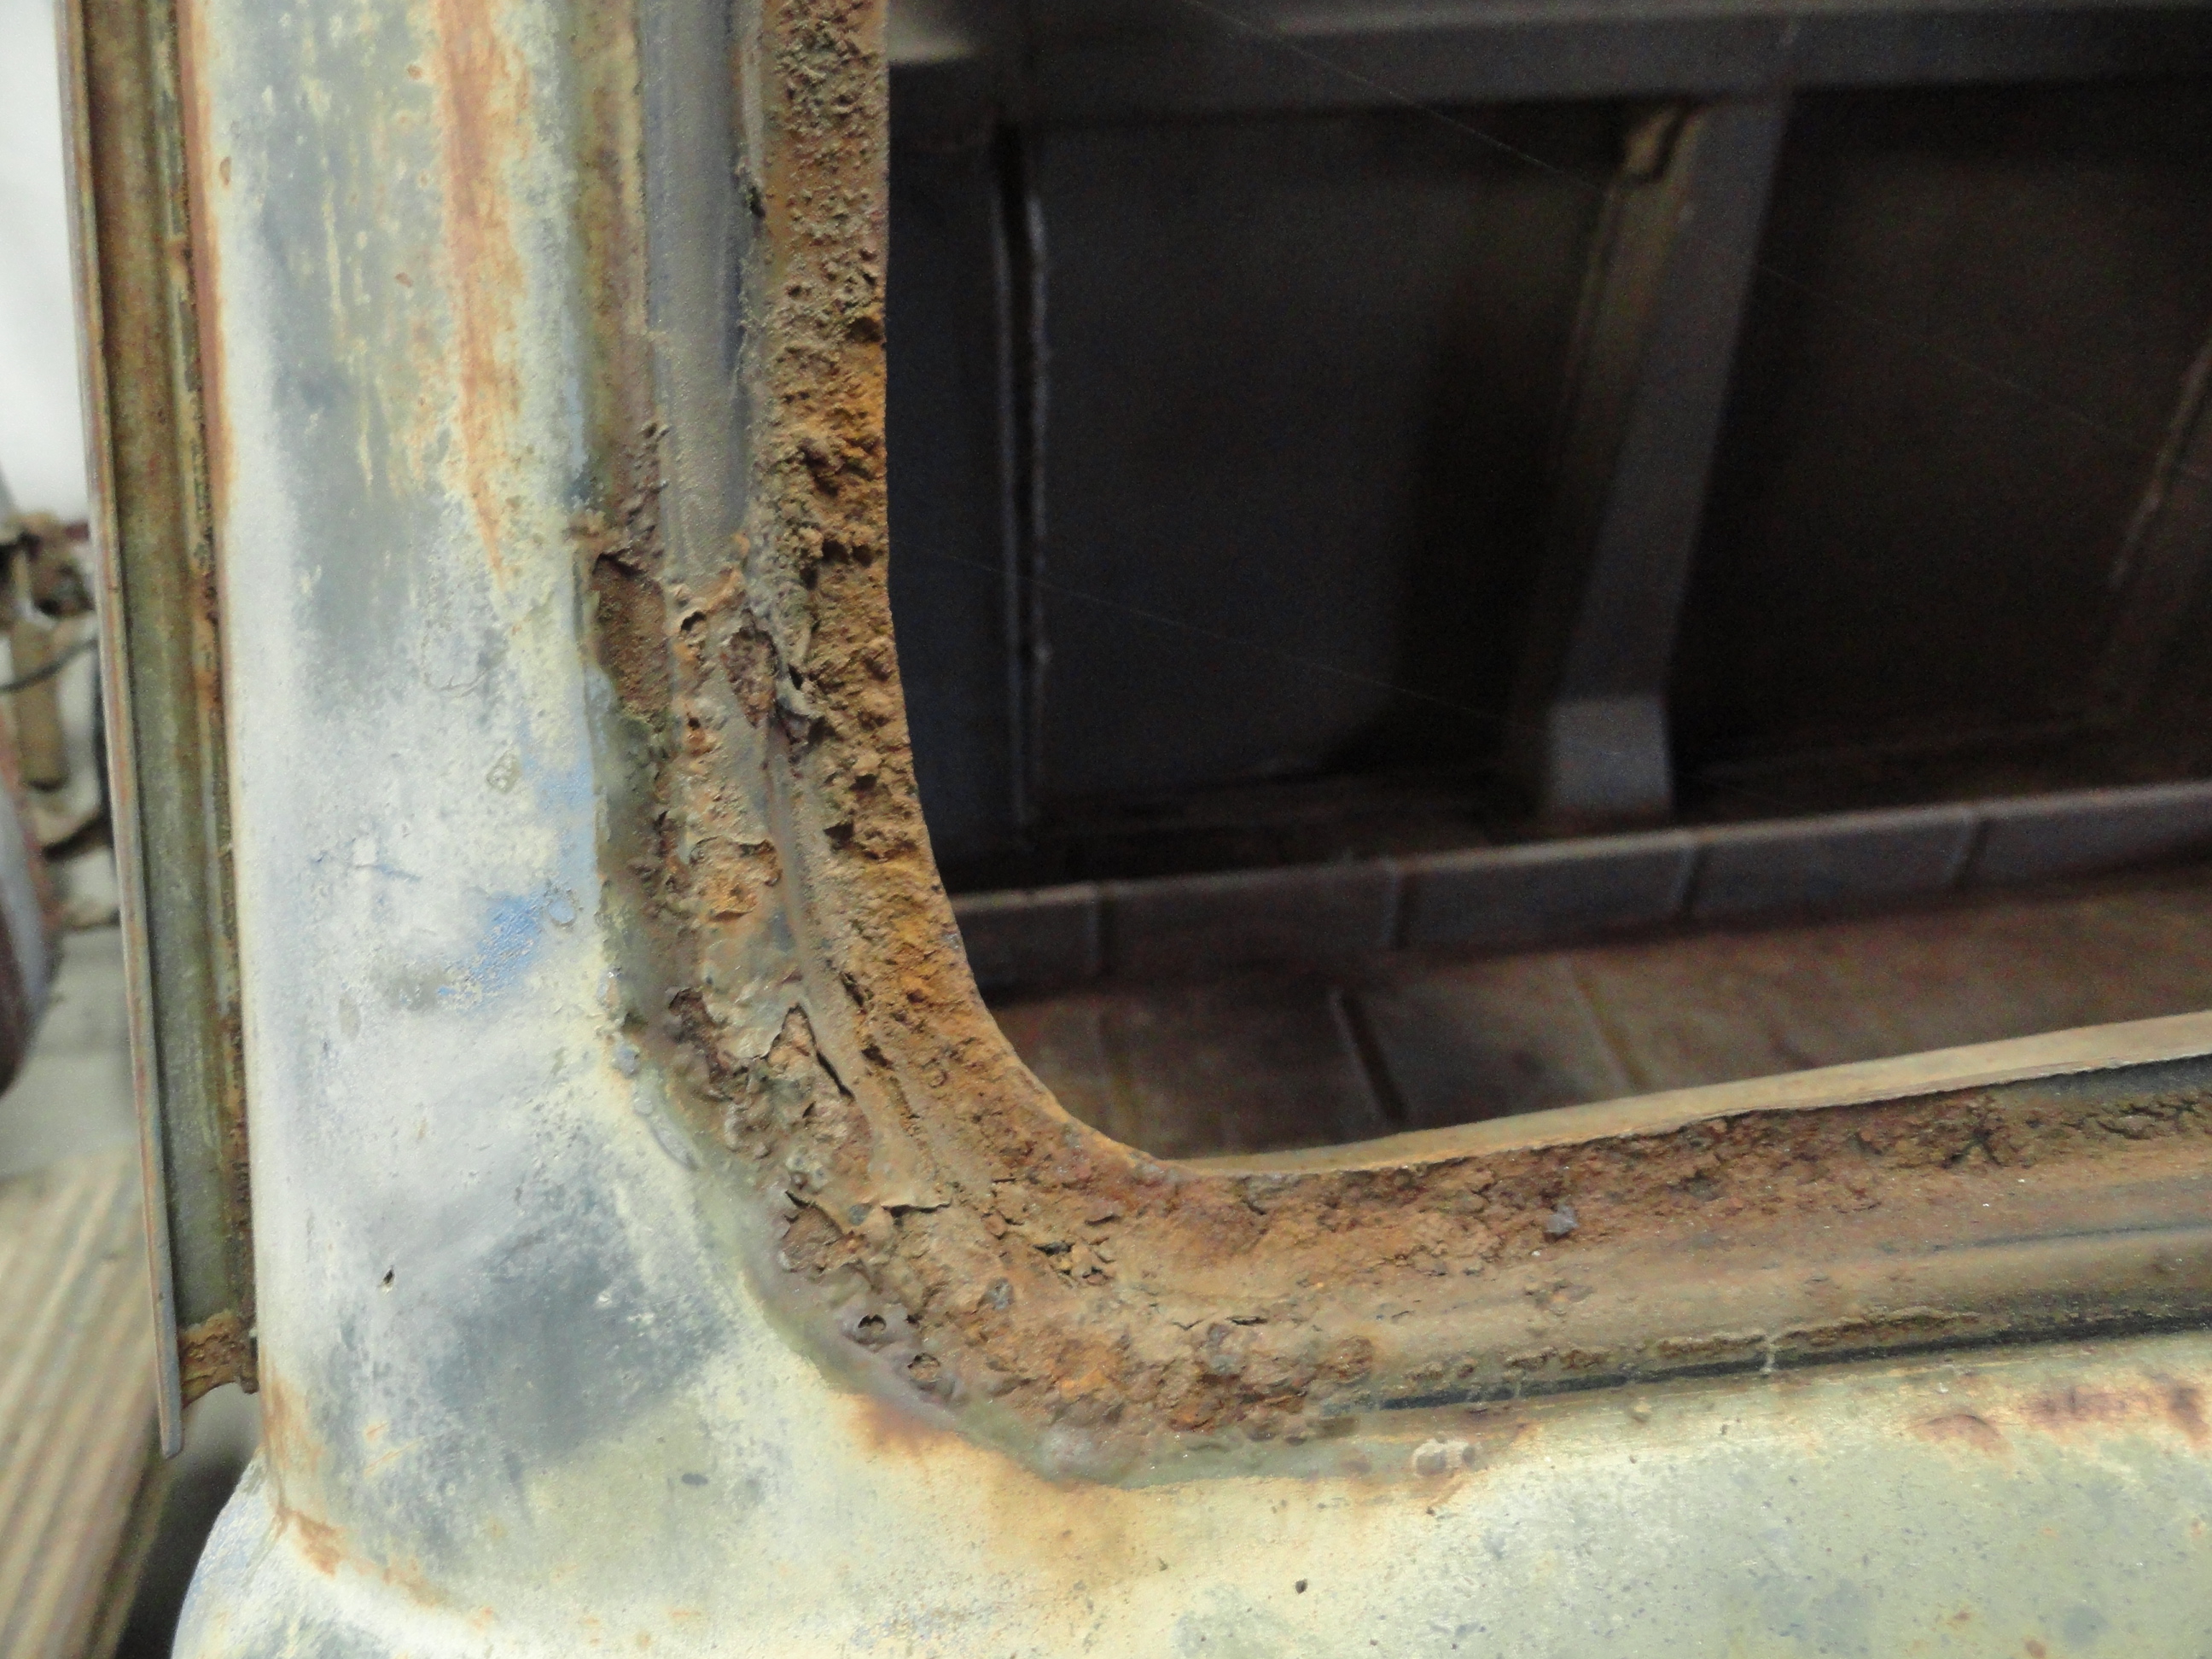 These pictures are from another cab I have in my shop that I am not looking forward to working on! The reason for the switch is so you can see what damage is pretty normal for this vintage. The 53 we are installing the glass in has been kept pretty sealed so all it had was surface rust. As you can see, there is more than likely rust through under all this rust. It is important that when installing the windshield that we clean and smooth up the entire opening. This is not one of those projects you take to the local windshield shop and just have it replaced there. Removing the glass first and doing the cleaning, then having them come out and install it is the better idea. After taking a box knife and cutting the rubber out of the opening and removing the old broken glass, I took the better of the two halves to a local glass company and asked them for two identical new pieces of laminated safety glass. I paid about $60 each for them and had them in two days. I would strongly recommend getting the Windshield Rubber from Steele or somewhere that sells premium rubber. In talking with the professionals, they do not have anything good to say about the standard vendor rubber. Just passing it on. Since windshield glass for this vintage is simply two pieces of flat glass with Laminate in between the panels sealed together, the cost is relatively low and most glass companies do it in their shop on site.
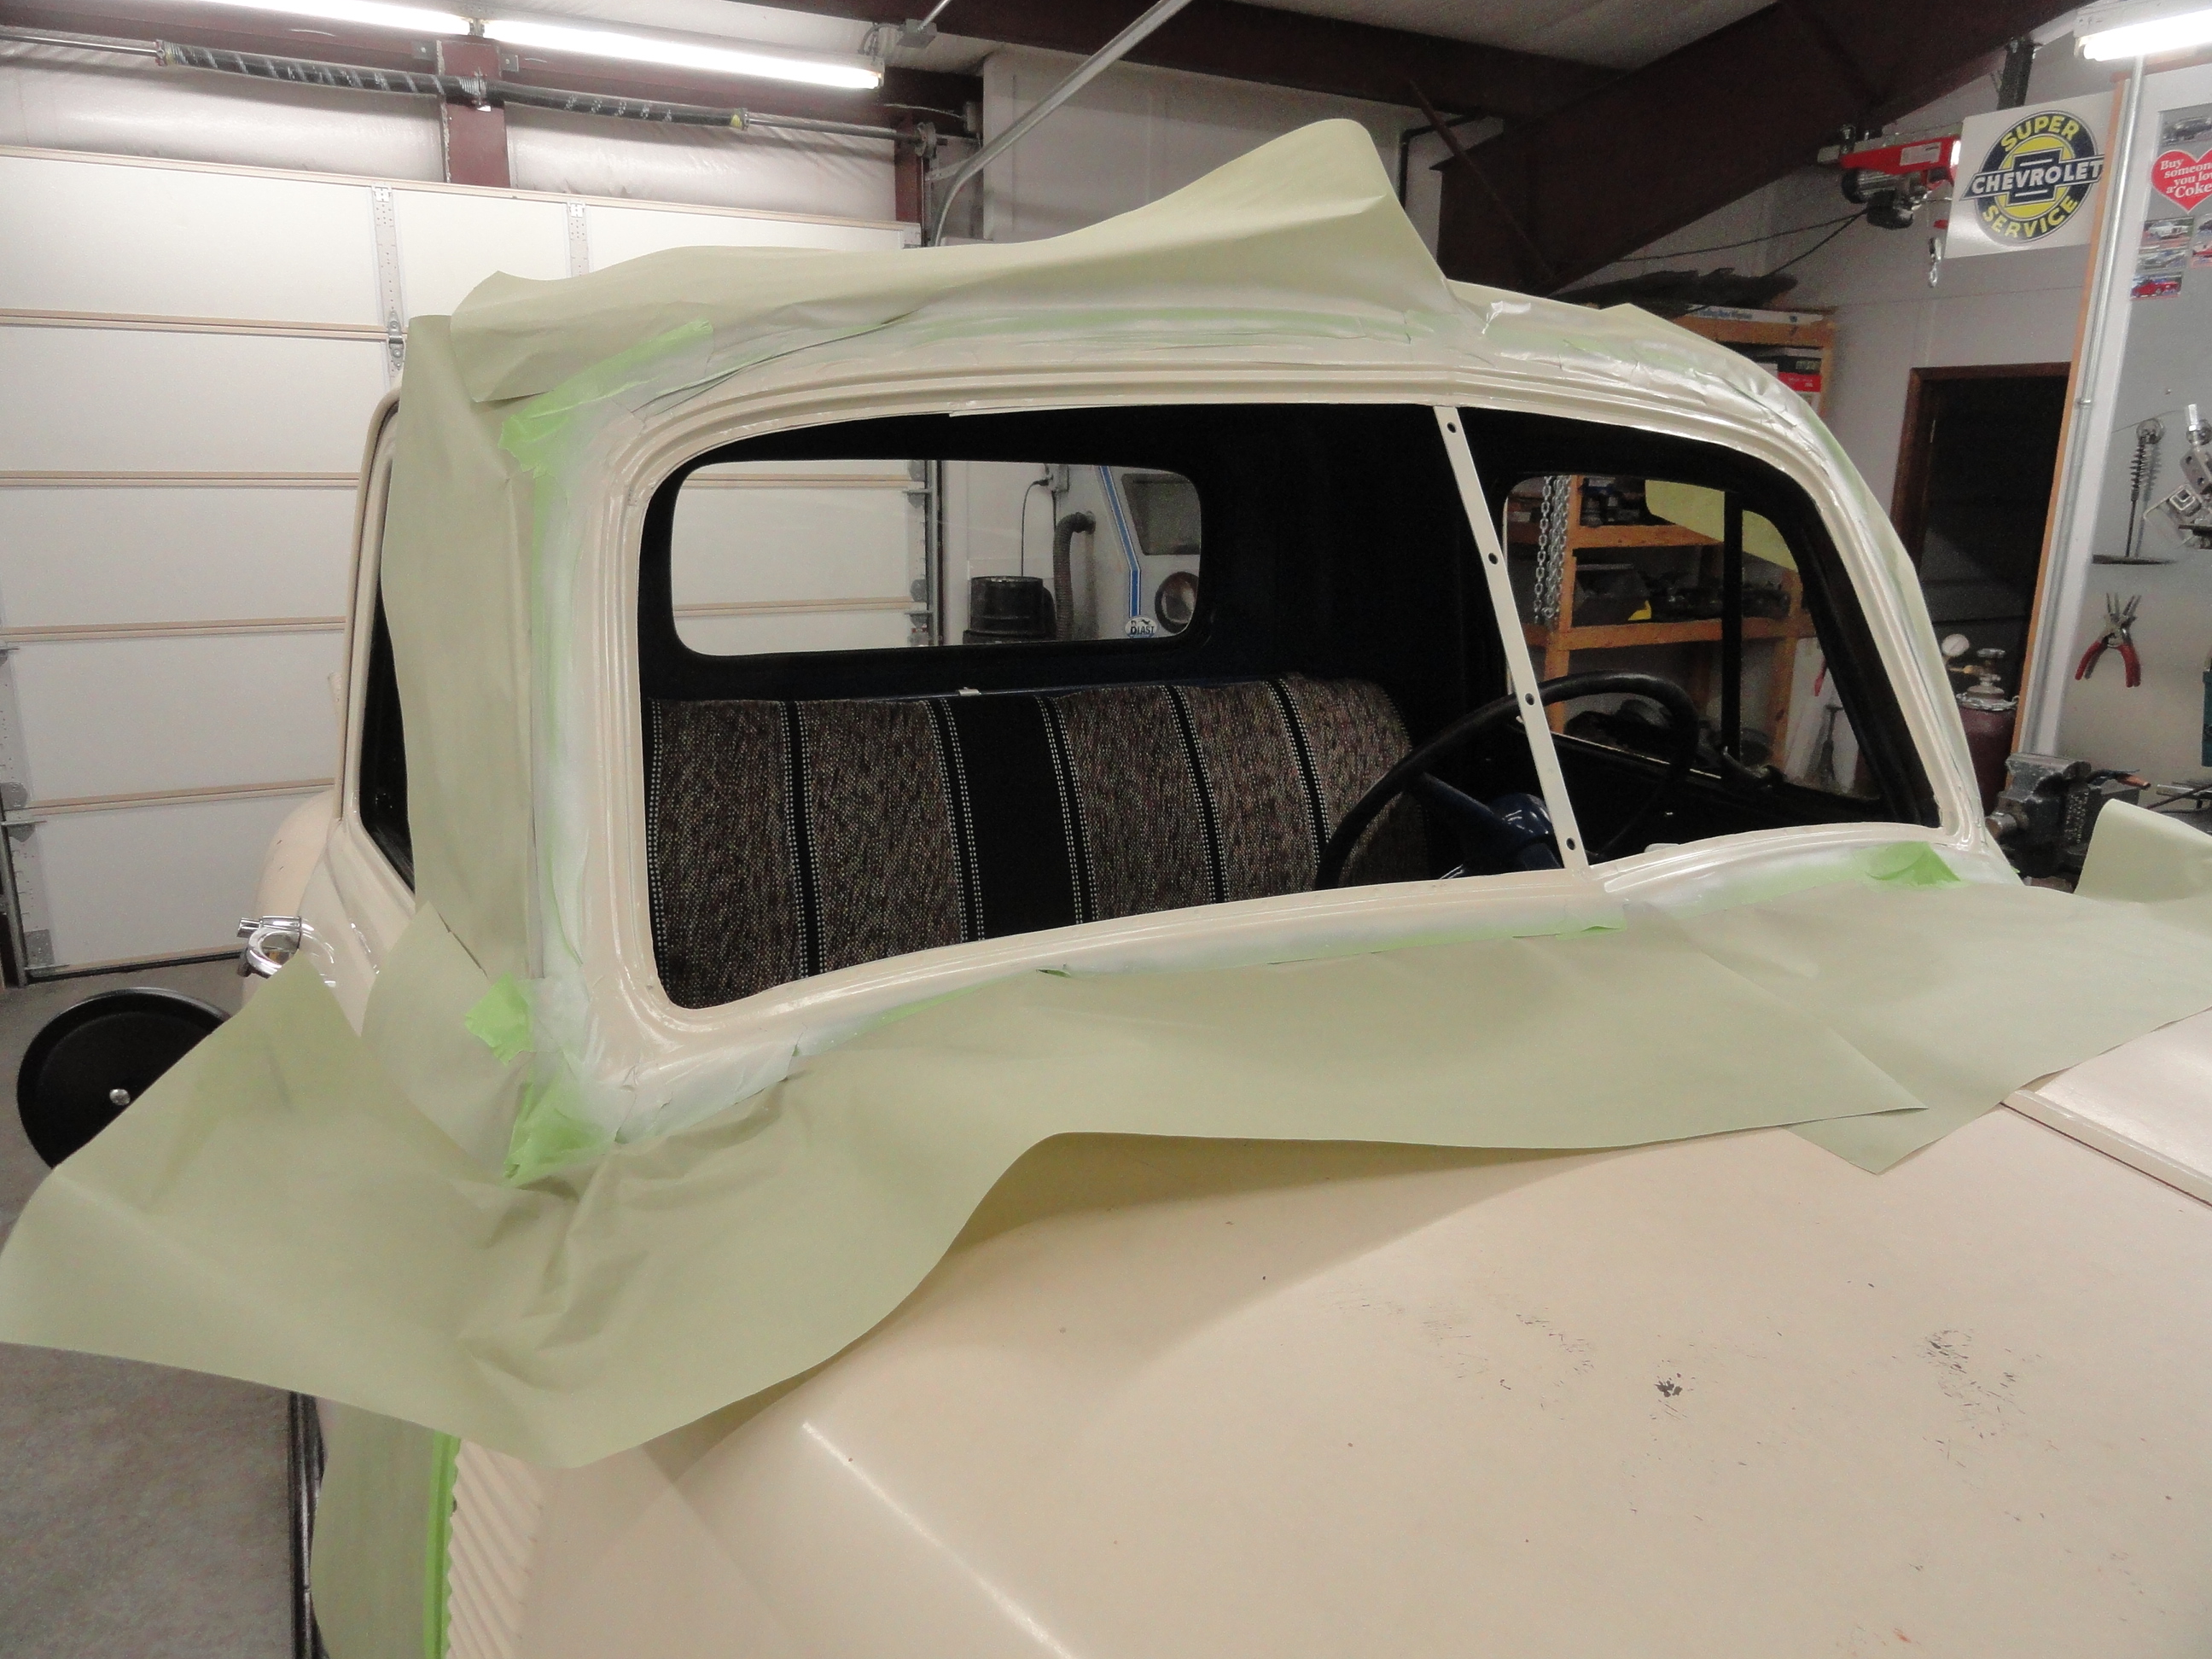
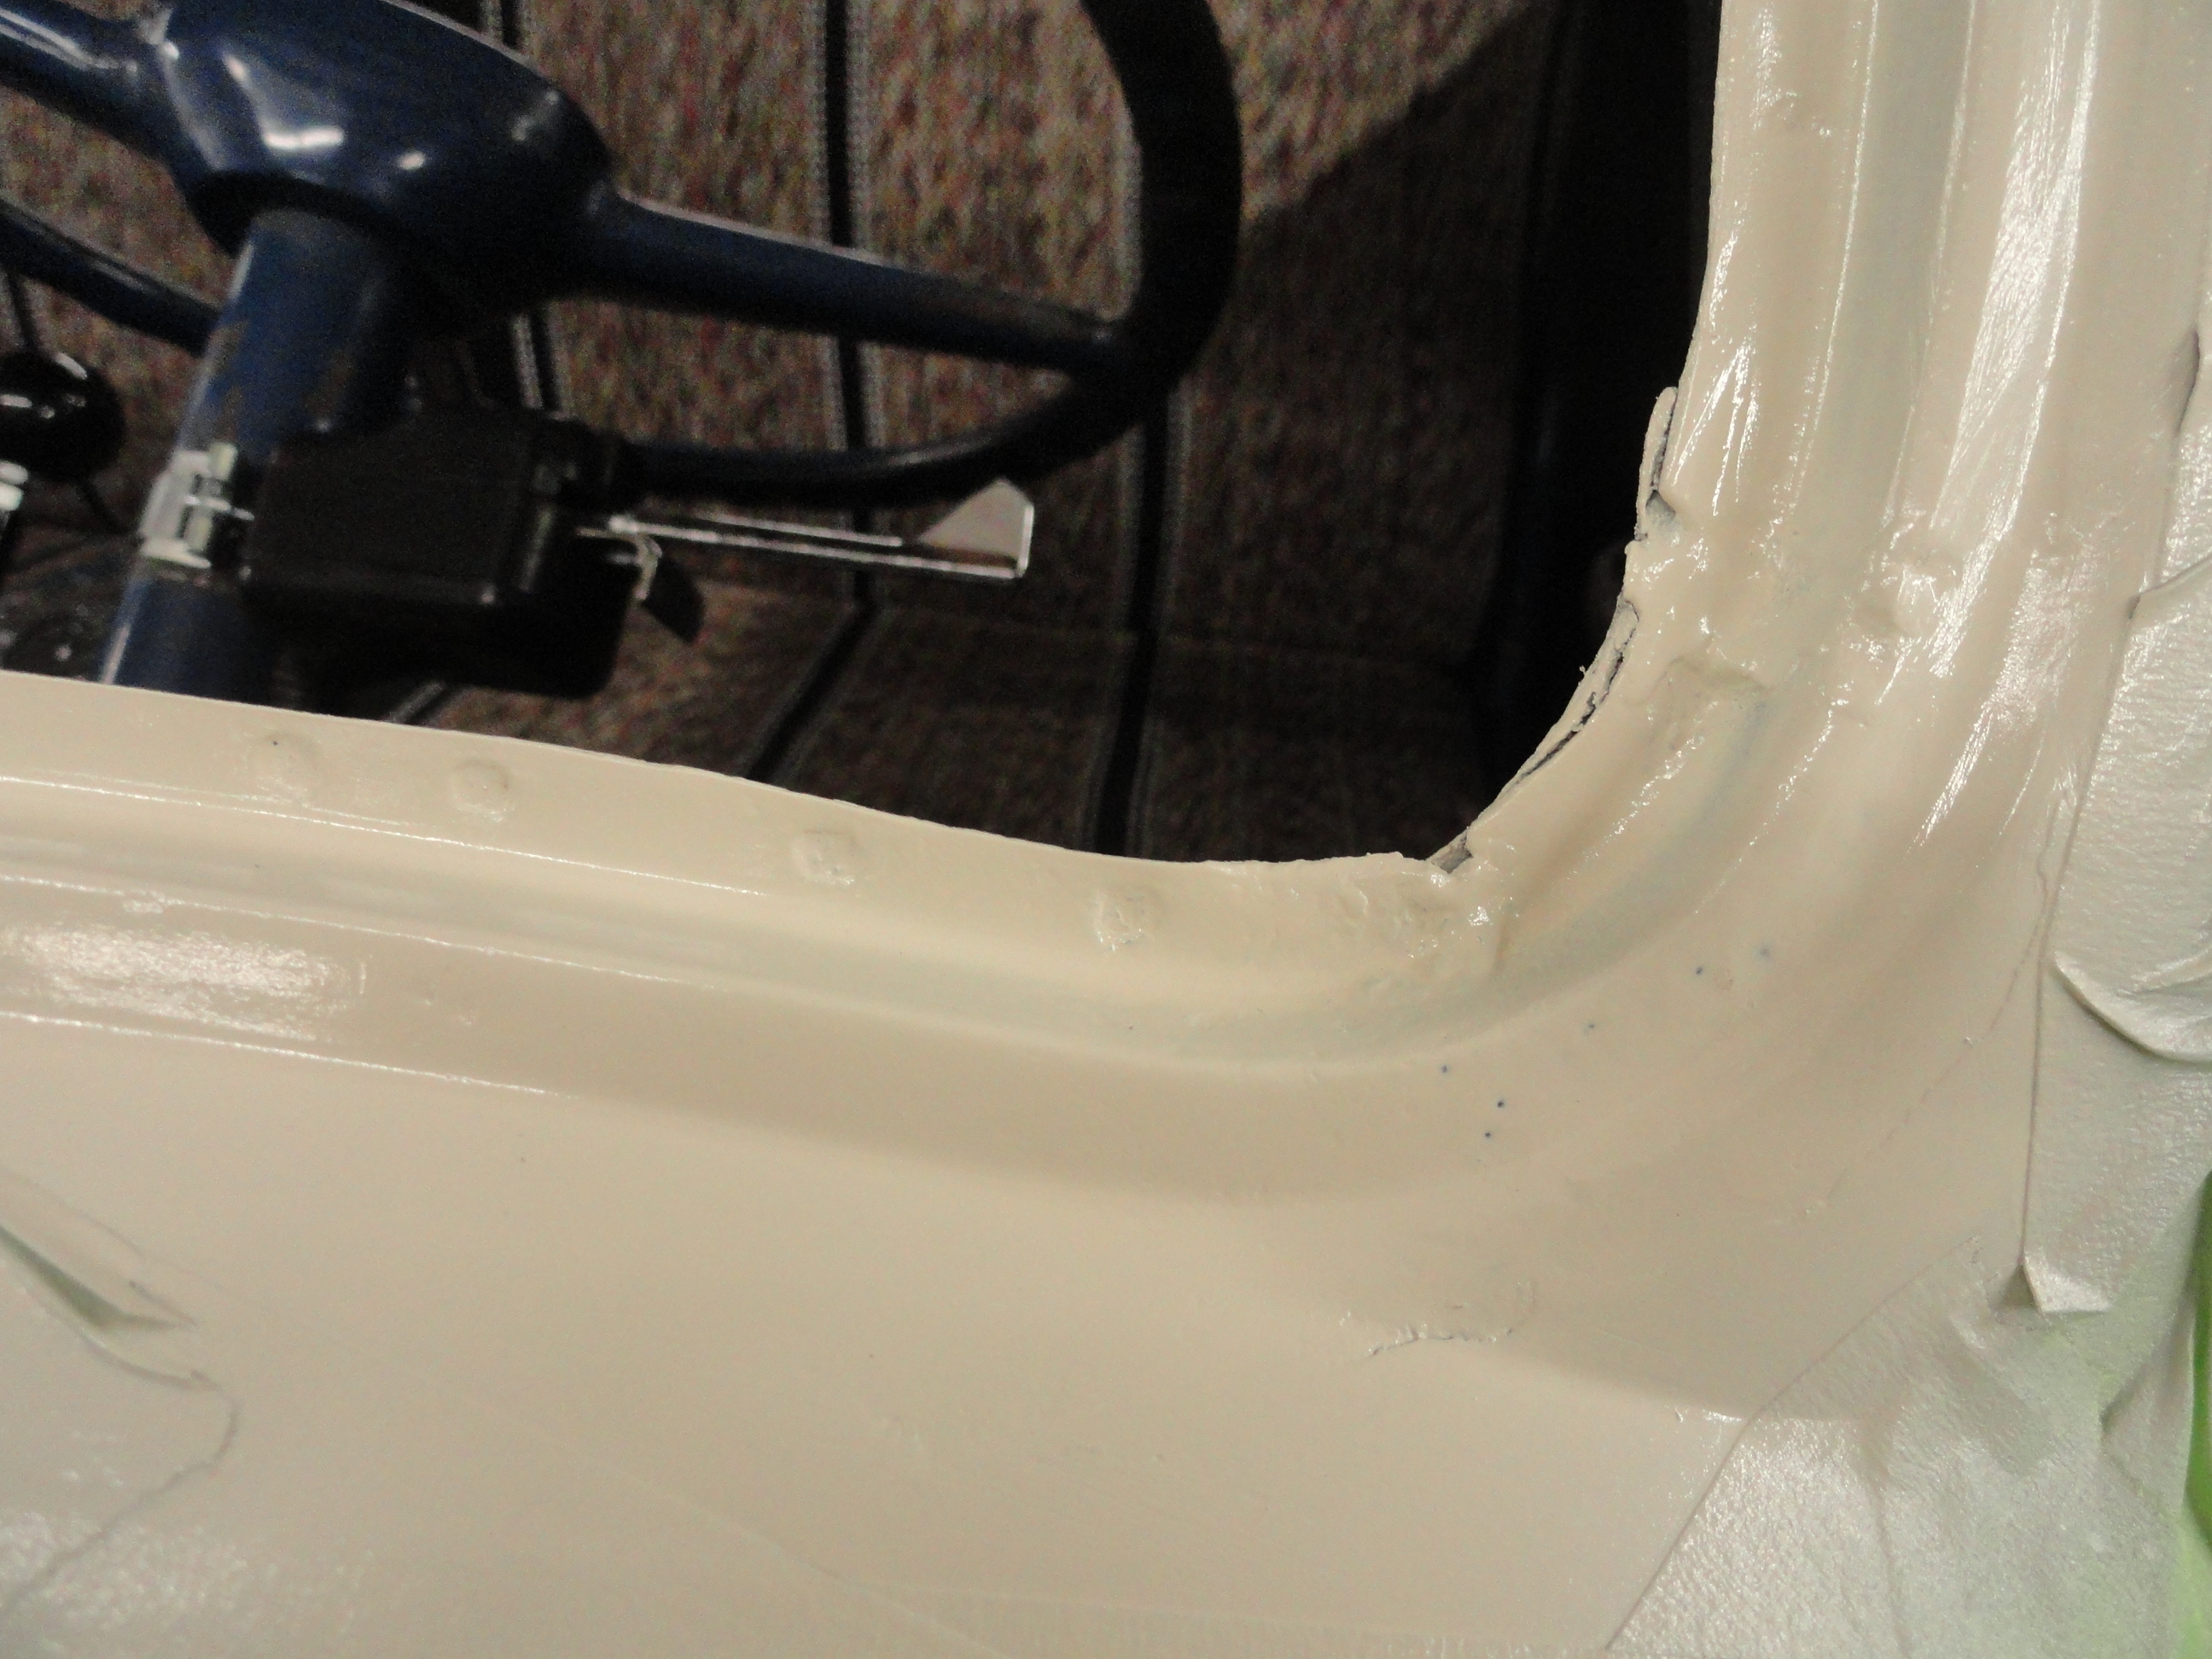 This is what the 53's opening looks like after most of the preparation. Begin with sanding using 80 grit thoroughly, removing all rust and old paint, then stepping to 180 grit just to smooth some of the scratches. With all of the metal bright and shiney, I taped off the entire area carefully using 2 inch wide green masking tape and 12 inch wide paper. If you do not want overspray on everything, do a thorough job. Once that has been accomplished, I went to epoxy primer around the entire opening, then topcoated with a single stage Urethane. In this particular case, this is not a show truck and the rest of the truck needs paint badly, so the idea here is to just cover the area well to prevent future damage. With a nice clean surface that has been protected against rust, we can proceed to install the glass. I do not install the glass myself. I tried it once before, pushed too hard when trying to install it improperly anyway, and decided to pay the professionals for this. Understand, this is NOT the normal for Deve. I do EVERYTHING myself when doing complete frame-up restorations. Engine work, Sandblasting, Painting, Welding, you name it, but THIS is a lost art and something best put in the hands of my friend Leroy from Mobile Auto Glass in Hutchinson, KS. The cost is about $180 and all you have to do in order to justify calling in the Pro's is try it yourself and break one of the $60 panels with the distinct possibility of breaking another one before it's over and you too can give Leroy a call! They make it look so easy, I did second guess calling them. For about one tenth of a Jet Second!
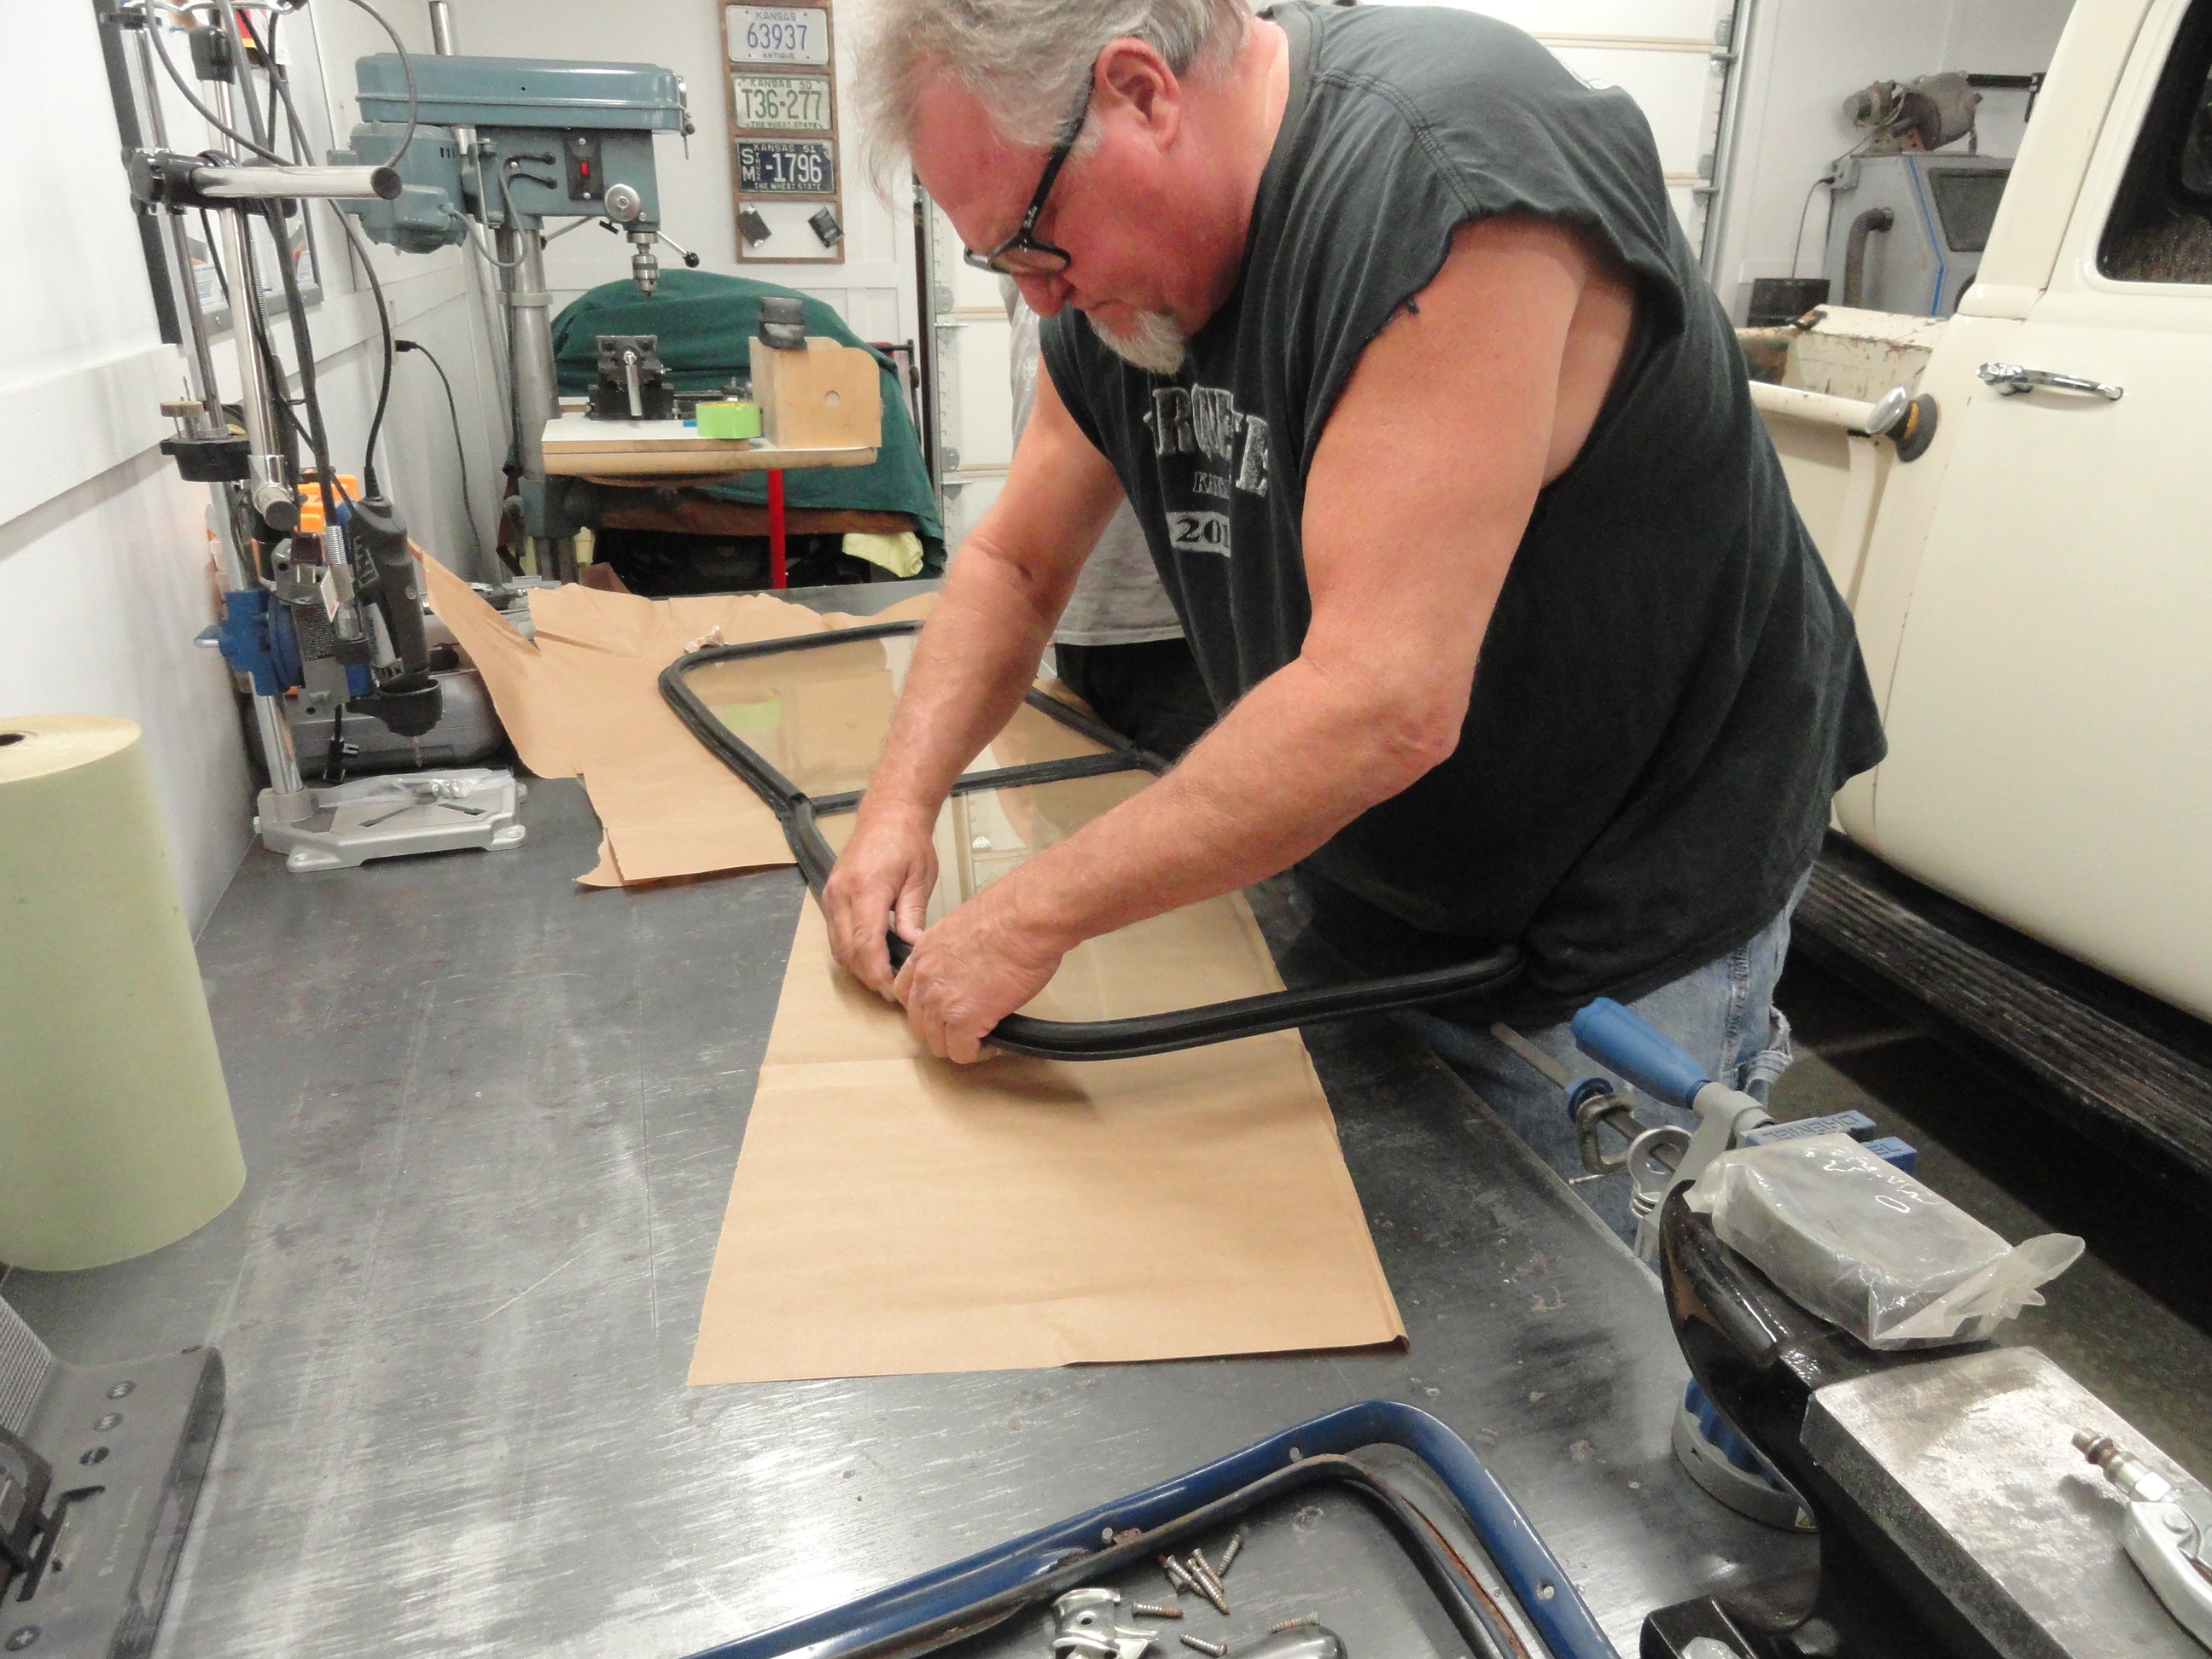
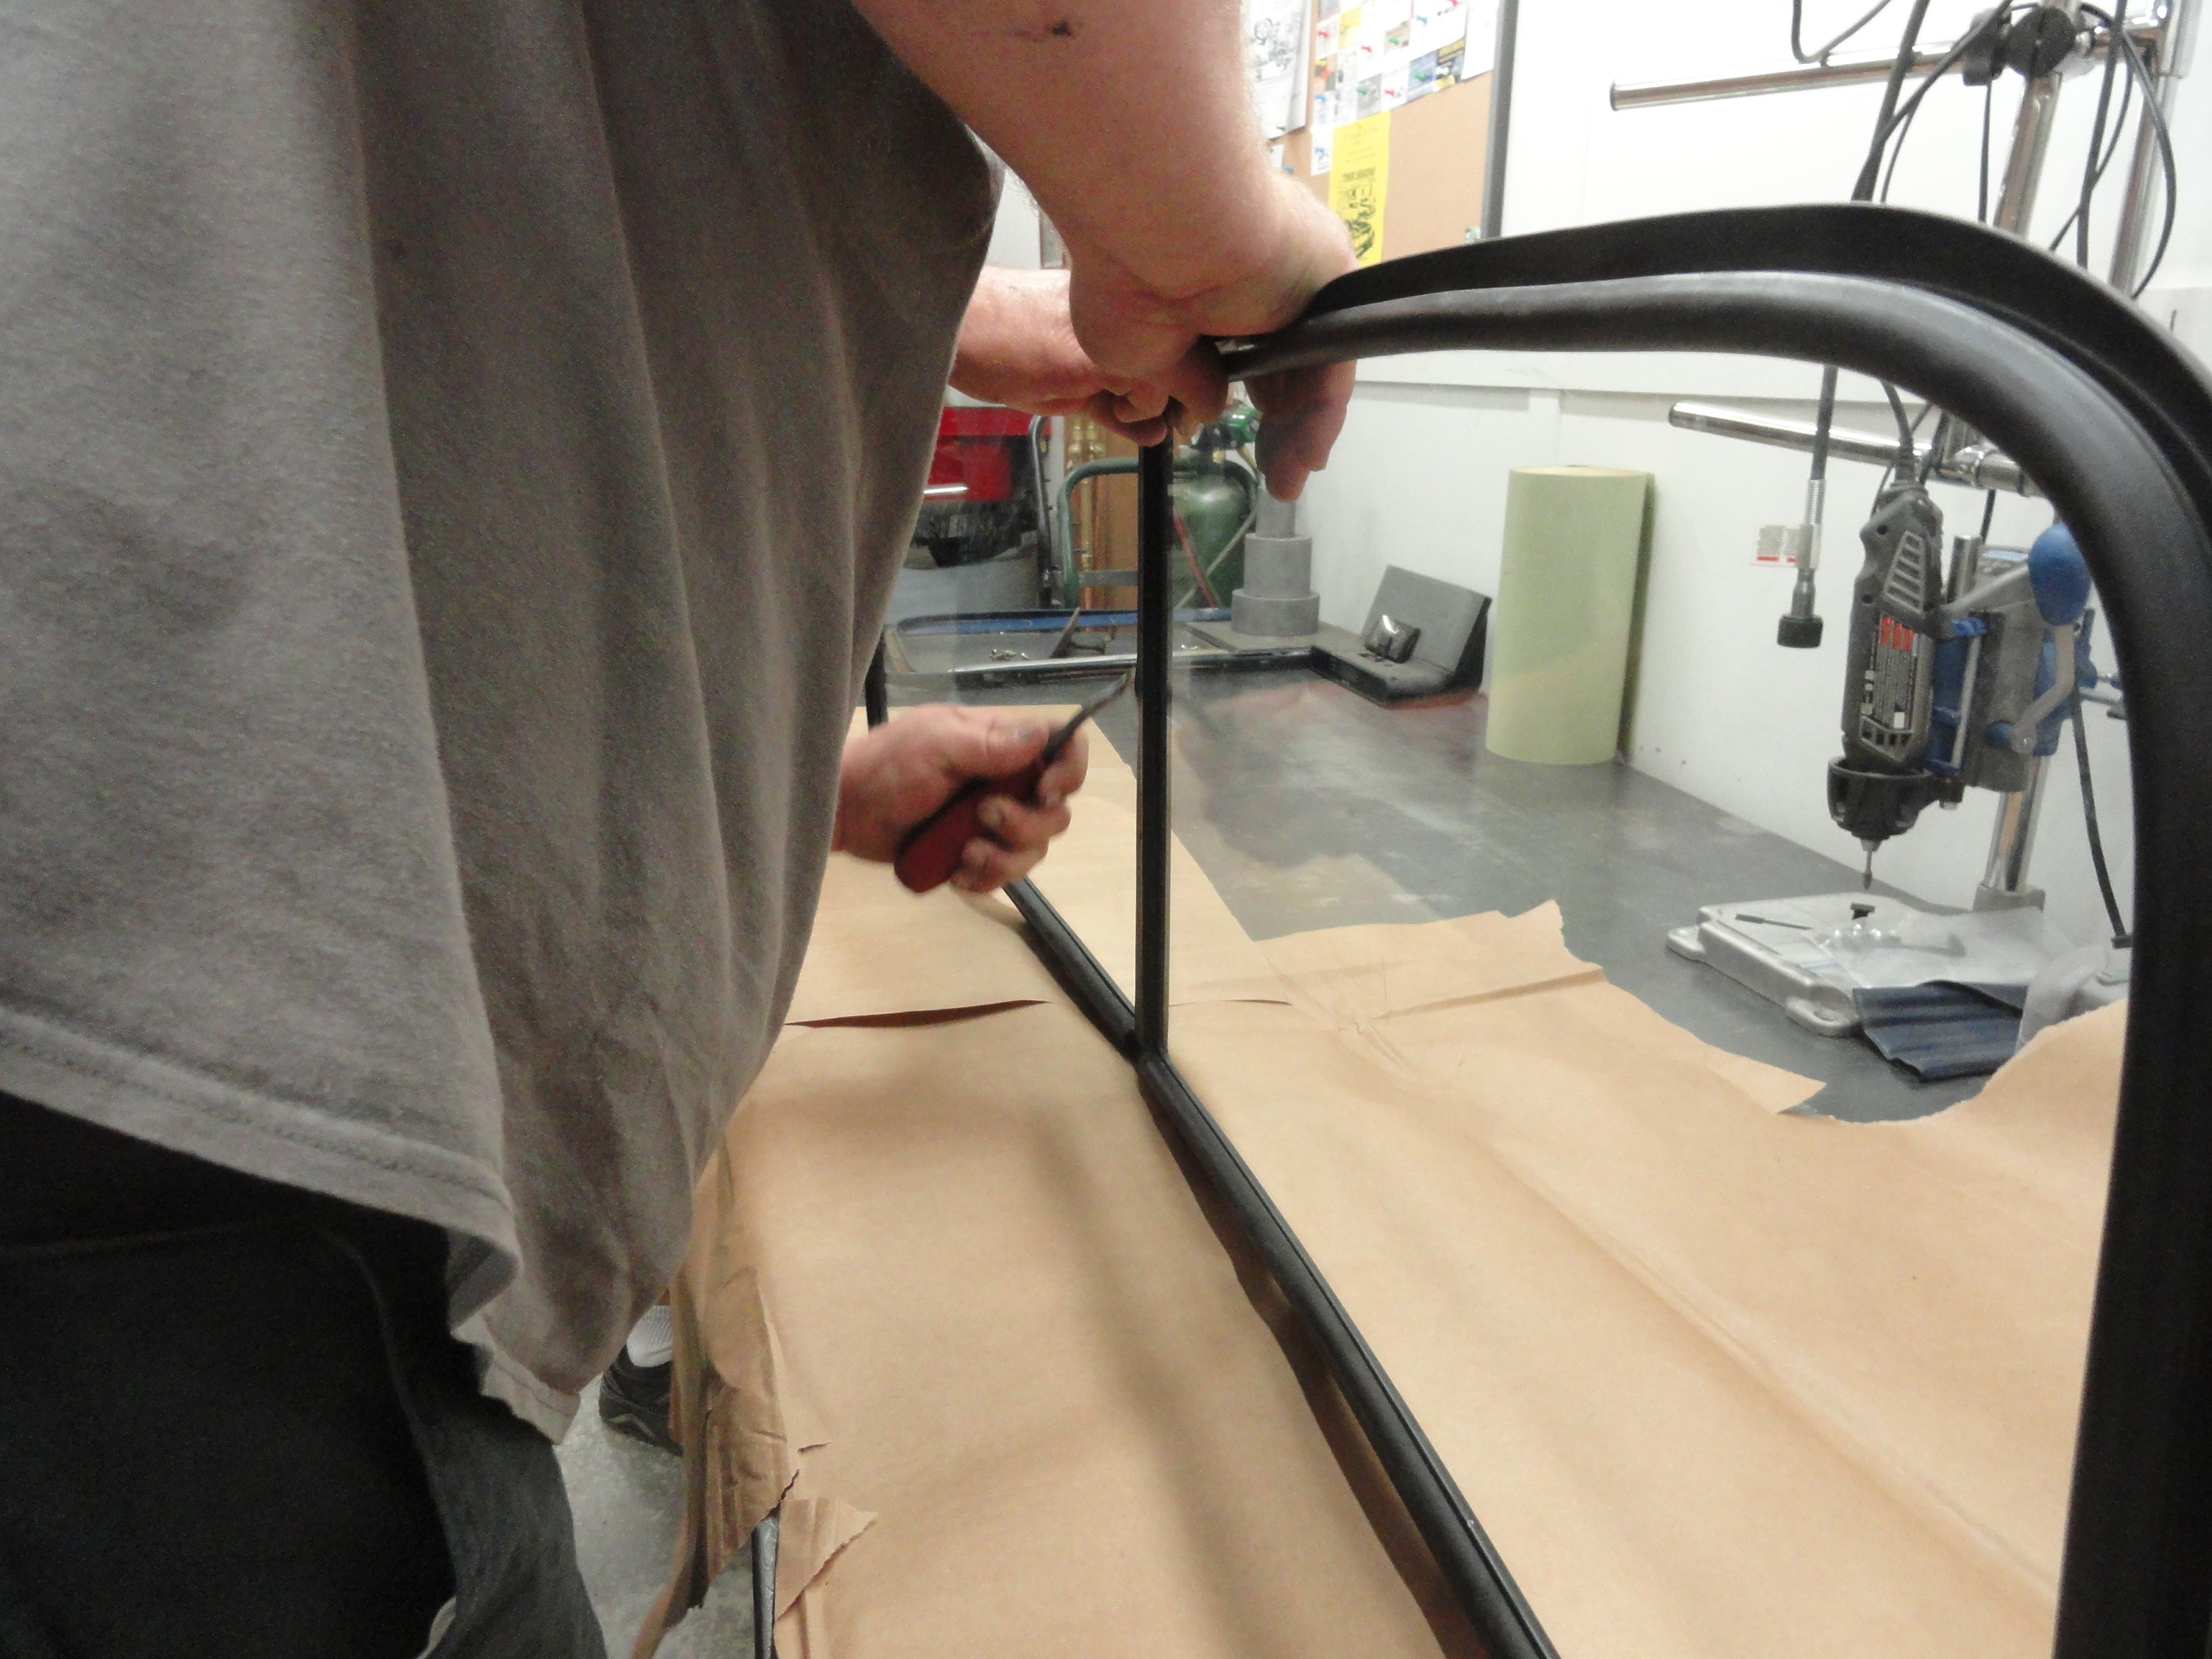
Most of the hard work is done on a flat table where you first attach the glass to the rubber. They use only one special tool that basically slides under the rubber in between the rubber and the glass to massage the rubber in place. The glass is completely installed in the rubber, both sides, and only then is it ready for installation. But wait! There is one more VERY important step. Take a long piece of nylon rope and put it inside the lip that fastens the rubber to the trucks opening. Go all the way around with the rope and begin and end at the center post area and at the bottom. This is an essential step. This is still working on the flat table.
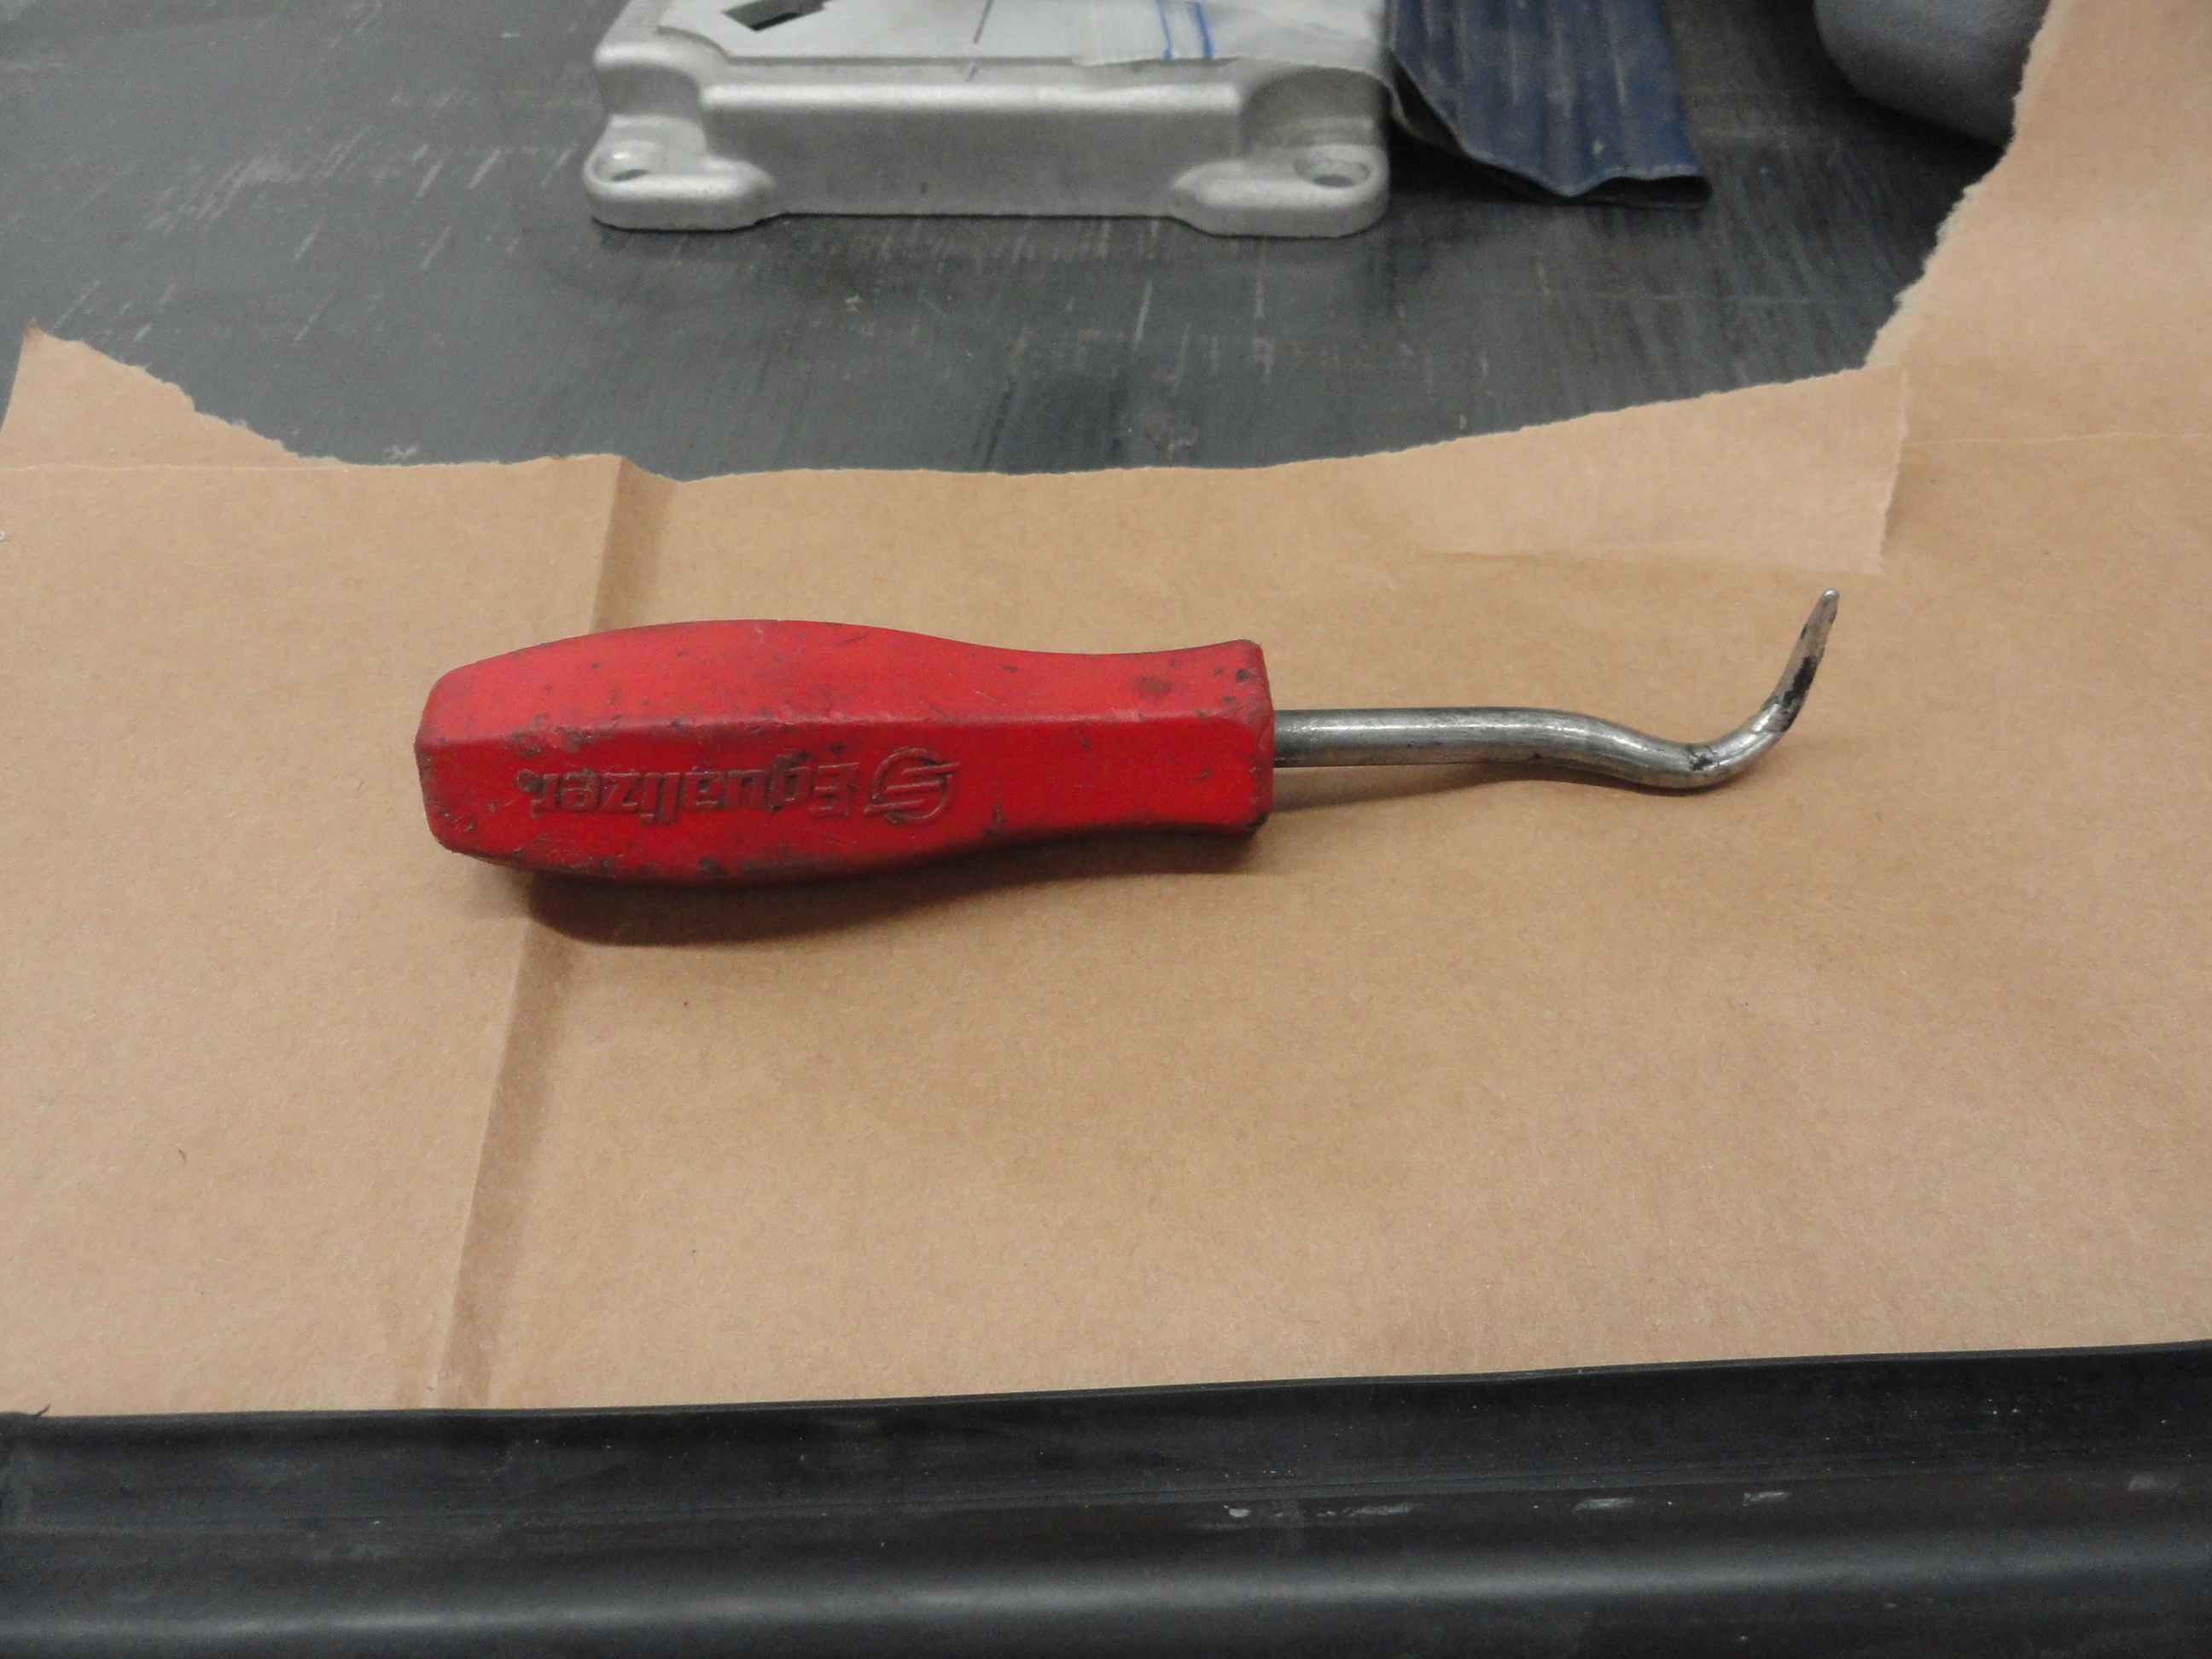
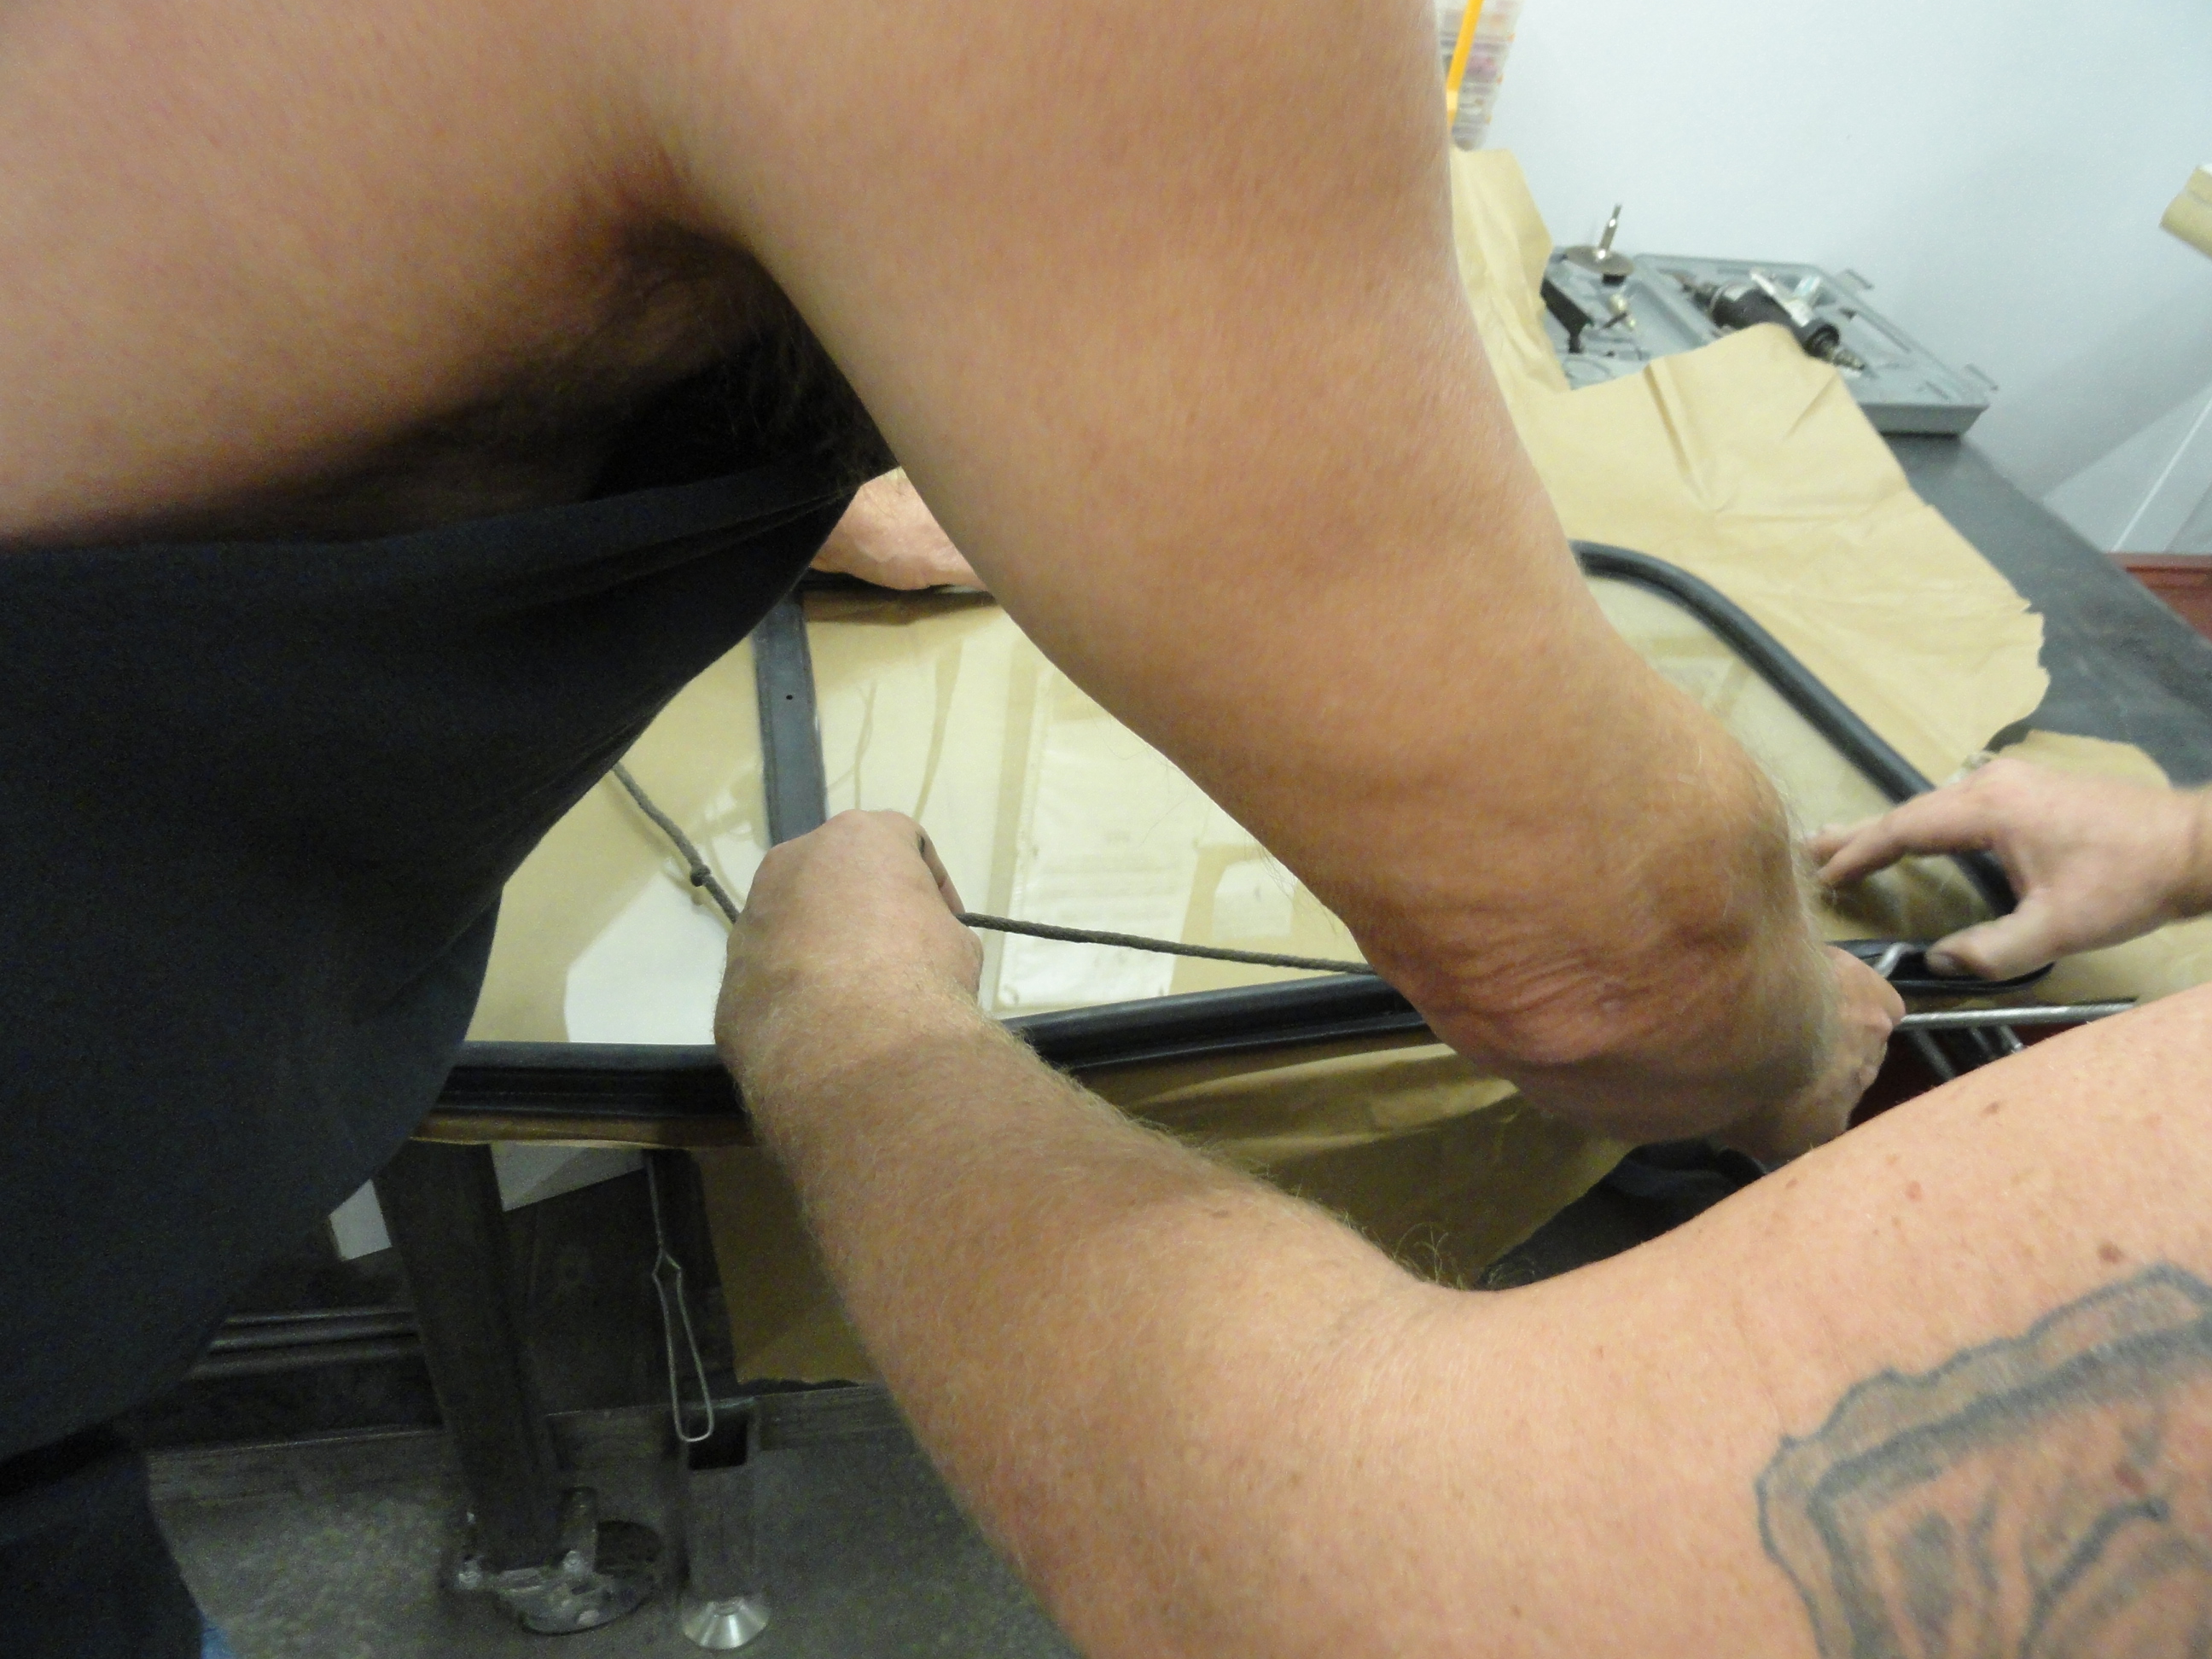 Left is the special massaging tool they use to get the rubber to mate with the glass properly. You could make one of these tools using a stick and a large nail in a pinch. Not much too it, but Leroy used it a lot both off and on the truck. Right is the rope they wrestled into position inside the rubber channel. Really this is a two man job and it was amazing how smooth the job went with two people.
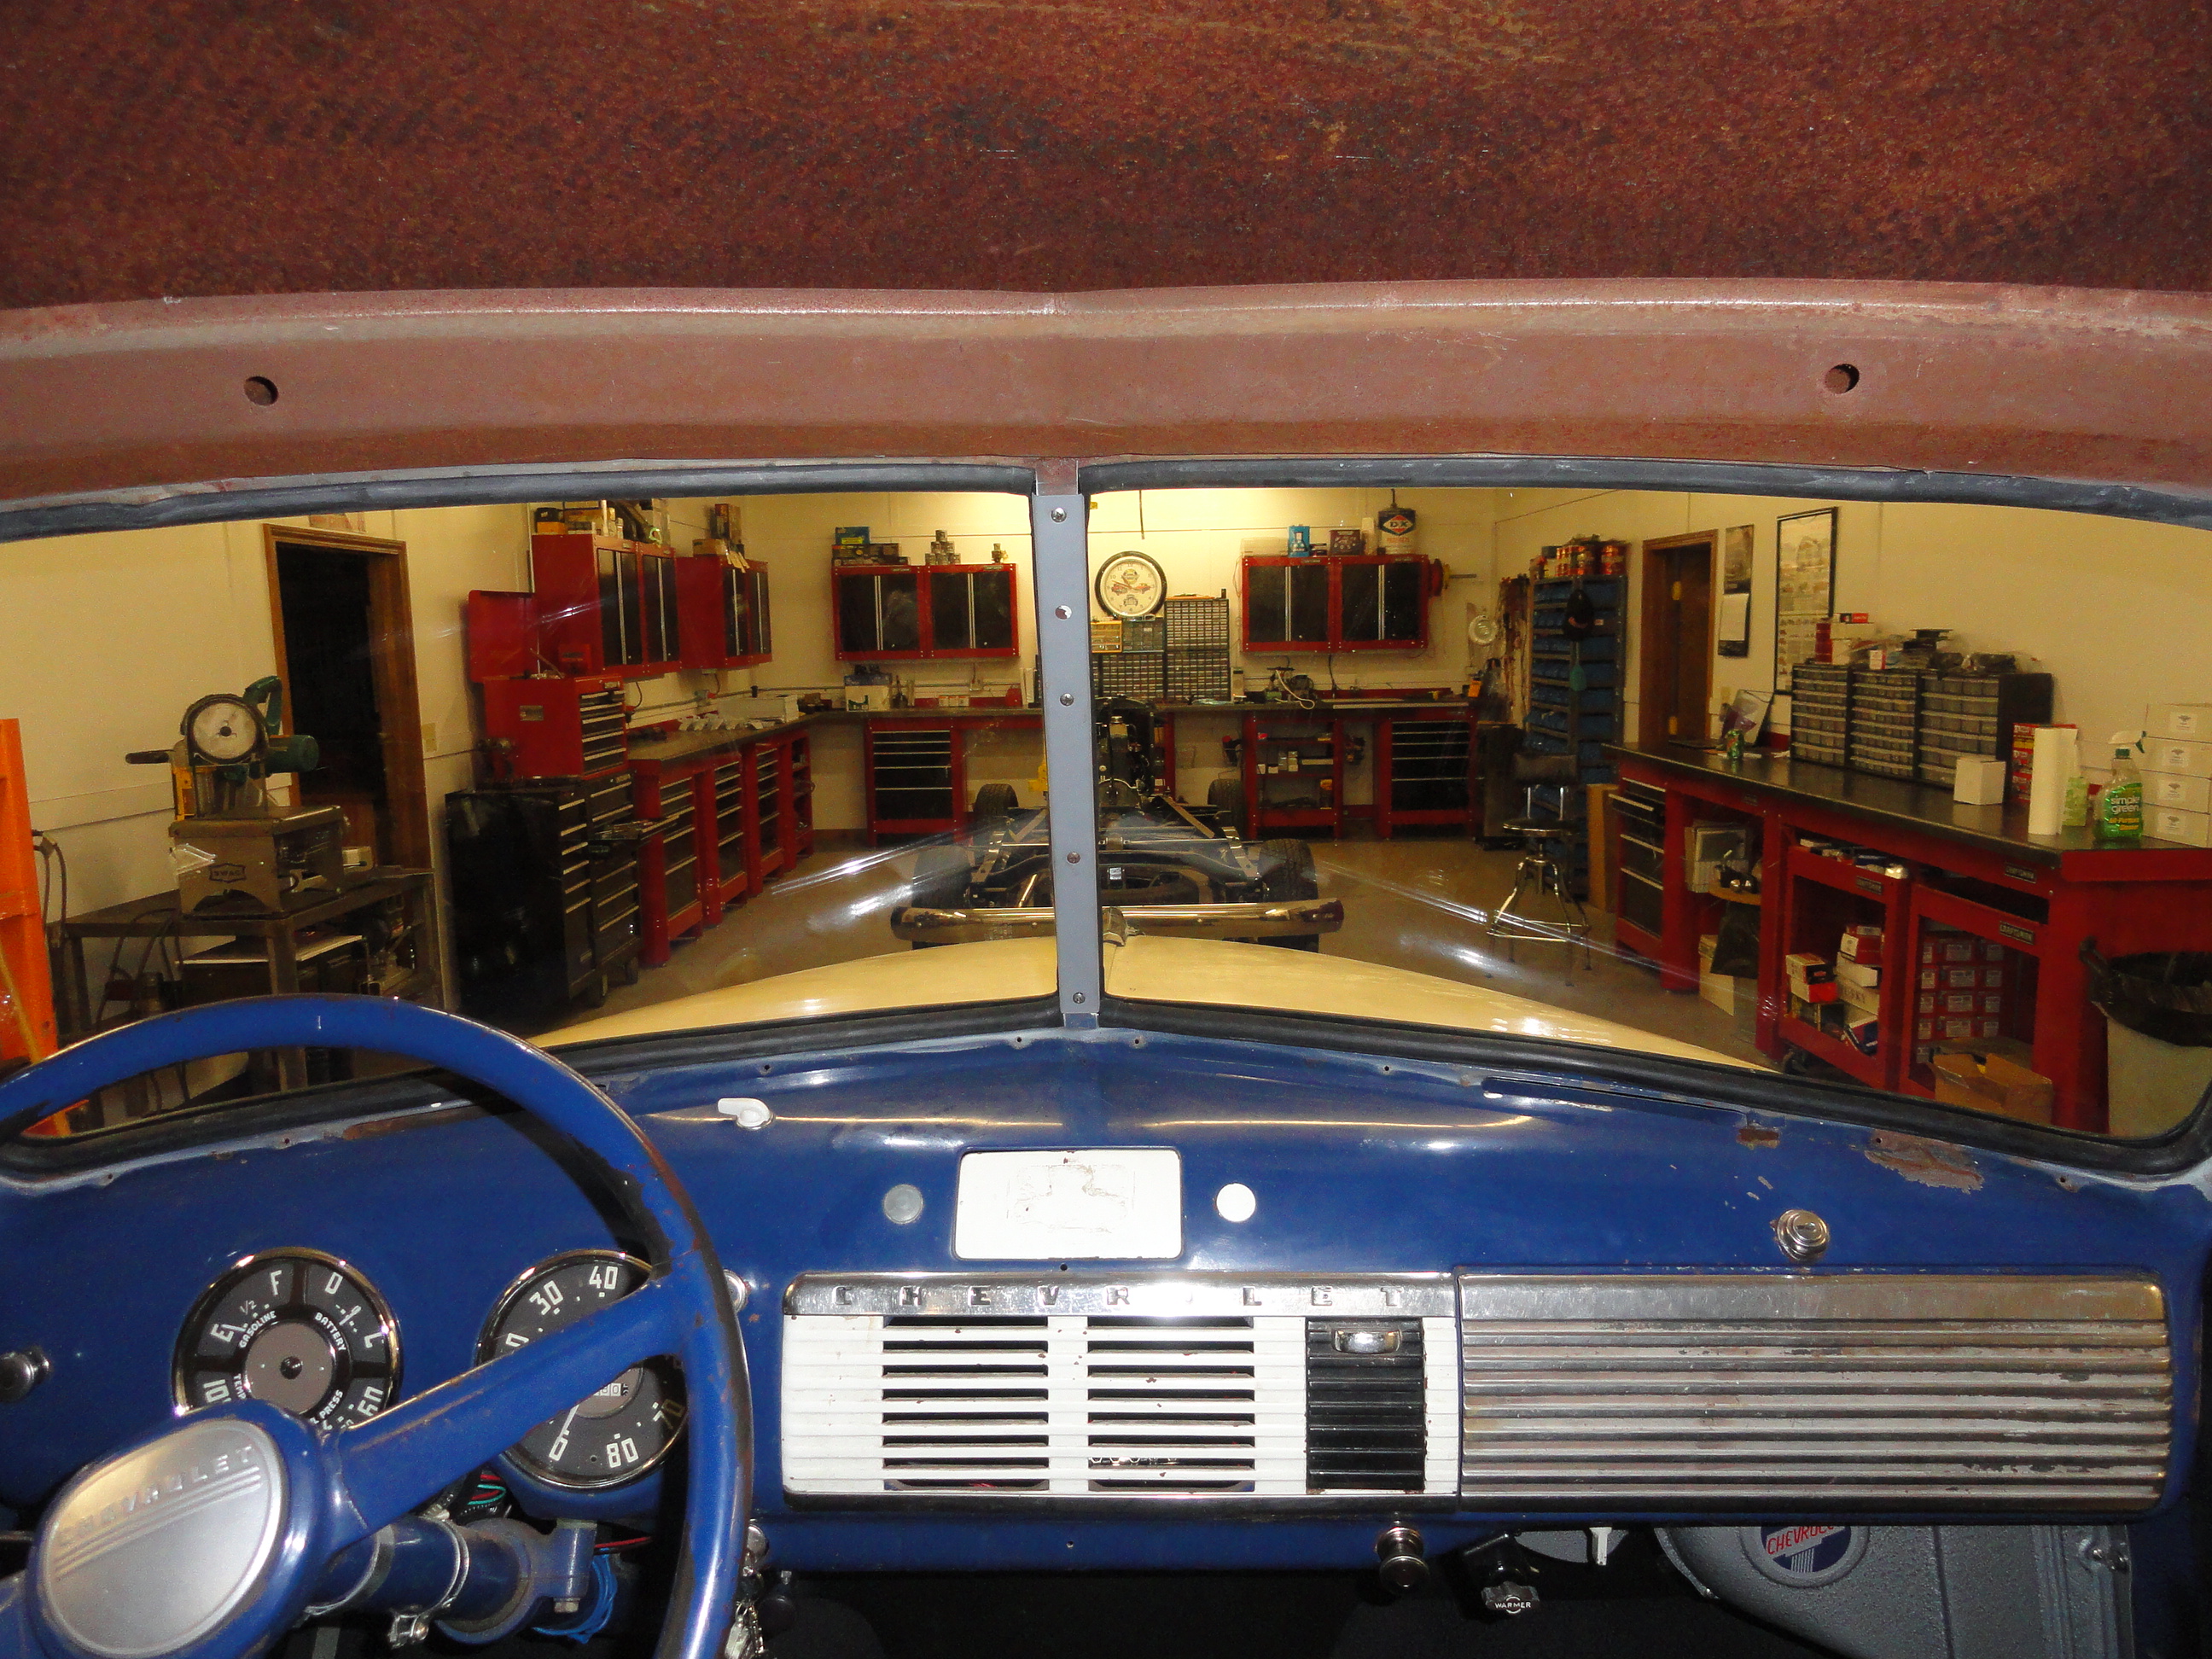 Place the glass/rubber assembly on the outside of the opening paying particular attention to lining up the center post. With it setting in place, one person pushes inwards in a coordinated effort with the person on the inside who is pulling the rope which effectively pulls the rubber over the metal lip. As the person pulling the rope slowly pulls, the person on the outside is applying a degree of pressure pushing inwards until one side is done, then they just keep going to finish the job. It looks very easy! Once the rubber has been secured, they used the tool to massage the rubber and glass into place to ensure there are no leaks. The most difficult part of this job is re-attaching the stainless center moulding with the four fine thread screws. The inside trim, then the rubber with the stainless outside trim must be lined up so the four screws will thread into the outside trim. This IS a point where leaks can occur so they put some moulding putty around the screw connections on the outside trim. Do not be tempted to cross-thread the screws, take it slow and easy starting with the bottom screw. Reason the bottom screw is because it is the hardest to get a screwdriver on with the Dash in the way. Then do the top, then the inside ones. Don't forget to attach your mirror! The pressure they are putting on the glass appears to be more of slapping it down with the flat of your hand, NOT pushing constantly hard. With all of the install out of the way, you can reinstall the inside trim pieces. I like to test for leaks after I have driven it a few days. Once everything is settled into place, just get out the garden hose and test everything for leaks. If you run into leak issues, Permatex Ultra Black silicon sealer in the leaky areas under the rubber should solve the problem if you do not have a warranty because you decided not to "Call the Guy"!